Make sure the power switch is set to off (0), Connect the power cord to the unit and plug it, If you are installing vs1100 expansion units, c – Comtrol VS1100 Configuration Guide User Manual
Page 15: Record the serial numbers of the vs1100 units, Table 3. vs1100 model and serial numbers, Optionally, mount the vs1000 into the rack usin, A. attach the l brackets to the vs1100 using the s, B. attach the l brackets into your rack, Installing vs1100 hardware
Installing VS1100 Hardware
15
Installing the Hardware
5.
Make sure the power switch is set to Off (0).
6.
Connect the power cord to the unit and plug it into an outlet.
Note: All VS1000 units include autoswitching power supplies.
You may need to select the appropriate power cable for your
location, but the VS1000 automatically senses and switches
to the correct line voltage and cycle frequency.
7.
If you are installing VS1100 expansion units, continue with the
Installing VS1100 Hardware discussion, below.
If you are not installing VS1100 expansion units, go to the Power-
On Diagnostics discussion which follows the subsection below.
Installing VS1100 Hardware
Use the following procedure to attach InterChangeVS 1100 expansion
units to the VS1000 base unit.
1.
Record the serial numbers of the VS1100 units.
2.
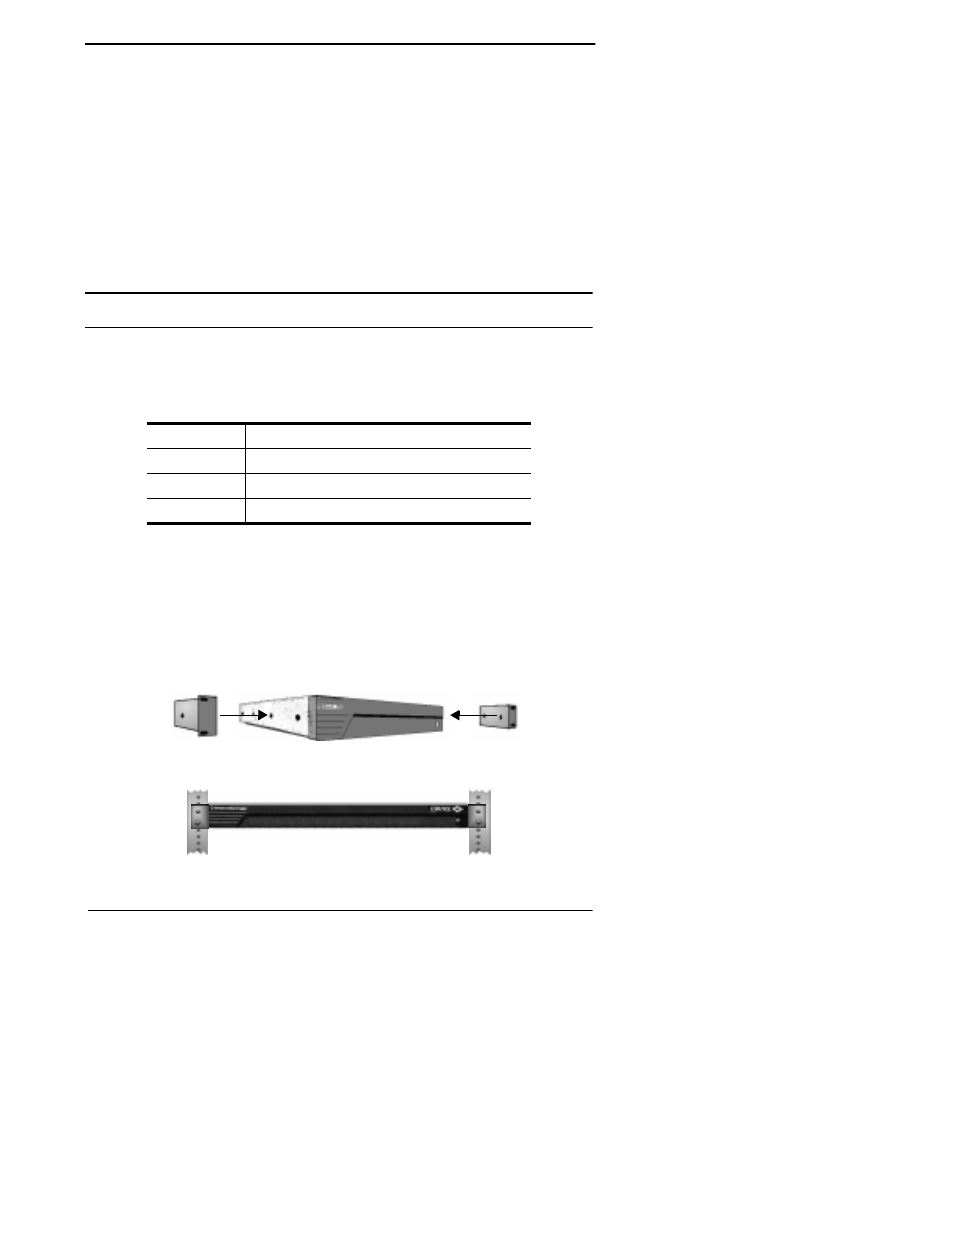
Optionally, mount the VS1000 into the rack using the enclosed
mounting brackets or mount the rubber feet.
Warning: If mounting the VS1100 into a rack mount unit, make
sure that the rack is not top heavy.
a.
Attach the L brackets to the VS1100 using the screws supplied
with the unit.
b.
Attach the L brackets into your rack.
Table 3. VS1100 Model and Serial Numbers
VS1100
Serial Number*
1
2
3
* The identification tag is located on the back of the unit.