General recording, Recording – Kenwood DM-VH7 User Manual
Page 14
Attention! The text in this document has been recognized automatically. To view the original document, you can use the "Original mode".
Recording
Recording
The input jacks connected with audio cords accept analog signals. This unit records the analog signal from the
REC IIM jacks by converting it into digital signal. (This recording is simply referred to as analog recording.)
When this unit and CD player are connected with an optical fiber cable, the digital signal input through
the DIGITAL IN (OPTICAL) jack can be recorded in a digital form (this recording is hereinafter referred to
as digital recording). Enjoy high sound quality of digital recording.
Preparation
Open the write protect tab of the
Mini Disc to make it recordable.
Check the remaining recording time.
-LIE
General recording
Set the amplifier's input selector to the source to be recorded.
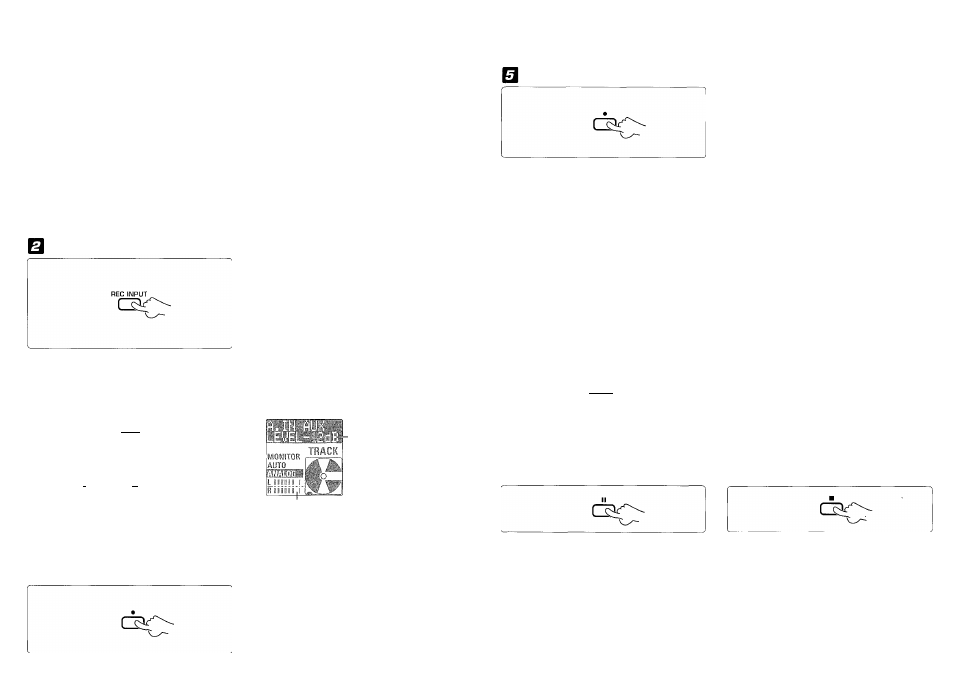
Select the REC INPUT.
----------------------------
Adjust the recording level.
O
Play the source to be recorded.
(This operation is not required when re
cording radio broadcasting.)
© Press the MONITOR key
MONITOR
O Adjust the recording level.
To decrease
To increase
level ^
^ j '' j level
© Stop the source to be recorded.
(This operation is not required when re
cording radio broadcasting.)
Each press switches the mode.
—[IE
ANALOG
DIGITAL 1 (DIN CD)
DIGITAL 2 (DIN AUX)
MONO
Select
"DIGITAL 1" or "2" for recording a digital input or
"ANALOG" or "MONO" for recording an analog input.
When other components are connected through system
control cords, the display becomes as shown inside ().
The recording level can be adjusted even during recording.
Press the
MONITOR key again to cancel monitoring.
Example of display when the RD-VH7 Is connected
through a system control cord
Level value
Put the MD recorder in record-pause mode.
Adjust so that these segments light at times.
• Adjust so that the segments before the vertical bars near
the right end of the level meter light occasionally,
• The initial recording level is -12 dB for analog input
recording and 0 dB for digital input recording.
• The recording level can also be adjusted using the
rec
level keys on the main unit.
Press the record {«
automatically.
key to enter record-pause mode
Start recording.
When the
EDIT key is pressed during recording, a track
number is inserted in that position.
Recording can also be started by pressing the ii or ►/!!
key.
Recording is not possible if the following characters are
displayed,
"DISC FULL" : Disc is full
■♦Erase undesired tracks. -^[32
"PROTECTED" : The accidental erasure protect tab is open.
^ Close it.
"PLAY ONLY" : A playback-only Mini Disc is loaded.
Load a recordable Mini Disc.
Digital recording is not possible if the following characters
are displayed.
"UNLOCK" ;The sampling frequency is not 32 kHz, 44.1
kHz, 48kHz.
-[35;
■^Use analog recording.
-[35-1=12
; The optical fiber cable is unplugged or loos
ened. (The connector is not connected.)
^Connect the optica! fiber cable correctly.
"SCMS" : Digital recording is prohibited by SCMS.
^Use analog recording.
-lIS
"NOT AUDIO": The input digital signal is not an audio
signal.
Play the source to be recorded.
(This operation is not required when recording radio broadcasting.)
After recording, eject the Mini Disc.
-ej^cUir^
Main unit only
"V / I \ \ '
Information is
being written.
Mini Disc has been
ejected.
I While "WRITING" is displayed, do not ap-
IS’otêll ply shock or vibration to the unit because
information is being written on the Mini
Disc.
To let recording pause temporarily
To stop recording in the middle
Press the same key again to resume recording from the
point where it paused.
Press the key to resume recording from about 6
seconds before the point where it paused.
Recording can also be resumed by pressing the record
(•) key.
During CD recording, the track number is sometimes incremented by 1 when the CD starts to
be played. This is caused by a signal contained in the digital signal components recorded on the
CD. Unnecessary track numbers can be deleted by referring to "Erasing several tracks at a time
(QUICK ERASE)" or "Erasing a single track during playback (ERASE)".
-LIE