Flush the gun daily, Warning, Clean the spray gun & system daily – Graco HIGH EFFICIENCY LOW PRESSURE AA2000 User Manual
Page 10: Caution, Operation
Attention! The text in this document has been recognized automatically. To view the original document, you can use the "Original mode".
Operation
Flush the Gun Daily
WARNING
Pressure Relief Procedure
To reduce the risk of serious injury, including fluid
injection, splashing in the eyes or on skin, or injury
from moving parts, always follow this procedure
whenever the pump is shut off, when checking or
servicing any part of the system, when installing or
changing spray tips and whenever you stop
spraying.
1. Engage the spray gun safety latch.
2. Shut off the power to the pump.
3. Close the bleed-type master air valve
(required in system).
4. Disengage the gun safety latch.
5. Hold a metal part of the gun firmly to the side
of a grounded metal waste container and trig
ger the gun to relieve fluid pressure.
6. Engage the gun safety latch again.
7. Open the pump drain valve (required in sys
tem) to help relieve fluid pressure in the dis
placement pump. In addition, open the drain
valve connected to the fluid pressure gauge
(in a system with fluid regulation) to help
relieve fluid pressure in the hose and gun.
Triggering the gun to relieve pressure may not
be sufficient. Have a container ready to catch
the drainage.
8. Leave the drain valve(s) open until you are
ready to spray again.
If you suspect that the spray tip or hose is com
pletely clogged or that pressure has not been fully
relieved after following the steps above, very slow
ly loosen the hose end coupling and relieve pres
sure gradually, then loosen completely. Now clear
the tip or hose obstruction.
5. Hold a metal part of the gun firmly against a
grounded metal waste container and trigger the
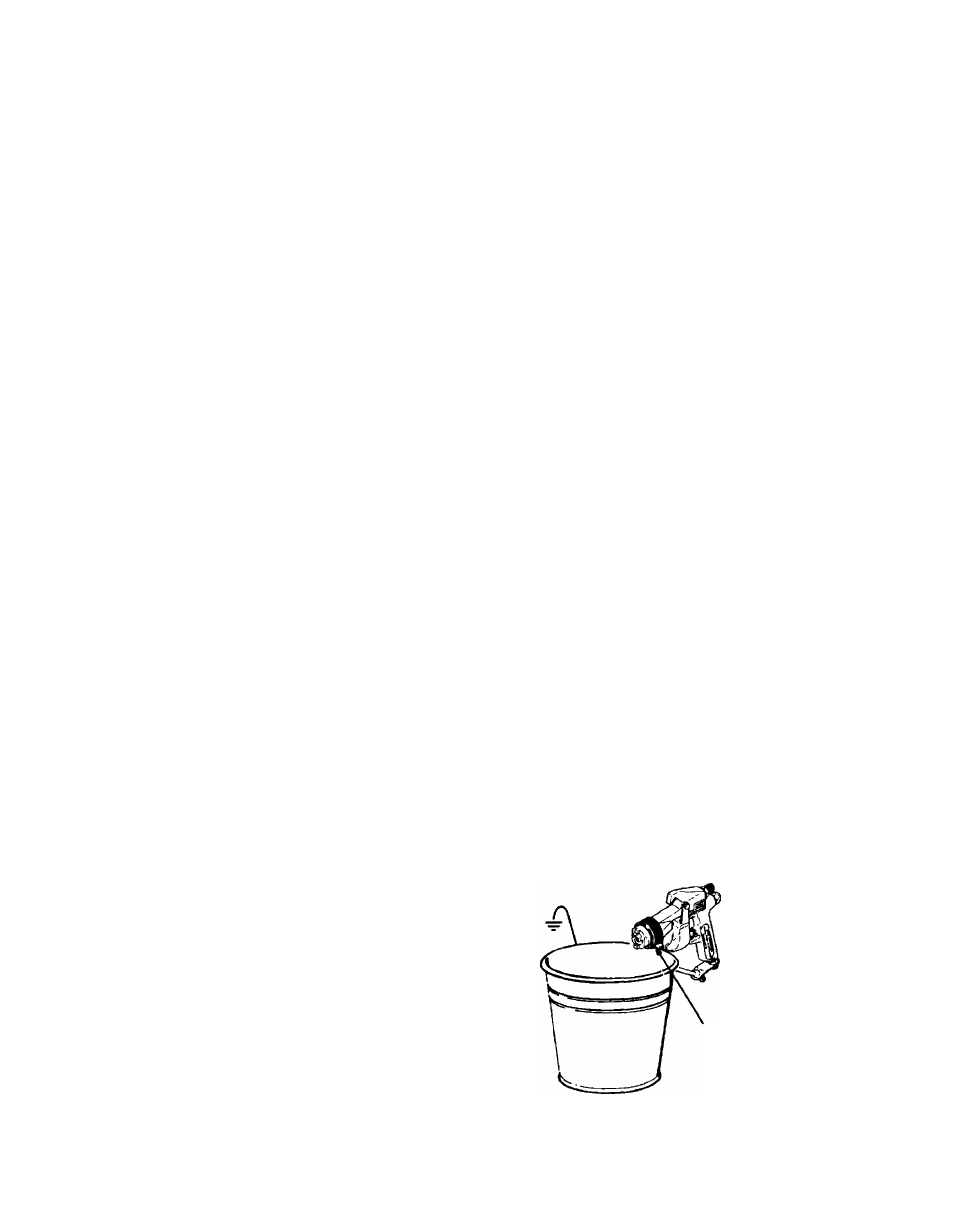
gun until all traces of paint are removed from the
gun passages. See Fig. 6.
6. Follow the
Pressure Relief Procedure Warning
at left.
7. Disconnect the solvent supply.
Clean the Spray Gun & System Daily
CAUTION
Never immerse the gun in solvent.
Doing so can
damage packings and allow solvent in the air pas
sages, which can cause poor atomization and gun
failure.
Do not use metal tools to clean holes in the air
cap or spray tip. Metal instruments may damage
holes and distort the spray pattern.
1. Follow the
Pressure Relief Procedure Warning
at left.
2. Clean the outside of the gun with a soft cloth
dampened with compatible solvent.
3. If using an in-line Alter, remove and clean it thor
oughly in a compatible solvent.
4. To avoid damaging the spray tip and air cap,
clean them with a compatible solvent and soft
brush. To clean the air cap passages, use a soft
brush or other soft tool, with an air blow gun.
5. Clean the system’s fluid filter and air line filter.
1. Follow the
Pressure Relief Procedure Warning,
above.
2. Disconnect the atomizing air hose and the fluid
supply line.
3. Remove the spray tip.
4. Connect the solvent supply to the gun.
CAUTION
Be sure the solvent is compatible with the fluid
being sprayed to avoid clogging the gun’s fluid
passages.
Ground
Wire
Fig. 6
When flushing or relieving
pressure, maintain firm
metal-to-metal contact
between the gun and a
grounded metal container
10
307-947