Wing assembly – Carl Goldberg GBGA1089 User Manual
Page 4
4
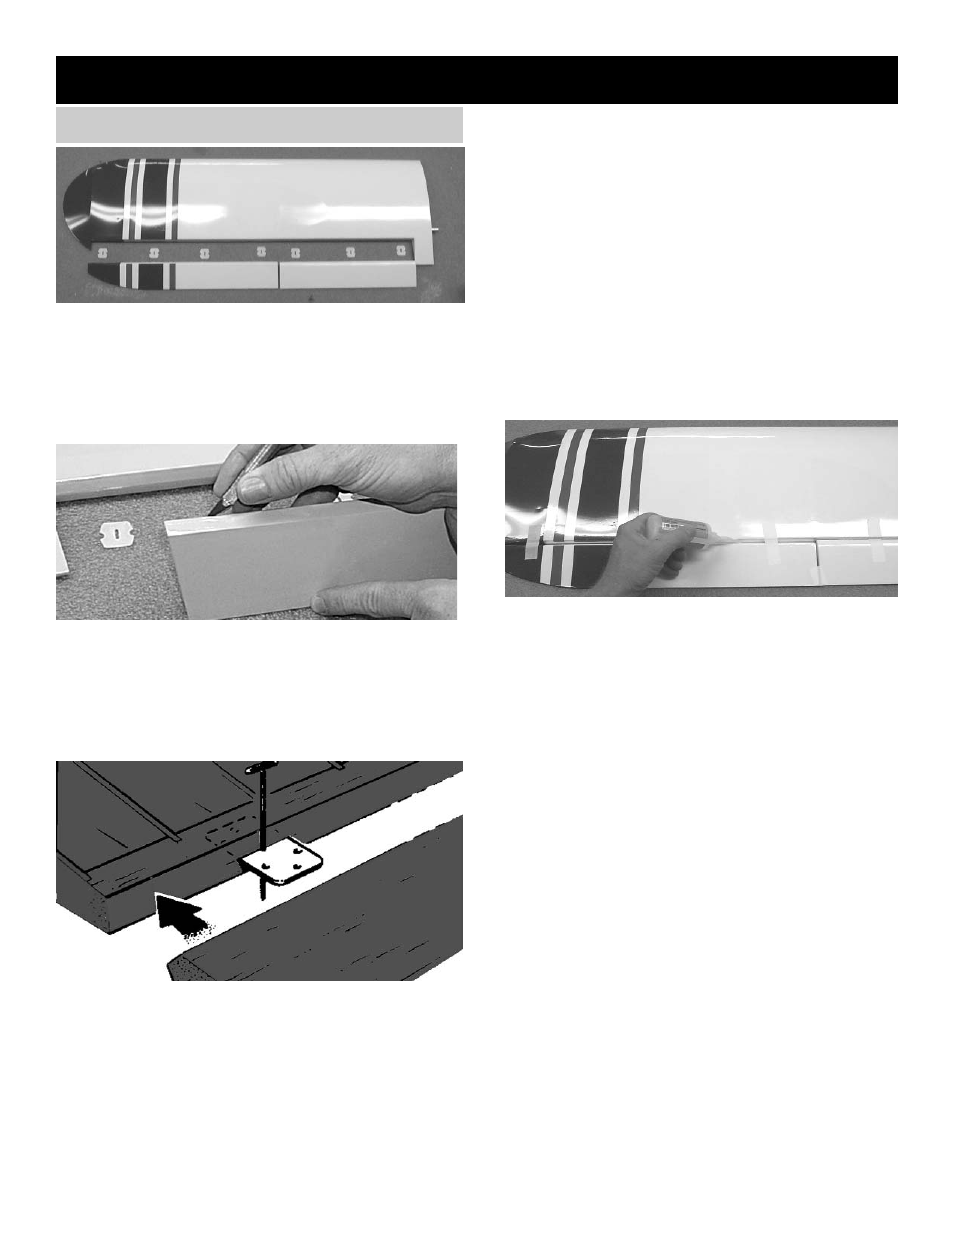
2.
Locate the pre-cut aileron hinge slots and flap
slots in both wing halves. Using a hobby knife
(#11 blade), slide the blade into each slot to
make sure it is cleanly cut.
Repeat this process with the ailerons and the
flaps, making sure all hinge slots are clean.
3.
Place a straight pin into the center of each of
the four CA hinges.
Slide each hinge into the hinge slots on one
of the wing halves. The pin will prevent the
hinges from going further than halfway into
the wing.
4.
Select the aileron and flap for the wing on
which you are working on and insert the
exposed half of each hinge into the aileron
slots.
Slide the aileron toward the wing until no gap
remains between the aileron and the wing.
5.
Carefully check the alignment of the aileron. It
should be centered, with about 1/32" away
from the wing tip.
When satisfied with the alignment, remove the
straight pins, being sure to keep the aileron
tight to the wing. You may wish to apply a few
pieces of masking tape to keep the pieces in
place.
6.
Keeping the aileron and wing in position,
apply 3 or 4 drops of CA glue to the small
exposed area of each hinge.
Turn the assembly over and again apply 3 or
4 drops of CA glue to the exposed hinge sur-
faces.
Do the same steps for the flap. Remember to
leave a gap at both ends of the flap.
7.
Repeat the above steps for the other half of
the wing.
WING ASSEMBLY
AILERON INSTALLATION
1.
Collect the following parts:
(1) Left wing
(1) Right wing
(1) Left aileron & Flap
(1) Right aileron & Flap
(14) CA hinges