Aileron control horns, Fuselage hatch – Carl Goldberg GBGA1023 User Manual
Page 6
6
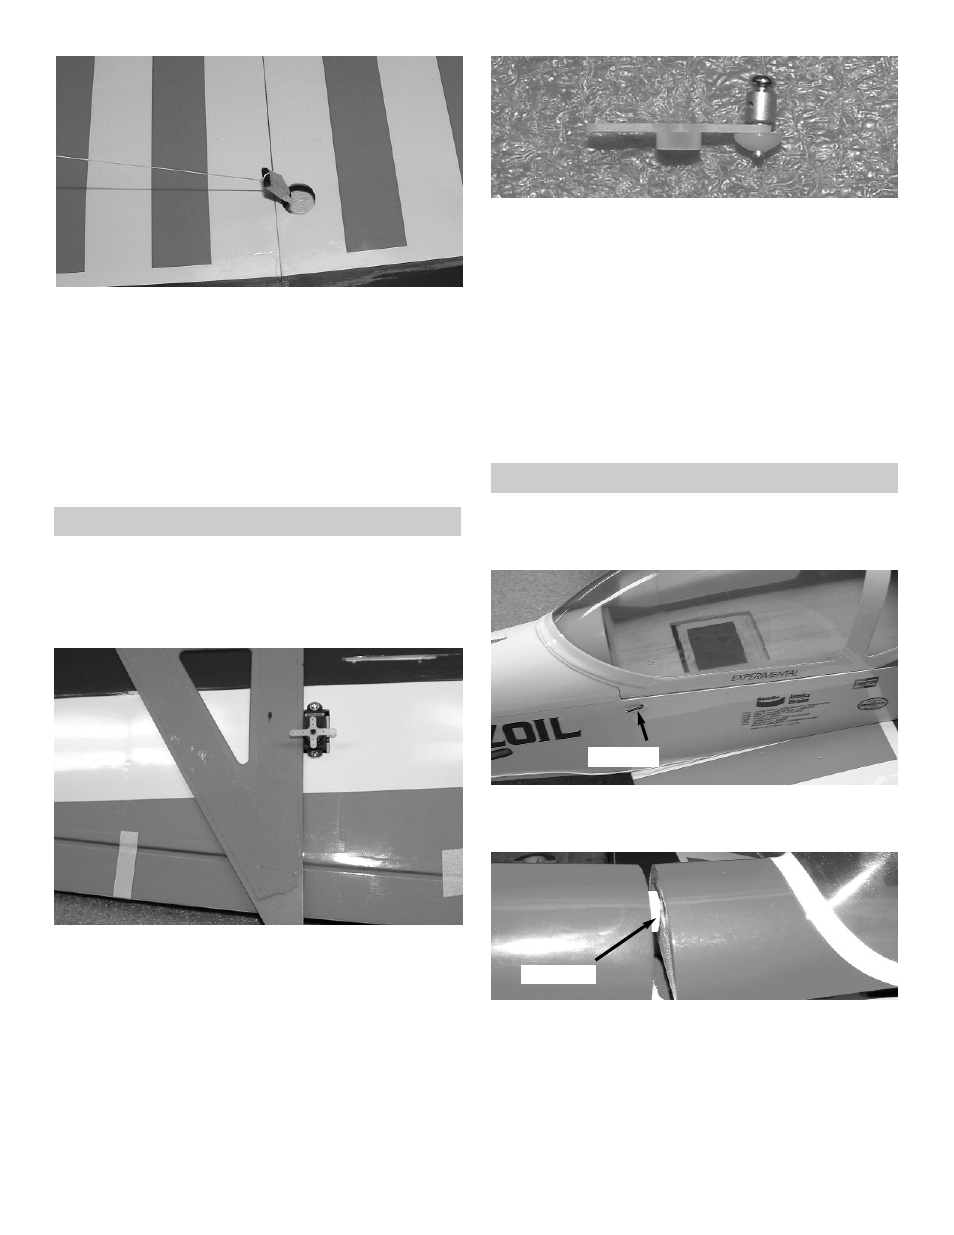
2.
Remove the covering on the aileron where
the control horn sits.
Using CA glue, attach the control horn to the
aileron.
4.
Find the small aileron pushrod wire, and place
a “z” in one end.
Connect the pushrod connector to the servo
arm.
Put the “Z” bend in to the top hole of the con-
trol horn.
Slide the pushrod wire through the connector
on the servo arm and mount the arm on to the
servo.
Tighten the set screw onto the pushrod.
5.
Repeat for the other aileron pushrod.
Aileron Control Horns
1.
Collect the following parts:
(1) Wing
(2) Control Horns
(2) EZ connectors with screws and nylon nuts.
(2) Pushrod Wires
Push the extension in the servo hole, SLOW-
LY pull until the end of the 6" extension comes
out of the hole in the center of the wing.
Tape the extension securely to the wing, so
that it will not slide back in while you are work-
ing.
Mount the aileron servo using the hardware
provided by the radio manufacture.
5.
Repeat steps 2 thru 4 for the other aileron
servo.
Fuselage Hatch
1.
Collect the following parts:
(1) Fuselage
Hatch Pin
2.
Pull Out on the hatch pin.
Lift up on the rear of the canopy.
Hatch post
3.
Remove the hatch off the front hatch post.