Tail wire, Installing motor & esc, Installing cowl – Carl Goldberg GBGA1023 User Manual
Page 10
10
Tail Wire
1.
Collect the following parts:
(1) Fuselage
(1) Tail Skid Wire
(1) 2mm x 3mm Sheet Metal Screw
2.
Insert the end of the tail skid wire into the fuse-
lage.
Screw the wire to the fuselage using the 2mm
x 3mm Sheet Metal Screw.
Installing Motor & ESC
1.
Collect the following parts:
(1) Fuselage
(1) Motor with Gear Drive (Not Included)
(1) Electronic Speed Control (Not Included)
(1) Screw for motor installation (Not Included)
Note:
Read the instructions that come with your
motor and speed control for proper wiring.
Your Motor and Speed Control might be dif-
ferent than shown.
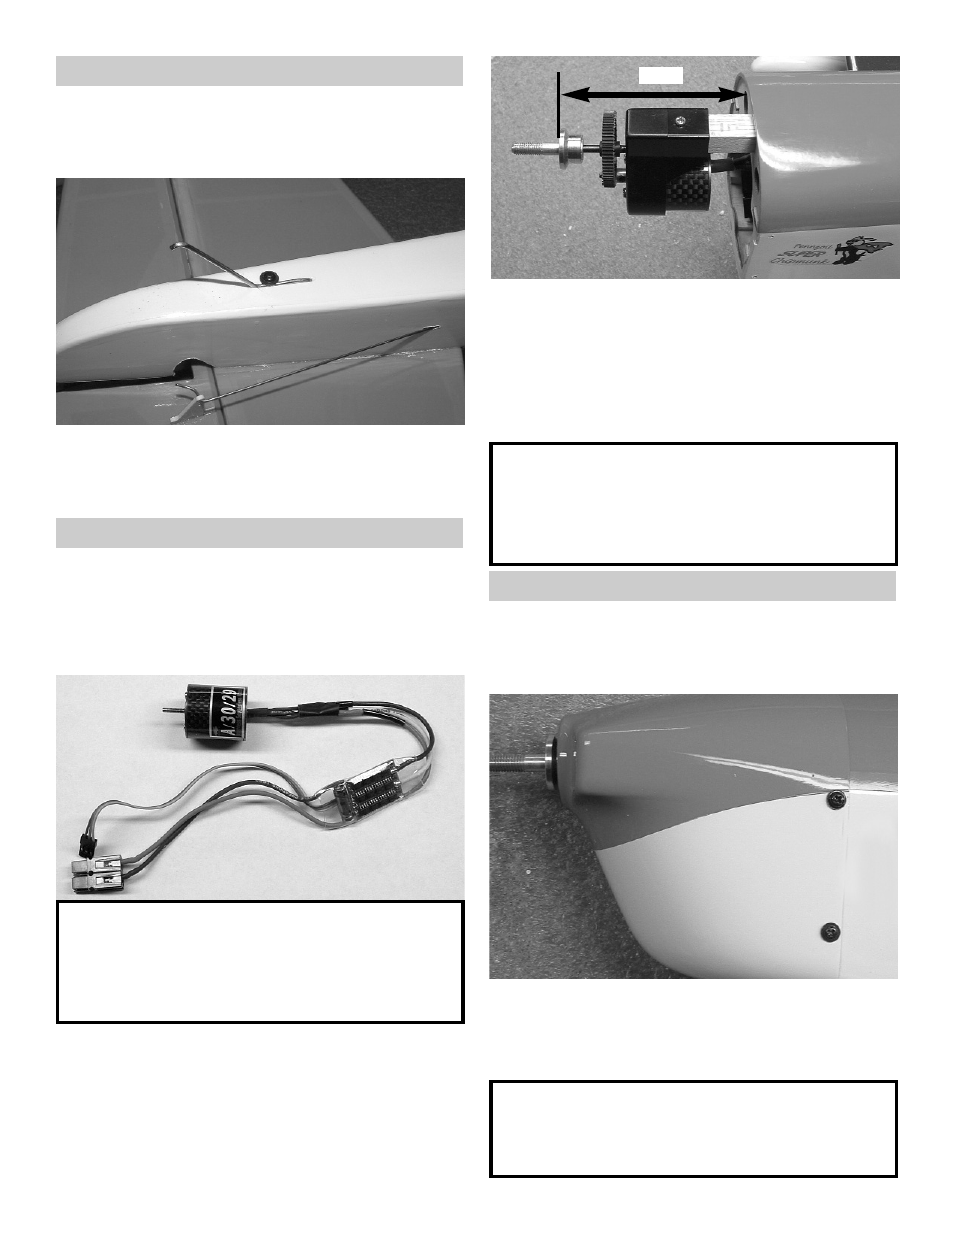
2.
We have assembled the motor and gear drive
that was provided with the Ultrafly system by
the manufactures instructions.
Slide the gear drive onto the motor stick till the
rear of the prop drive is 2-3/4 away from the
firewall.
Screw the gear drive to the motor stick.
2-2/3”
Caution:
Do Not install the propeller at this time.
Electric motors can start turning at any time
during radio installation. This can cause
damage to the plane or bodily harm.
Installing Cowl
1.
Collect the following parts:
(1) Fuselage
(1) Cowl
(4) #2mm x 5 Screws
2.
Center the prop shaft in the opening of the
cowl.
Screw the cowl to the side of the fuselage
using the #2mm x 5 screws.
Caution:
Do not over tighten the screws. Use CA glue
in the screw holes of the fuselage to
strengthen the wood.