Chapter 3 operation ), 1 starting status – Avlink PG-H1 User Manual
Page 9
8
Chapter 3 Operation
)
1. After pressing the power On/Off key for 2~3 seconds
to sound a long “beep”.
2. Only for the valid key of PG-H1 will sound a short
confirmed “beep” after pressing the key.
3. The chosen option will blink.
4. After you had changed the values, remember to press
“Enter” indicated key to take the changed values
effectively.
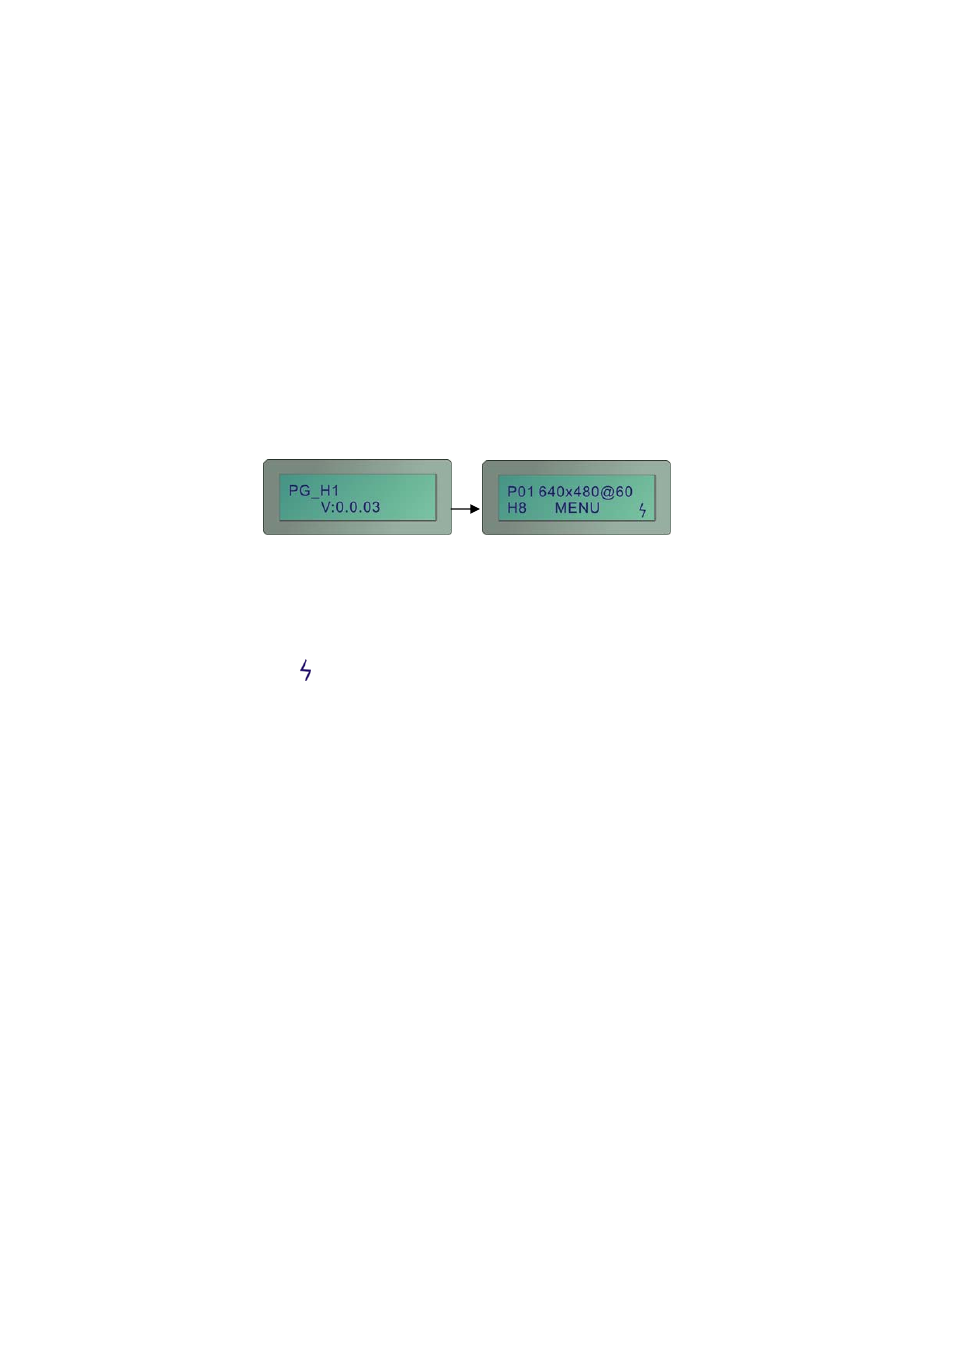
3.1 Starting Status
After you pressing the Power key to power on the PG-H1,
the LCD screen will show you the PG-H1 version suddenly
then show you the main screen as below (or previous
setting values saved in the PG-H1’s memory):
P01 640x480 @60
P01:
Pattern 01 (refer to Appendix B: Pattern chart
chapter)
640x480:
Resolution is 640X480
@60:
Refresh rate is 60Hz
“ ”:
The power of battery is charging.
To the LCD screen lower left will show you the PG-H1
operated mode.
DVI/H8/H10/H12
DVI:
Process PG-H1 under DVI mode.
H8:
Process PG-H1 under HDMI 8bit mode.
H10:
Process PG-H1 under HDMI 10bit mode.
H12:
Process PG-H1 under HDMI 12bit mode.
RGB/Y444/Y422
RGB:
Process PG-H1 under RGB Color Space.
Y444:
Process PG-H1 under RGB Color Space.
Y422:
Process PG-1 under YUV422 Color Space.
(When under the DVI mode, only support bypass mode)