Troubleshooting guide, Figure 6: typical reset circuit – Inovonics FA416 User Manual
Page 9
© 1997 Inovonics Wireless Corporation LIT-FA416-INSTALL
9
02304e 23-Oct-02
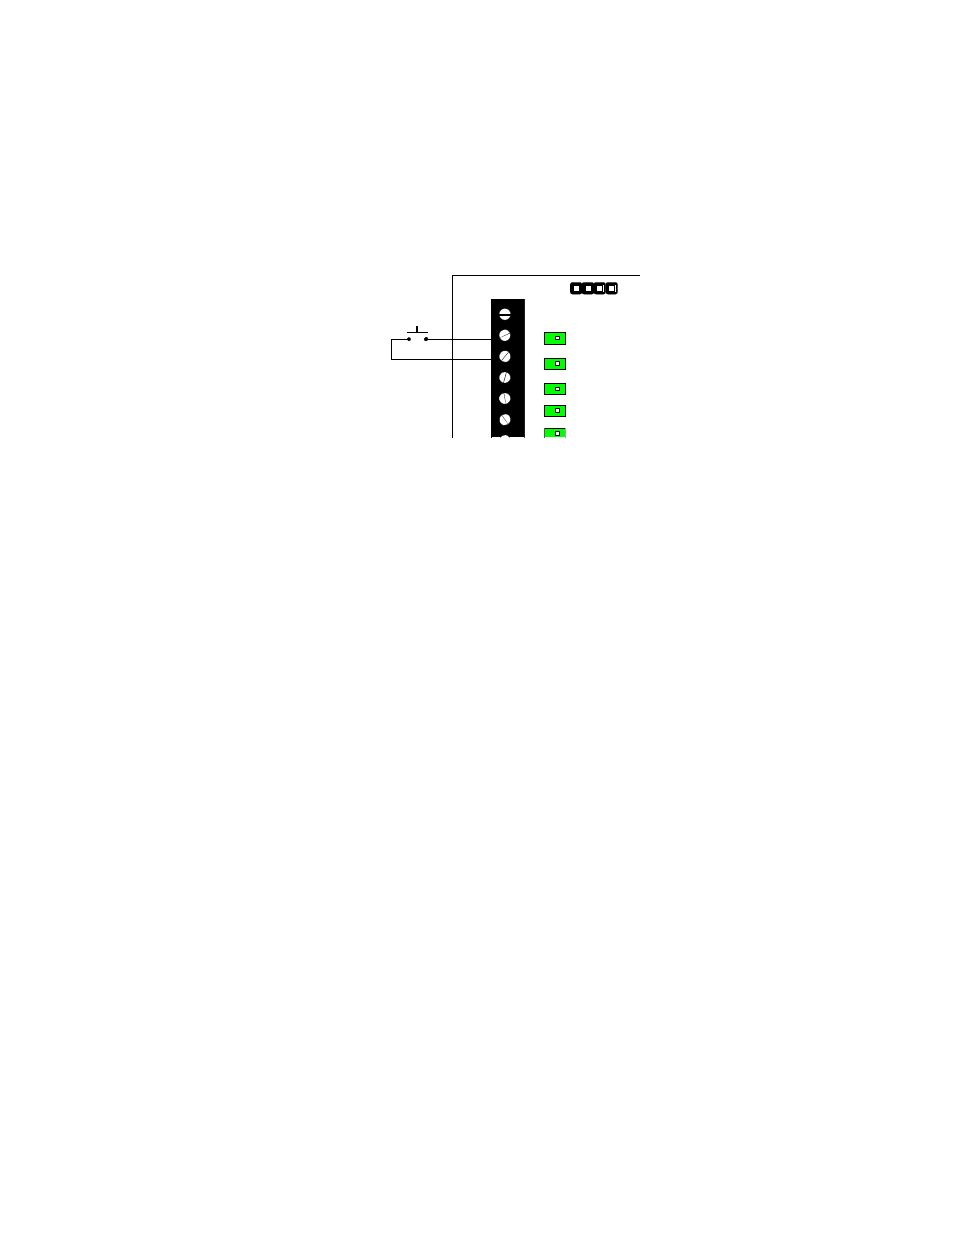
Resetting outputs: All outputs can be reset either by pressing the Reset button or by pulling the Reset
input terminal to ground. This can be done by installing a switch between the reset input and the ground
terminal on the receiver. Remote or automatic resetting can be accomplished by relay control from the
hardwire panel. All outputs are cleared. If a transmitter remains in alarm or if a fault condition is not corrected,
the output will reactivate at the next supervisory signal received from the transmitter.
Figure 6: Typical reset circuit:
RESET
13.6V
GND
1
2
3
Deleting points without the FA516: Only points 1 through 4 may be deleted.
1. Illuminate the appropriate channel LED with the Advance button.
2. Press
the
Delete button. The channel output LED will begin to flash when the point is
deleted.
Deleting points with the FA516: Points 1 through 16 may be deleted.
1. Use
the
Advance button to show the desired point on the Channel Display.
2. Press
the
Delete button on the FA416 board. The Programmed LED will change from
steady "on" to flashing.
Restoring factory defaults: This sequence restores default receiver, output and transmitter parameters. It
also clears all programmed points. Note: the receiver access code is reset. See Appendices A and B.
1. Press and hold the ADV button.
2. Press and release the RESET button. The Decode and Valid Decode LEDs will go out.
3. Release
the
ADV button.
4. Press and hold the DEL button.
5. Watch the Decode LED. When the LED flashes, release the Delete button.
Using the FA116 programmer keypad: Program all 16 points with or without the FA516 display module.
Options which may be programmed include end-of-line resistor, internal contact (widegap magnet), changing
external switch configuration, check-in time interval and desired output channel. In addition, receiver
parameters may be changed, including supervisory window. See Appendix B.
Troubleshooting Guide: