Checkline RH1 User Manual
Page 3
Electromatic Equipment Co., Inc.
-14-
12.0
LIABILITY
The manufacturer is not liable for any incorrect measurements and resulting
damages.
As this rapid measurement procedure is influenced by product specific and
application-specific conditions, we recommend you carry out a plausibility check on
the measurement results. Each instrument has a serial number and warranty seal. If
this is broken we cannot provide warranty. If the instrument is defective, contact
Electromatic.
13.0
OPTIONAL ACCESSORIES
Wall holder / table stand Two-in-one holder for the RHx instrument series made of
acrylic glass.
Interface for printing saved data on a portable printer and/or transferring data to a
PC incl. Software LogMemorizer
LogMemorizer data recording and analysis software for Windows® PCs based
on a database; for recording data, direct analysis of measurement values in the
program, numerous export functions. Download a demo version from
www.checkline.com.
Portable measurement value printer – Battery-powered direct thermal printer
Sword cover for RH5 to protect the sword-shaped sensor for use with heavy
stacks.
Sword cover remover for RH5 for removing the sword cover from heavy stacks.
Checking unit and humidity standards: For checking your own RHx moisture
meter.
Electromatic Equipment Co., Inc.
-3-
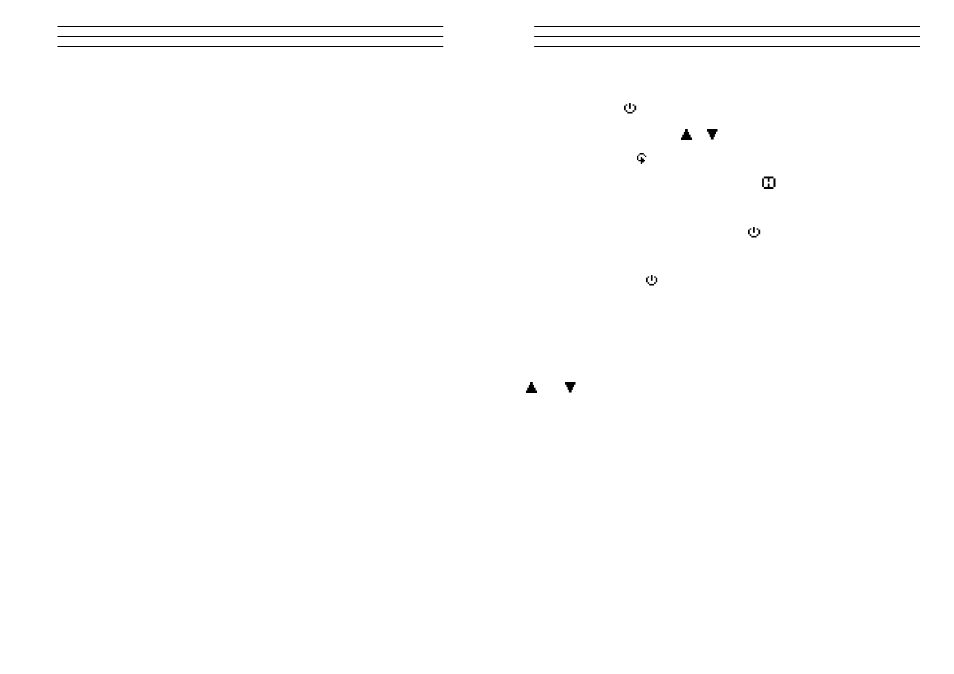
3.0
OPERATING THE INSTRUMENT
Switching on: Press
for 3 seconds.
Changing the calibration curve:
or
.
Setting the time: Press
three times - Options – Date / Time
Hold the measurement value (HOLD): Press the
key (this must be set in the
menu
Log Time)
Switching on the display lighting: Press the
key briefly; the display lighting
switches off automatically after approx. 20 seconds. Pressing any key acti vates the
display lighting.
Switching off: Press the
key for 5 seconds. The instrument switches off when
you stop pressing this key. The instrument switches off approx. 4 minutes after the
last key has been pressed.
Changing the menu language: Options – Language – select the language
required.
Moving from the simple user level to the menu: The instrument must be switched
off. Switch the instrument on and as soon as the display lighting comes on, press
AND
simultaneously until the menu appears.