Checkline DCF-900 User Manual
Page 7

Setting “Calibration” Point
5. Place the plastic calibration shim on top of the bare metal part
and then place the probe on top of the shim and bare part
combination and measure as before.
Note: the reading and determine if it matches the indicated value of
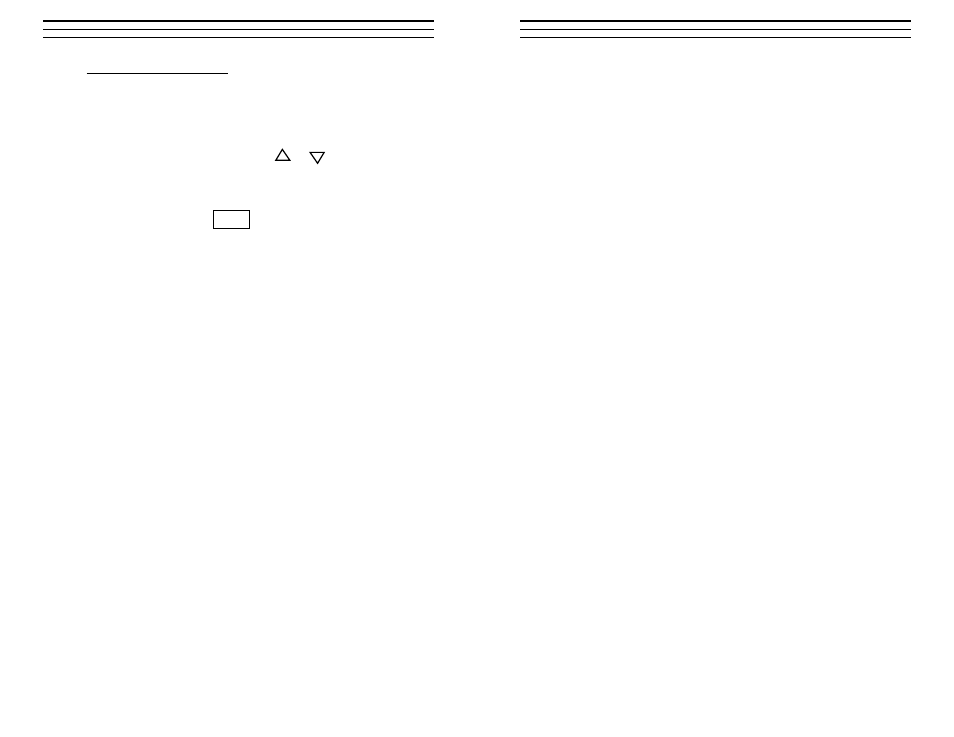
the shim. If not, press and hold the or keys to increase or
decrease the displayed value until it matches the shim value.
Remove the probe from the test plate. The display will show
CA.L or CAL.
6. Press and hold the key again to enter the “calibration”
point into the microprocessor and exit the calibration mode.
The display will now show ru.n or run, indicating that
calibration is complete and that you are back in the operational
mode.
You are now ready to take measurements.
6.4 Notes on Calibration
1. If the gauge reads within 0.1 mil or 3 microns
(2%)
of the
calibration shim value, it is usually not necessary to change
the calibration since it is within accuracy limits.
2. Use a calibration shim whose thickness is equal to or greater
than the expected coating thickness to be measured.
3. If greater reading accuracy is required, calibration and/or
measurements should be performed with the units of measure
set for microns, since “microns” provides greater resolution
than mils. (0.1 mil = 2.5 microns).
5.3. Notes on Measurements
1.
The gauge will automatically turn the power off after 90
seconds of non-use. You cannot turn the power off manually.
2. The DCF-900 and DCN-900 are continuous-reading type
gauges which will provide readings as long as the probe is in
contact with the measured surface. When the probe is removed,
the LCD display will show ru.n or run, indicating that the
gauge is in the operational mode.
If the thickness reading continues to get smaller while the probe
is in contact with the coating, it indicates that the coating is soft
and that the probe is sinking into the coating.
3
If the last digit alternates between two values during a
measurement, the measurement is midway between those
two values.
4. Where the base metal departs greatly in shape, thickness,
texture or material from the metal standards supplied, the user
should always use a sample of the uncoated product bare metal
itself for setting ZERO.
– 10 –
–7 –
CAL
