Step 3 mounting instructions, Installation instructions – Kidde i12010SCO User Manual
Page 15
• Figure 3 illustrates interconnection wiring.
Improper
connection will result in damage to the alarm, failure to
operate, or a shock hazard.
• Make certain alarms are wired to a continuous (non-switched)
power line. NOTE: Use standard UL Listed household wire (as
required by local codes) available at all electrical supply stores
and most hardware stores.
Step 3
Mounting Instructions:
CAUTION: YOUR SMOKE/CO ALARM IS SEALED AND
THE COVER IS NOT REMOVABLE!
1. To help identify the date to replace the unit, write the "Replace
by" date (10 years from initial power up) in permanent marker
in the space provided on the side of the alarm. See Alarm
Replacement section for additional information.
2. Remove the mounting bracket from the back of the alarm by
holding the mounting bracket and twisting the alarm in the
direction indicated by the “OFF”arrow on the alarm cover.
3. After selecting the proper location for your Smoke/CO Alarm,
as described on Pages 8-10, and wiring the AC QUICK
CONNECT harness as described
in the WIRING INSTRUCTIONS
(NOTE: AC power should be
turned off at this stage), attach
the mounting bracket to the
electrical box. To ensure aesthetic
alignment of the alarm with the
hallway, or wall, the “A” line on
the mounting bracket must be
parallel with the hallway when
ceiling mounted, or horizontal
when wall mounted.
4. Pull the AC QUICK CONNECTOR through the center hole in
the mounting bracket and secure the bracket, making sure
that the mounting screws are positioned in the small ends of
the keyholes before tightening the screws.
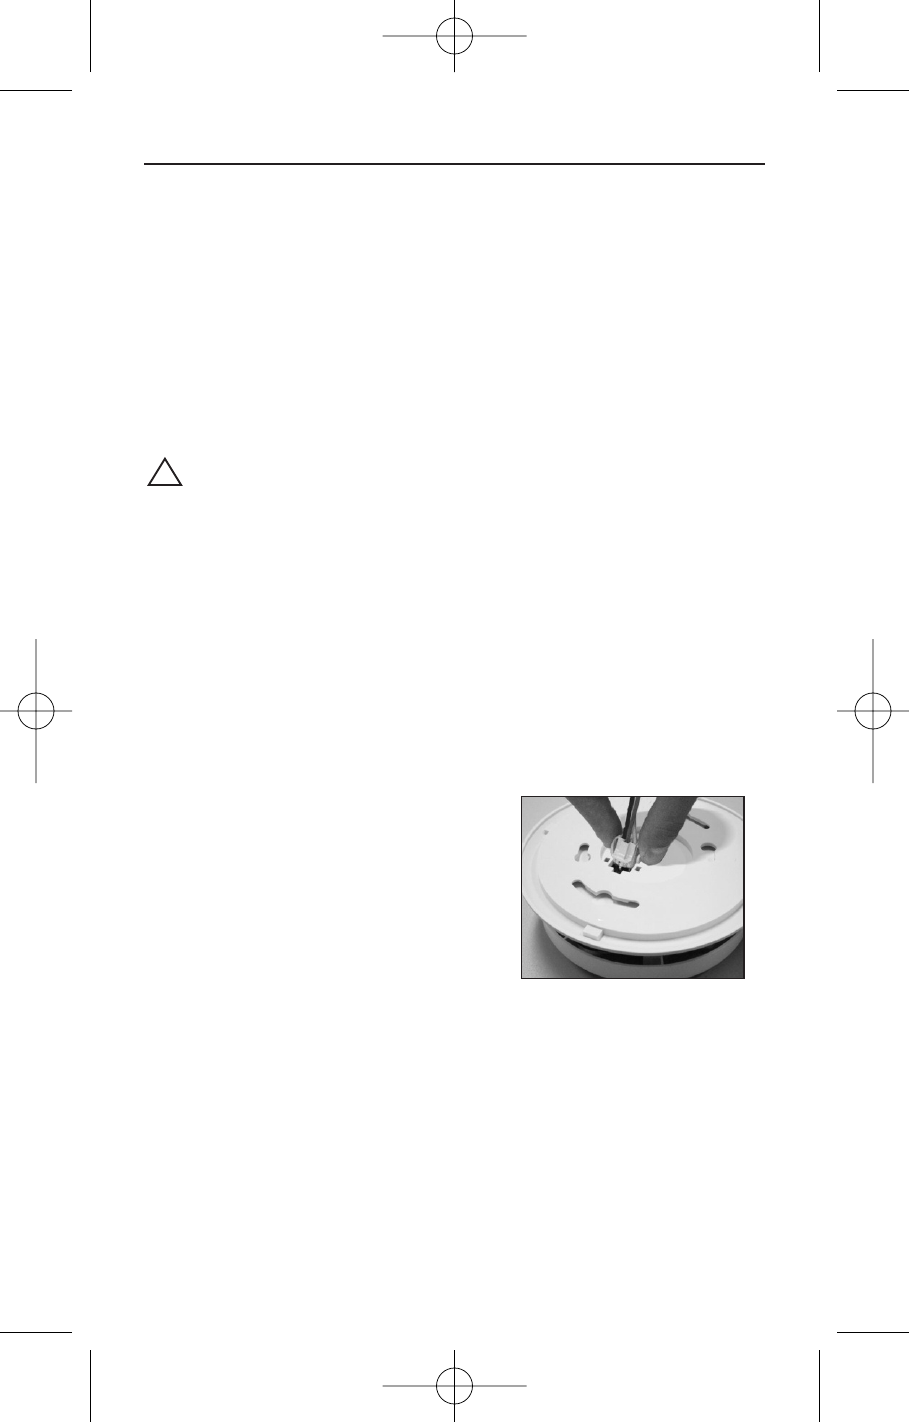
5. Remove the cardboard square from the connector pins and
plug the AC QUICK CONNECTOR into the back of the alarm (see
figure 4), making sure that the locks on the connector snap into
13
Installation Instructions
!
FIGURE 4
Installing AC Quick
Connect
2550-7201-01(i12010SCO)_V4.qxd:_ 2014.2.20 10:24 AM Page 15