Hc 6, Operators manual, Manual – Rane HC 6 2003 version User Manual
Page 3: Headphone console, Quick start, Hc 6 connection
Manual-
HC 6
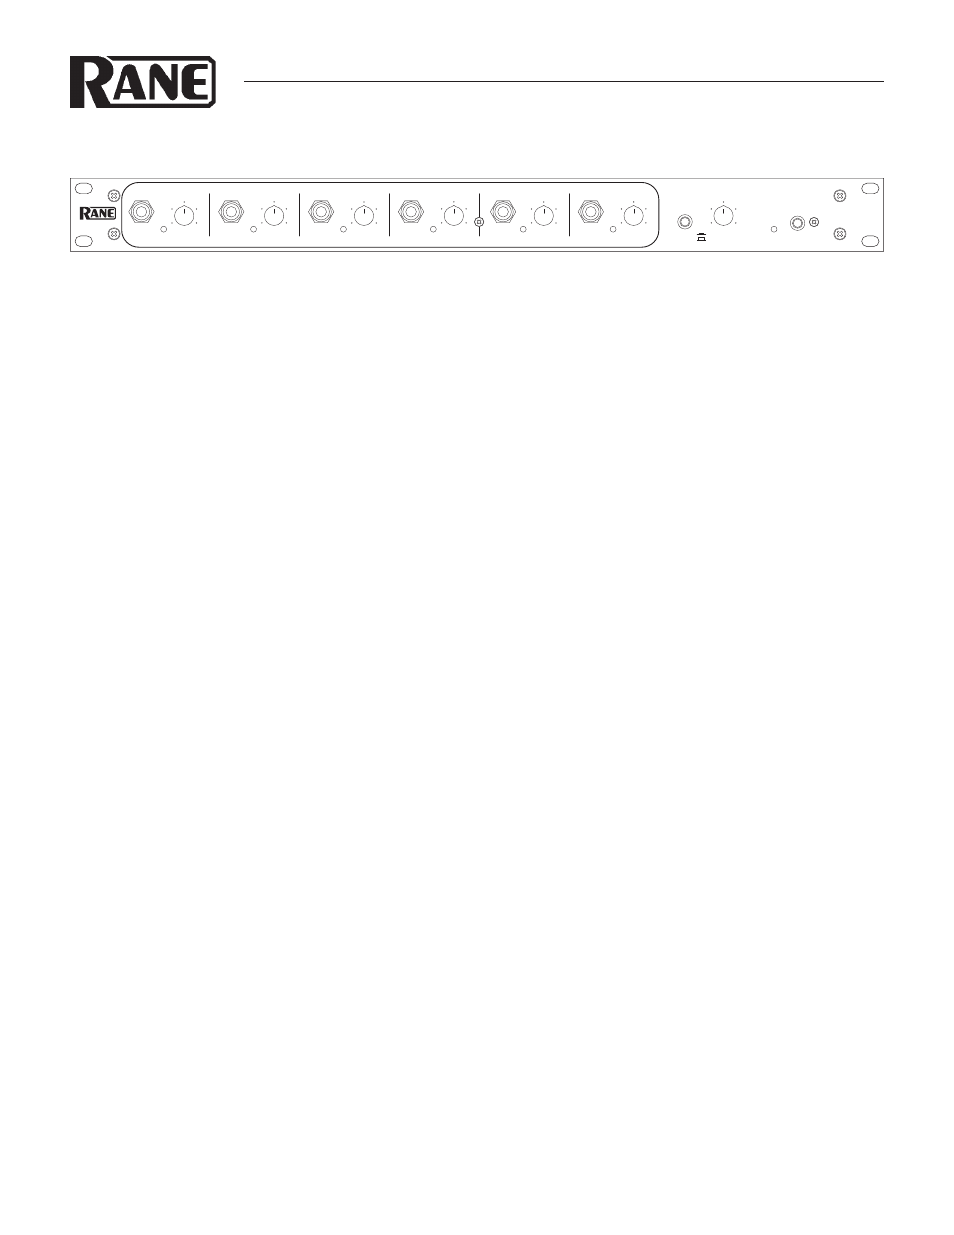
HEADPHONE CONSOLE
OPERATORS MANUAL
QUICK START
Okay, you’re in a hurry. Well this section’s just for you. It explains enough of the HC 6’s workings to keep you out of trouble. It
allows operation without reading the whole manual. Please read at least this section to ensure reasonable operation of the unit.
The HC 6 operates from either a common stereo or mono source, or from individual stereo sources. For a common stereo source,
plug the left and right input plugs into the respective MASTER INPUTS jacks. The Inputs accept balanced or unbalanced sources.
Just plug them in. This source is now routed to each of the six input Channels to drive all Outputs.
For a single mono source feeding all headphones, connect it to one of the MASTER INPUT jacks and engage the STEREO/
MONO
switch. Set the overall input level with the MASTER CONTROL, and use the CHANNEL LEVEL controls for individual
headphone levels.
Use the separate stereo IN jacks when driving a pair of headphones with different program material than what is on the MAS-
TER INPUTS
. Connecting a plug into these jacks automatically disconnects that Channel from the Master Input program material.
These Inputs may also be converted to balanced mono inputs by moving internal jumpers. See page Manual-4.
Never connect anything except a Rane power supply to the thing that looks like a telephone jack on the rear of the unit.
This
is an AC input and requires special attention if you do not have a power supply exactly like the one originally packed with your unit.
See the full explanation of the power supply requirements elsewhere in this manual.
HC 6 CONNECTION
When first connecting the HC 6 to other components, leave
the power supply for last. This gives you a chance to make mis-
takes and correct them without damage.
1. With the power switch in the off position, plug the power
supply line cord into the rear panel. Locate the power supply
away from the HC 6 and other hum sensitive equipment.
2. Plug the outputs from a mono or stereo source into the MAS-
TER INPUTS. For unbalanced systems use a standard ¼" TS
cable. For balanced operation, use a stereo ¼" TRS connector
with pin 2 (+) wired to the Tip; pin 3 (–) wired to the Ring;
and pin 1 (ground) wired to the Sleeve. Please consult the
RaneNote, “Sound System Interconnection” (enclosed) for
additional wiring arrangements.
3. When rack mounting the HC 6, you may wish to permanent-
ly wire the rear headphone Outputs to remote jack locations,
such as in walls of a studio or other rooms. Use the front panel
Outputs for local or control room monitoring.
4. You might also consider wiring the six direct stereo INs
permanently to a patch bay or monitor mixer, but only if you
do not plan to use the MASTER INPUTS as well. Whenever
a plug is inserted into any individual stereo IN, the MAS-
TER INPUTS are bypassed for that particular channel. So
for maximum flexibility, we suggest that only the MASTER
INPUTs be permanently wired and that the direct stereo INs
be patched as necessary.
WEAR PARTS: This product contains no wear parts.
MONO
10
0
2
4
8
6
10
0
2
4
8
6
CONSOLE
HEADPHONE
10
0
2
4
8
6
10
0
2
4
8
6
10
0
2
4
8
6
10
0
2
4
8
6
10
0
2
4
8
6
HC 6
LEVEL
STEREO
LEVEL
SIG
PHONES
6
5
LEVEL
PHONES SIG
4
PHONES
SIG
LEVEL
3
PHONES
SIG
LEVEL
2
PHONES
SIG
LEVEL
1
PHONES
SIG
LEVEL
POWER
MASTER