Audio recording, 59 e – Canon Digital Video Camcorder ZR20 User Manual
Page 59
59
E
Using the Full
Range of Features
Audio Recording
To switch to the 16-bit mode, open the menu and select VCR SET UP. Then
select AUDIO MODE, set it to “16 bit” and close the menu.
• “16 bit” is shown in the display for approximately 4 seconds.
Notes:
• For details on adding new sound, see p. 82.
• For details of playing back a tape that has new sound on stereo 2, see p. 85.
• When you record to the ZR20 from a camcorder with DV terminal outputs, the
audio mode becomes automatically set to 12 bit.
Selecting the audio mode
ZR20 can record sound on a tape in two audio modes — 16-bit and 12-bit. The
16-bit mode produces the higher sound quality (slightly superior to CD) while the
12-bit mode records on two channels (stereo 1), leaving 2 channels free (stereo 2)
for you to add new sound at a later date.
AUDIO MODE••12bit
VCR SET UP
(
36)
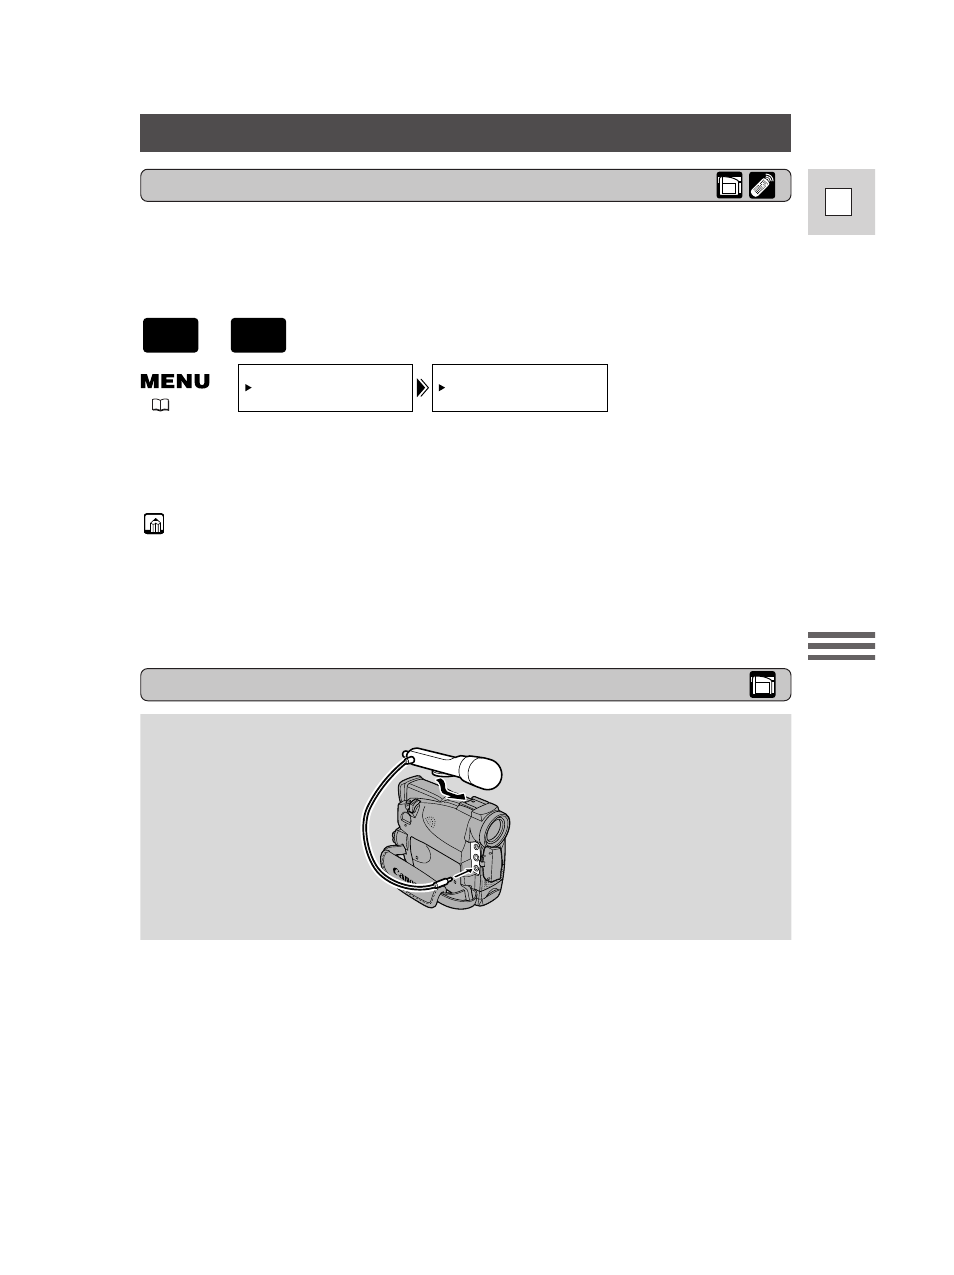
External microphone
,
PLAY
(VCR)
CAMERA
For greater creative control over audio recording, you can connect an external
microphone to the camcorder via the MIC terminal. When using the MIC
terminal, use a microphone with a built-in power supply (condenser microphone).
It is possible to connect almost any stereo microphone with a plug diameter of
1
/
8
inch (3.5 mm), however, their audio levels will be different from that of the built-
in microphone.
3_ZR20_E(35-73) 3/12/01 13:51 Page 59