Auralex TruTraps Genesis System User Manual
Page 2
Recommended Additional Installation Materials
• Caulk-gun (for Tubetak Pro)
• Tape measure
• Carpenters Level
• Small ladder (depending on ceiling height)
• Pencil
• Straight Edge
TruTraps Genesis General Information
TruPanel Placement Options
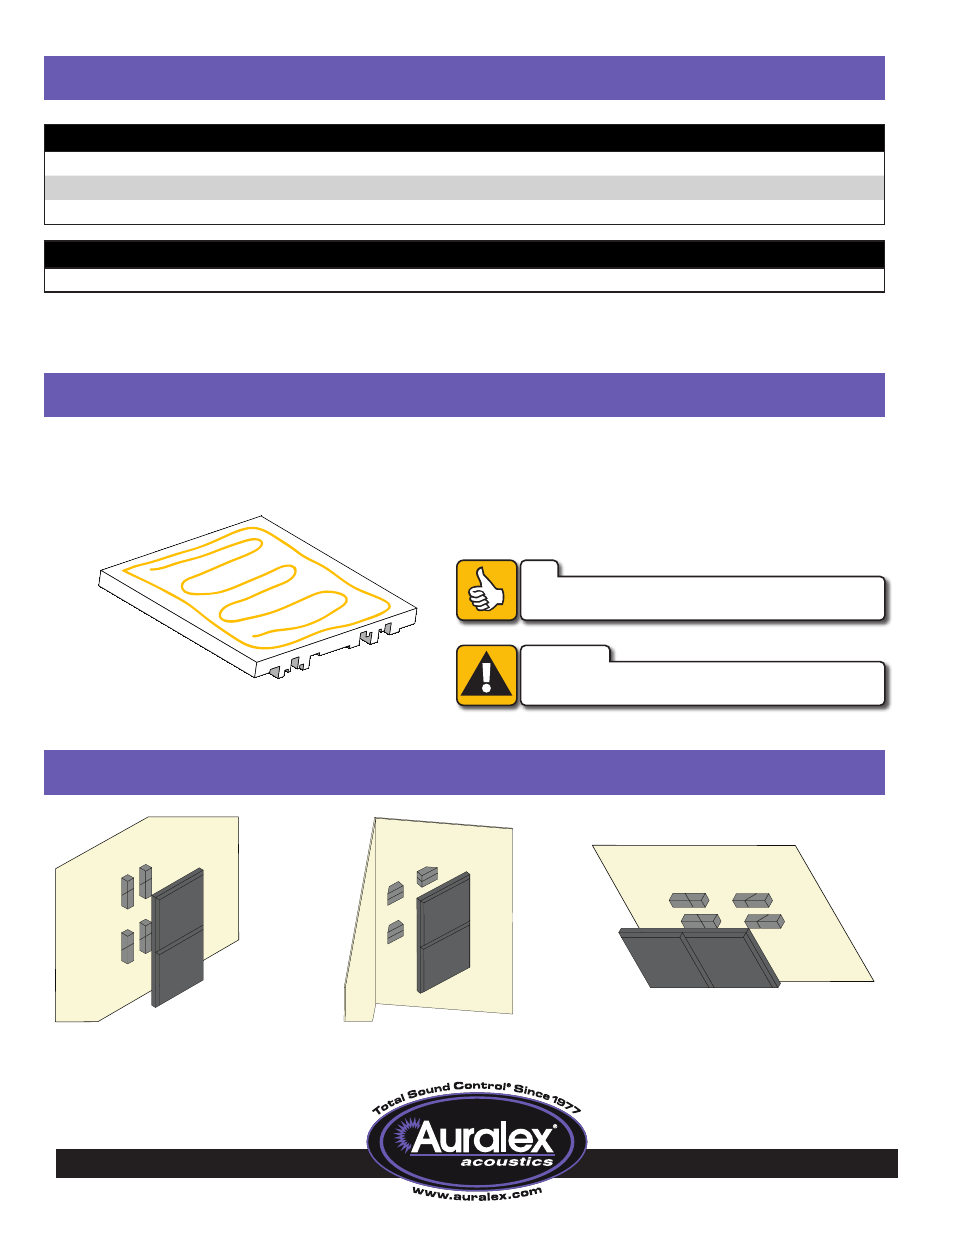
Q’Fusor Installation Guide
➊
Apply
Tubetak Pro to the back of the Q’Fusor, as
pictured. Wait at least 60 minutes to allow the
Tubetak
Pro to cure before continuing.
➋
Carefully press
Q’Fusor onto the rear face of
a
TruPanel or directly to the surface of a wall
or ceiling. Since the
Q’Fusor 22 is larger than
the beveled face of the
TruPanel reverse the
TruPanel and orient the beveled surface toward
the wall or corner.
TIP
If you plan on painting the Q’Fusor, make sure to do so
before applying it to the wall, ceiling or a TruPanel.
CAUTION
Use only water-based paints on the Q’Fusor. Oil-based
paints will cause severe deterioration of the product.
Optional Additional Installation Materials
• Foamtak Spray Adhesive*
*
This system includes
Tubetak Pro adhesive, which is safe to use on all included products. If you wish to use an alternate adhesive, such as
Auralex’s
Foamtak Spray Adhesive, for quicker drying times, make sure to still use Tubetak Pro when mounting Q’Fusors, as other adhesives
may cause severe deterioration.
- Wall Placement
I
- Ceiling Placement
III
- Corner Placement
II