Overcoming corneal reflection, Use of fixation target, Additional exams with co axial ophthalmoscope – Welch Allyn A Guide To The Use Of Diagnostic Instruments In Eye And Ear Examinations - Quick Reference Guide User Manual
Page 6
8. To examine the extreme periphery, instruct the patient to:
•
Look up for examination of the superior retina
•
Look down for examination of the inferior retina
•
Look temporally for examination of the temporal retina
•
Look nasally for examination of the nasal retina.
This routine will reveal almost any abnormality that occurs in
the fundus.
9. To examine the left eye, repeat the procedure outlined above but
hold the ophthalmoscope in your left hand, stand at the patient’s left
side and use your left eye.
OVERCOMING CORNEAL REFLECTION
One of the most troublesome barriers to a good view of the retina
is the light reflected back into the examiner’s eye from the patient’s
cornea – a condition known as corneal reflection. There are three
ways to minimize this nuisance:
•
The Coaxial ophthalmoscope features a crossed linear polarizing filter
that may be used. The filter reduces corneal reflection by 99%. It is recom-
mended that the polarizing filter be used when corneal reflection is present.
•
Use the small aperture. However, this reduces the area of the
retina illuminated.
•
Direct the light beam toward the edge of the pupil rather than directly
through its center. This technique can be perfected with practice.
USE OF FIXATION TARGET
Direct the patient to focus on the center of the fixation target projected
within the light beam. Simultaneously check the location of the pattern
on the fundus. If the center of the pattern does not coincide with the
macula, eccentric fixation is indicated. In this procedure, the crossed
linear polarizing filter is especially useful since it dramatically reduces
reflections caused by the direct corneal light path.
ADDITIONAL EXAMS WITH CO
AXIAL OPHTHALMOSCOPE
By selecting the +15 lens in the scope and looking at the pupil as in
a fundus examination [2 inches (5 cm) distance from the patient],
the examiner may verify doubtful pupillary action.
One can also easily detect lens opacities by looking at the pupil
through the +6 lens setting at a distance of 6 inches (15 cm) from
the patient. In the same manner, vitreous opacities can be detected
by having the patient look up and down, to the right and to the left.
Any vitreous opacities will be seen moving across the pupillary area
as the eye changes position or comes back to the primary position.
11
10
How to Conduct an Ophthalmologic Examination
with a Coaxial Ophthalmoscope
In order to conduct a successful examination of the fundus, the examining
room should be either semi-darkened or completely darkened. It is
preferable to dilate the pupil when there is no pathologic contraindication,
but much information can be obtained through the undilated pupil.
The following steps will help the practitioner obtain satisfactory results:
1. For examination of the right eye, sit or stand at the patient’s right side.
2. Select “0” on the illuminated lens disc of the ophthalmoscope and
start with the small aperture.
3. Take the ophthalmoscope in the right hand and hold it vertically in
front of your own right eye with the light beam directed toward the
patient and place your right index finger on the edge of the lens dial
so that you will be able to change lenses easily if necessary.
4. Dim room lights. Instruct the patient to look straight ahead at a
distant object.
5. Position the ophthalmoscope about 6 inches (15cm) in front and
slightly to the right (25º) of the patient and direct the light beam into
the pupil. A red “reflex” should appear as you look through the pupil.
6. Rest your left hand on the patient’s forehead and hold the upper lid of
the eye near the eyelashes with the thumb. While the patient is fixating on
the specified object, keep the “reflex” in view and slowly move toward
the patient. The optic disc should come into view when you are about
1 to 2 inches (3-5cm) from the patient. If it is not focused clearly, rotate
lenses with your index finger until the optic disc is as clearly visible as
possible. The hyperopic, or far-sighted, eye requires more “plus” (green
numbers) lenses for clear focus of the fundus; the myopic, or near-
sighted, eye requires “minus” (red numbers) lenses for clear focus.
7. Now examine the disc for clarity of outline, color, elevation and
condition of the vessels. Follow each vessel as far to the periphery as
you can. To locate the macula, focus on the disc, then move the light
approximately 2 disc diameters temporally. You may also have the
patient look at the light of the ophthalmoscope, which will automatically
place the macula in full view. Look for abnormalities in the macula
area. The red-free filter facilitates viewing of the center of the macula.
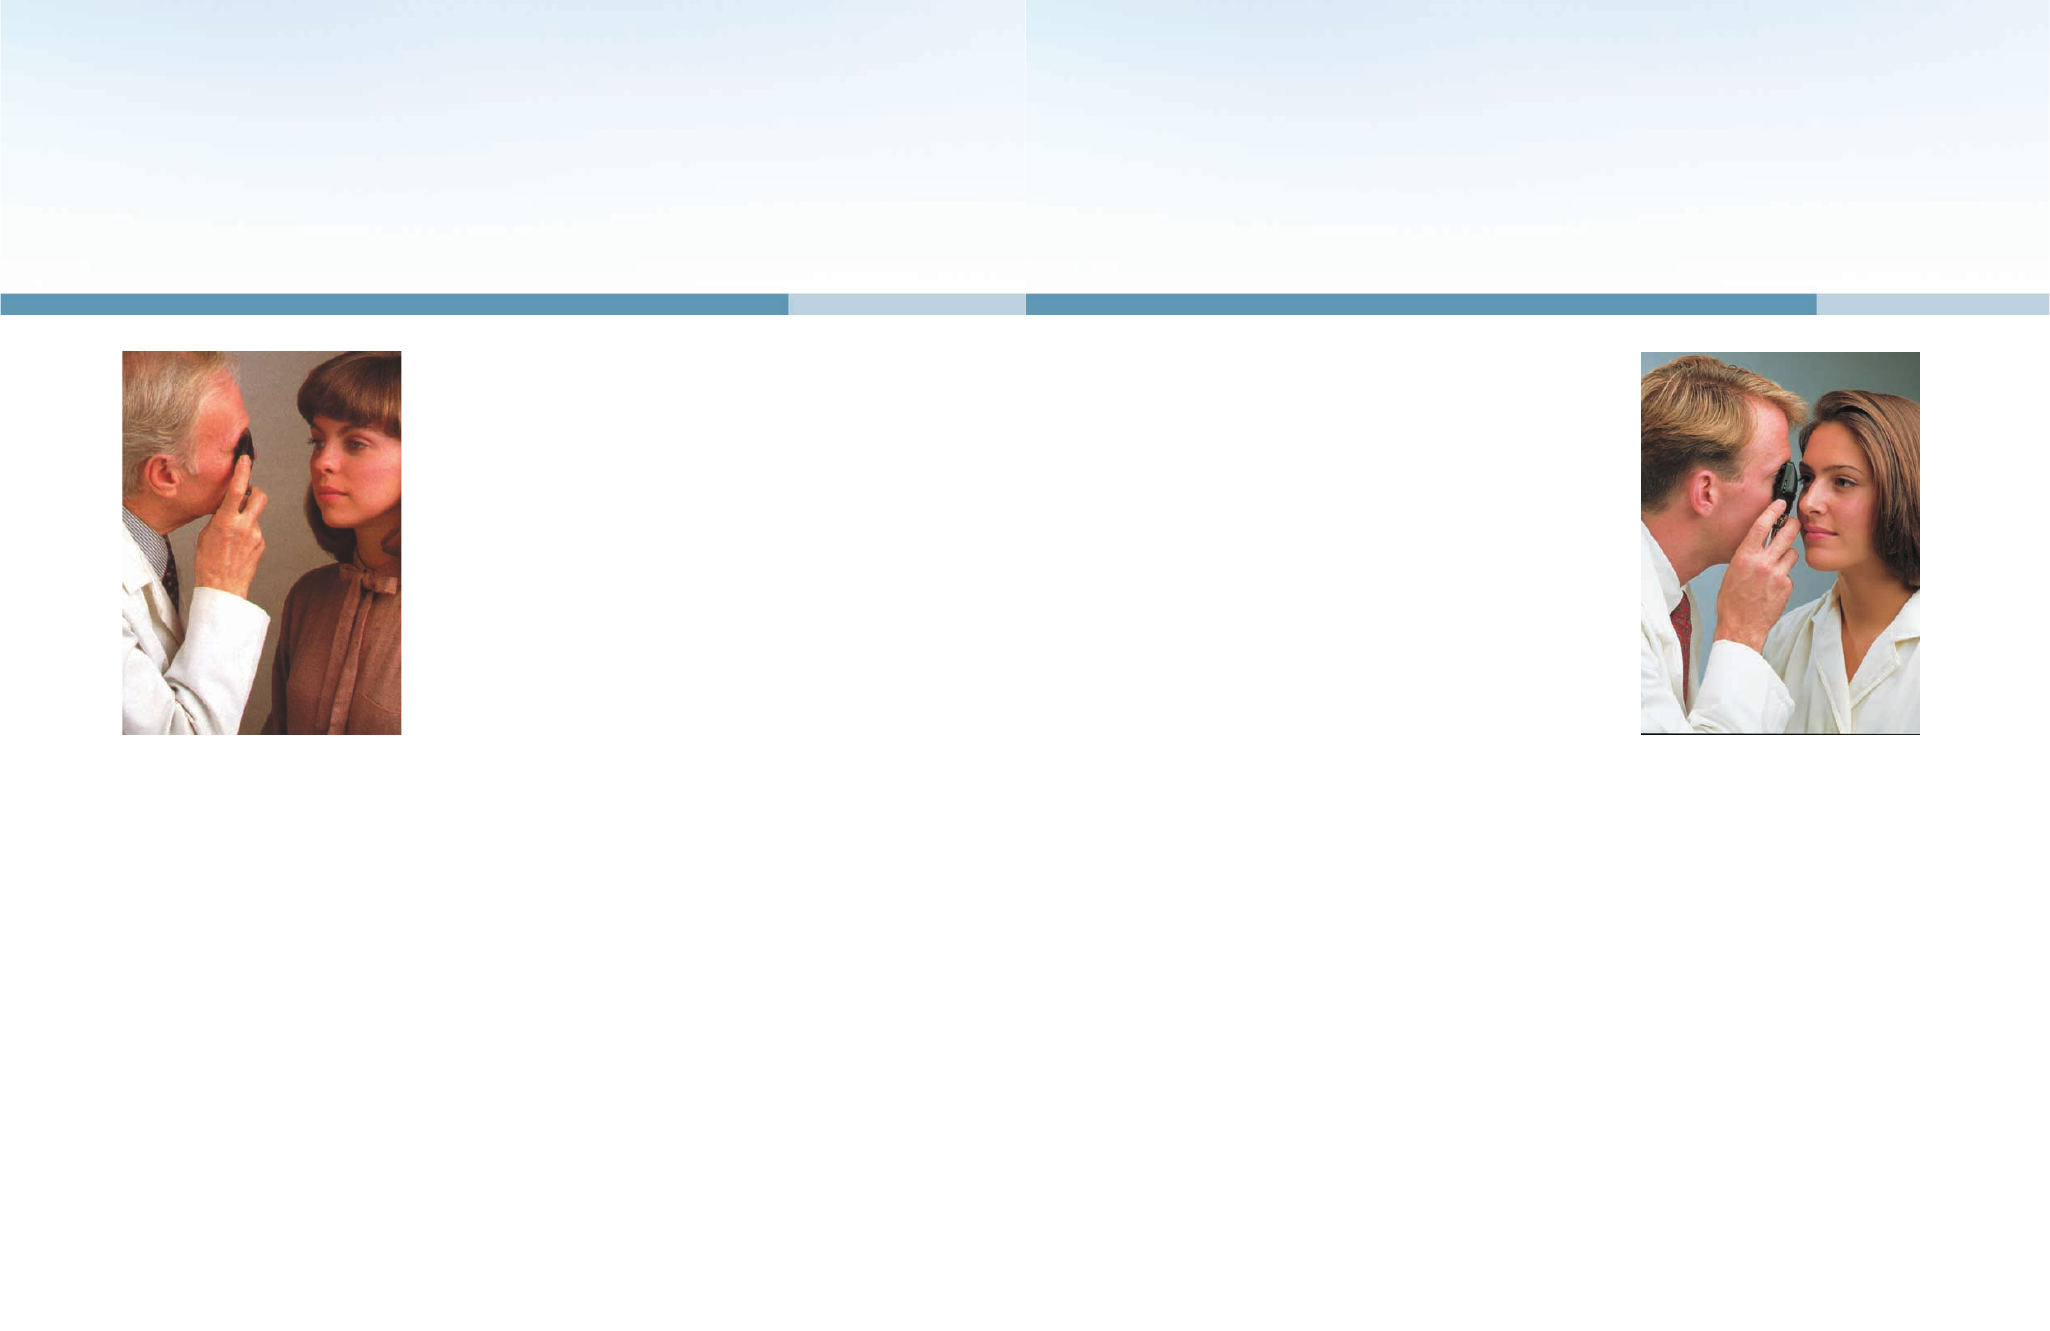
Position the ophthalmoscope about 6 inches (15cm)
in front and 25º to the right side of the patient.
Examine the disc for clarity of outline, color,
elevation and condition of the vessels (Step 6).