Step 1: choosing the cuff size, Step 2: applying the cuff, Step 3: prepare the patient – Welch Allyn ABPM 6100 Cuff Instruction for Use - Quick Reference Guide User Manual
Page 4
Step 1: Choosing the Cuff Size
Using an incorrect cuff size could result in erroneous and
misleading blood pressure measurements.
To determine the correct cuff size for your patient,
follow these simple steps:
>
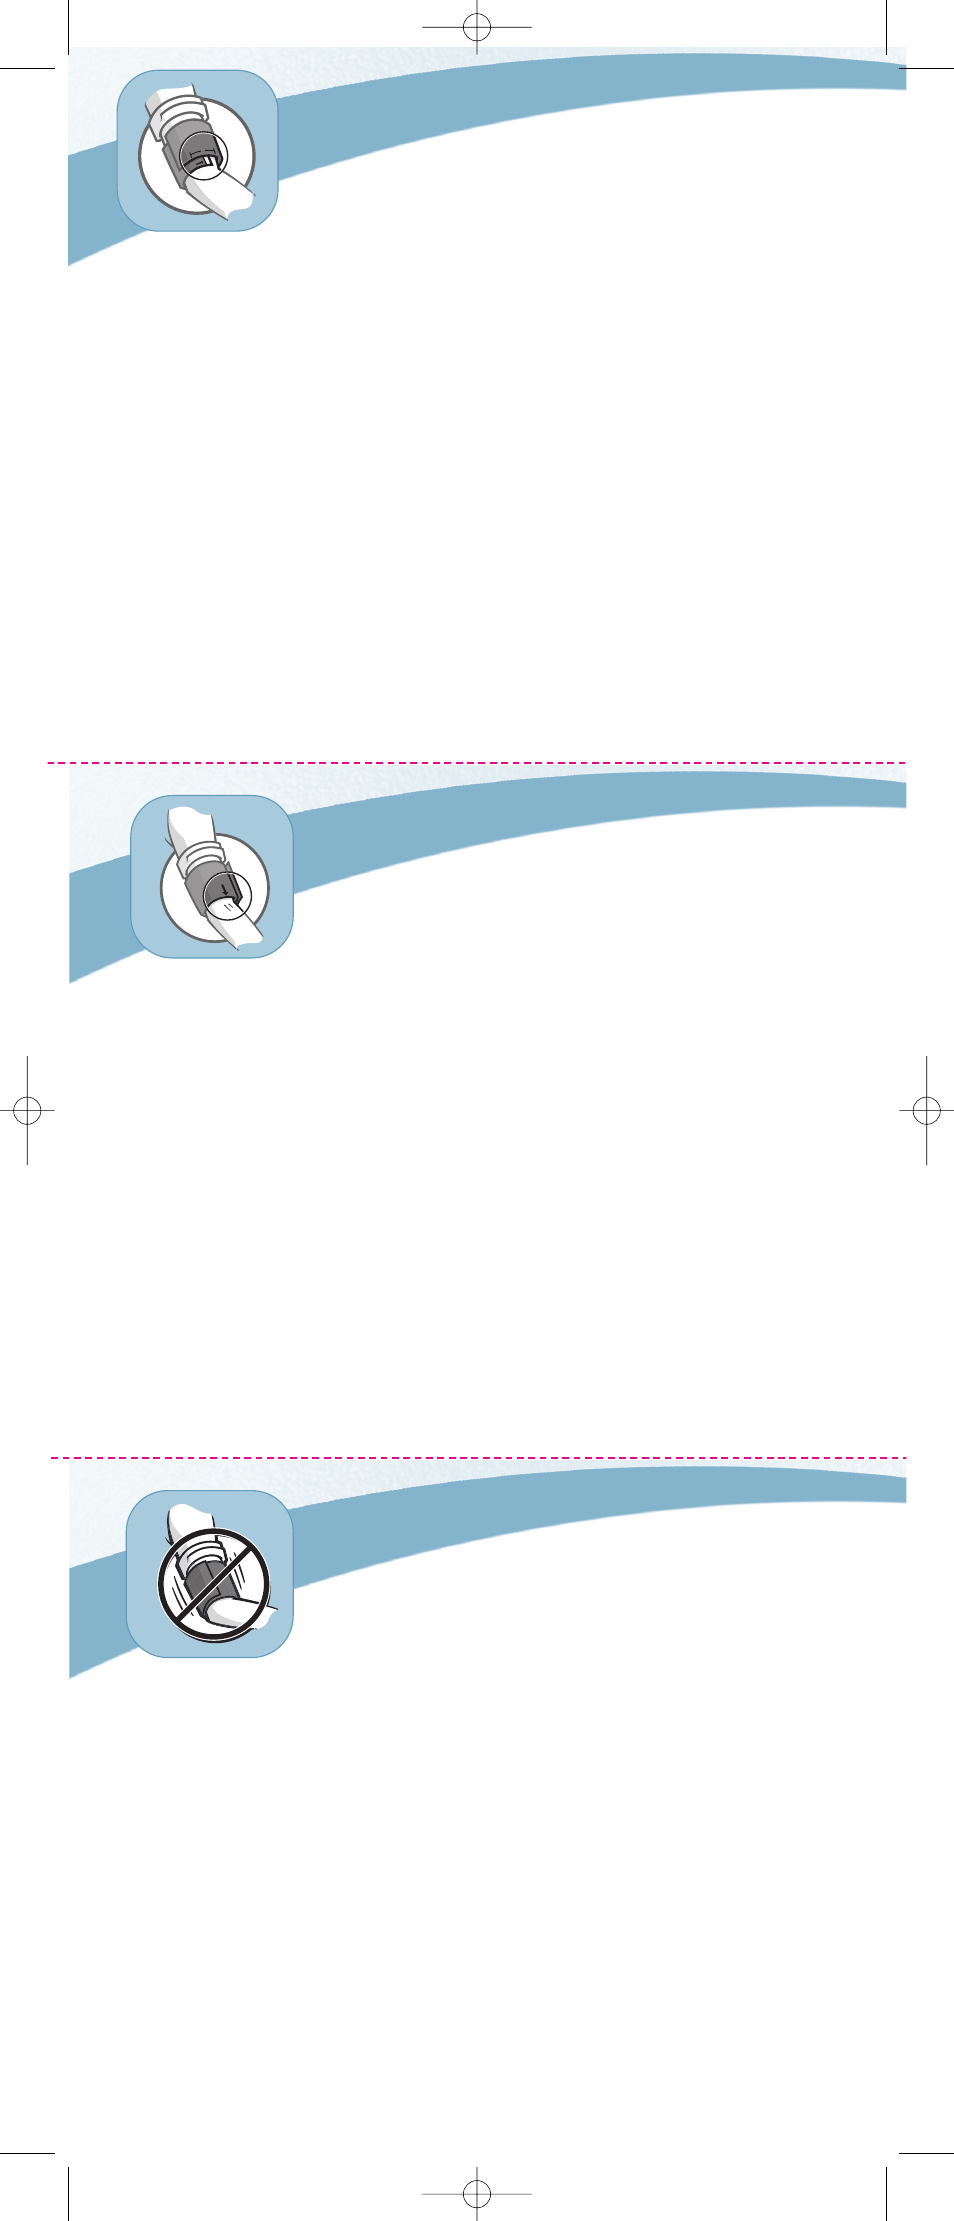
To find the right sized cuff, wrap the cuff around the patient’s
upper arm without sliding the arm through the sleeve.
>
Use the color-coded RANGE indicator on the inside of the cuff
and the bold INDEX marker to check that the arm circumference
falls within the cuff range.
>
If the arm is within range, this cuff size is correct for your
patient. If the measurement is outside the RANGE indicator,
select a new cuff size as indicated by color.
Step 2: Applying the Cuff
>
To apply the Welch Allyn ABPM 6100 cuff, simply slide the
sleeve up the patient’s arm, ensuring the color size indicator is
at the top of the cuff. The cuff should be midway between the
elbow and shoulder.
>
Be sure the ARTERY indicator is over the patient’s brachial
artery, between the biceps and triceps muscles (see illustration
showing left arm placement).
>
Wrap the cuff snugly around the patient’s upper arm.
>
Take the initial BP reading and ensure hookup is working.
Refer to figures 1, 2 and 3 on inside flap for an illustrated overview.
Step 3: Prepare the Patient
Preparing the patient is the most important step in obtaining
an accurate, reliable blood pressure measurement.
Review the following instructions with your patient:
>
Avoid excess movement during readings
>
Relax the instrumented hand, slightly away from the body
>
Avoid hand movement
>
Avoid flexing muscles during the reading
>
Do not remove the cuff between readings
MC3496 ABPM Booklet 7/26/06 4:02 PM Page 2