Headband upgrade instructions (cont.) – Welch Allyn 20561 Headband Upgrade - User Manual User Manual
Page 2
Headband Upgrade Instructions (cont.):
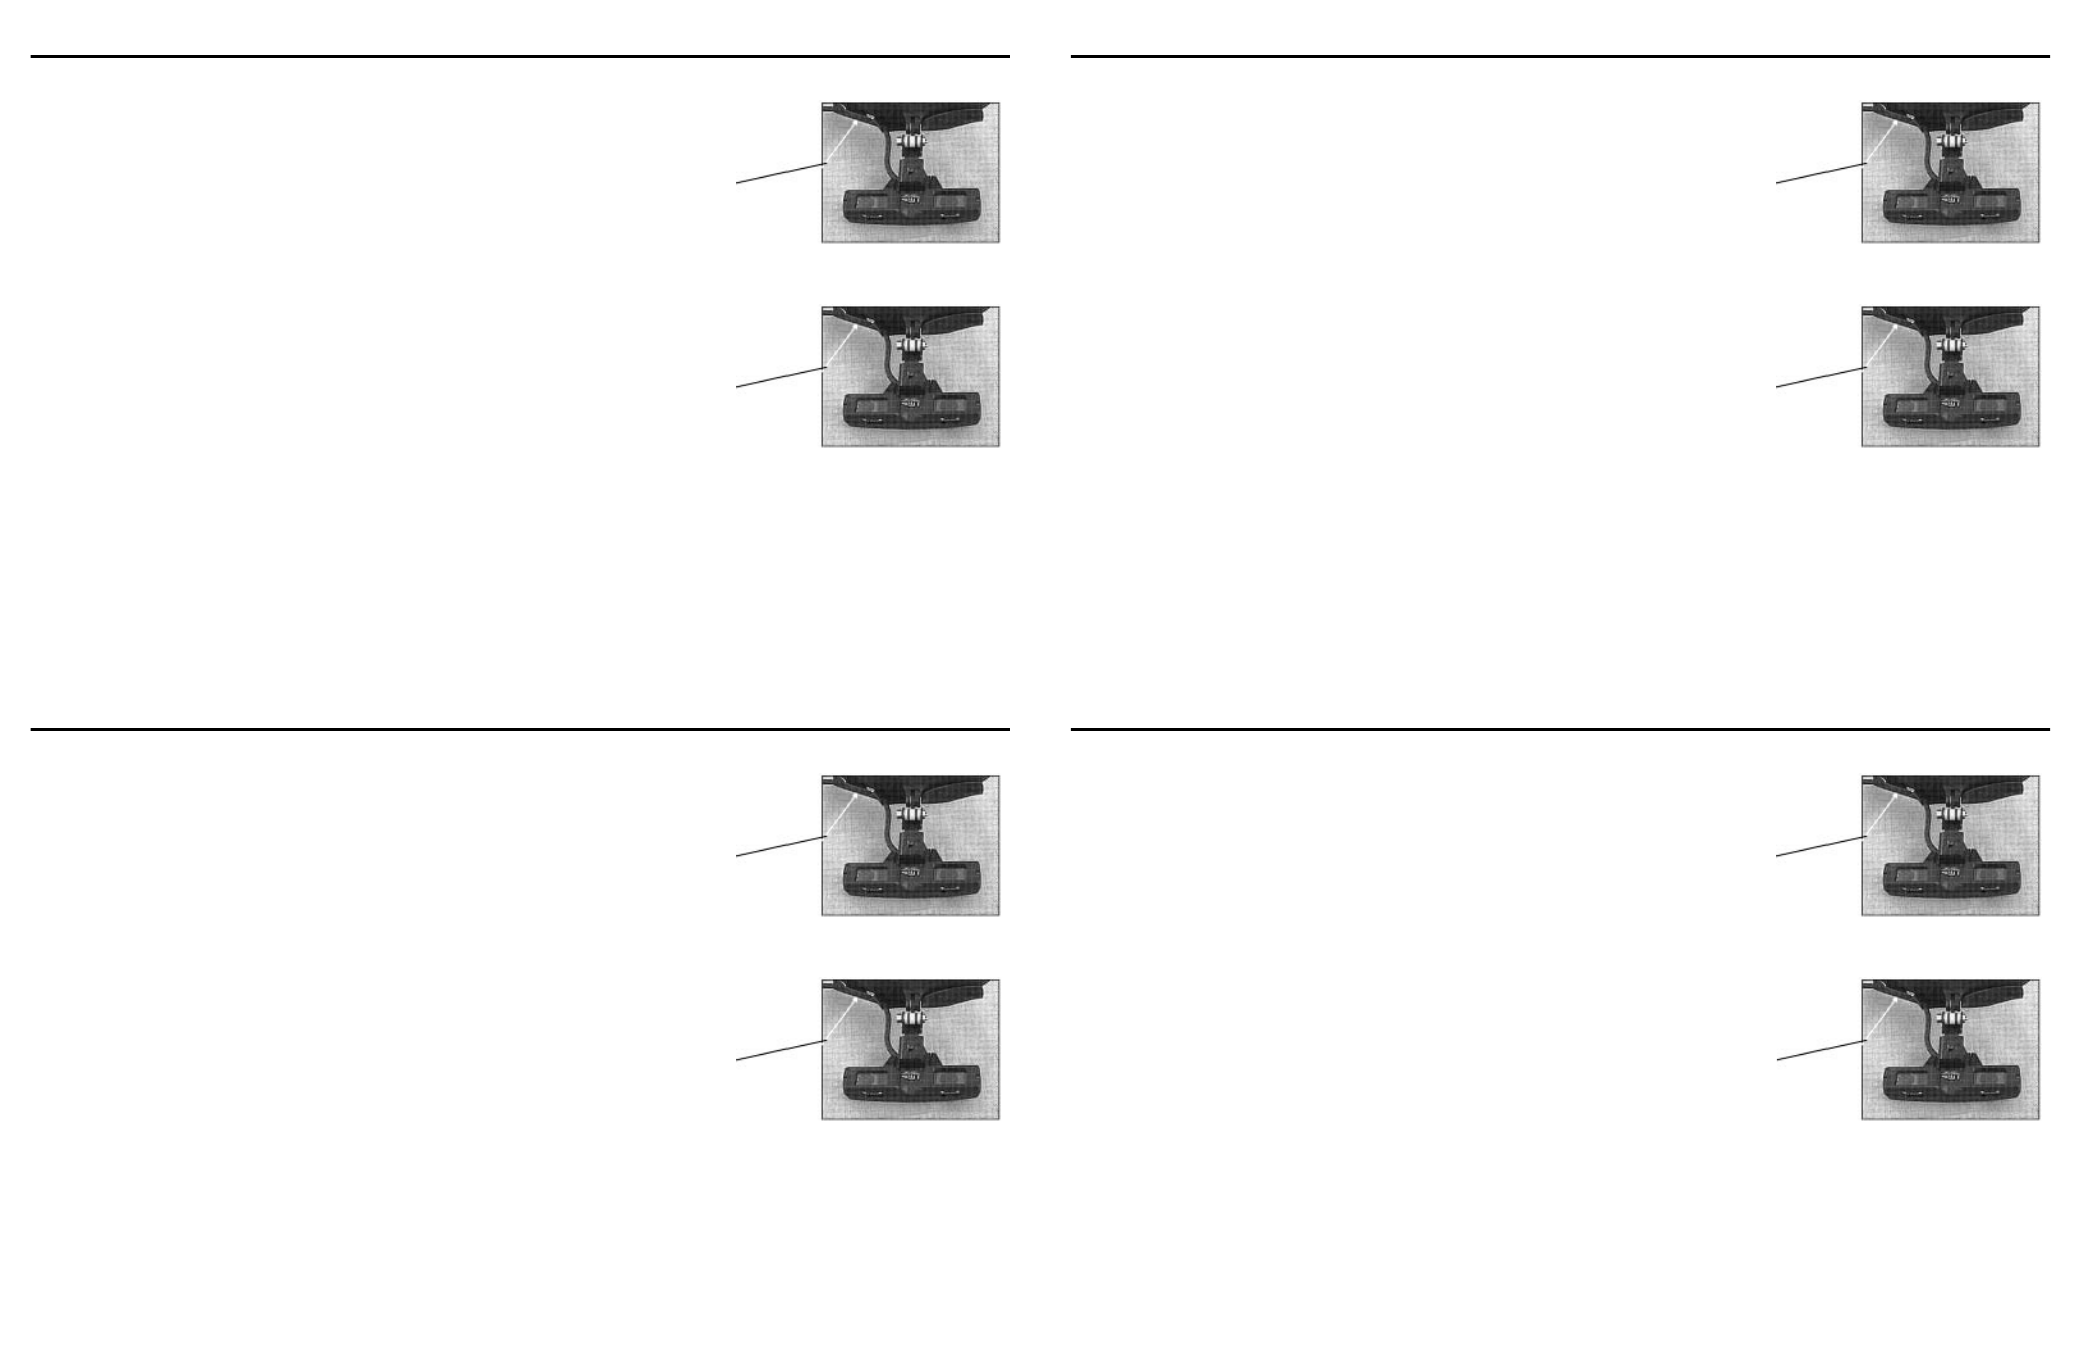
3. Insert the retaining screw through the back of the
headband bracket and tighten using the screwdriver
as shown in Figure 3. Position the power cable
beneath the front comfort pad and into the retaining
clip in the back of the headband as shown in Figure
3.
4. The Optic Assembly can be adjusted to the desired
position by manipulating the links in the pivot
mechanism. The Optics Assembly should be
positioned as close to the eyes as possible so that
the eyes can gaze directly through the Optics
Assembly. (set optics per instruction provided with
your LumiView).
With the lamp illuminated, check the adjustment by confirming that the light beam is centered in the
visual field. If the light is high or low, refer to the detailed adjustment instructions provided with your
LumiView™.
For technical assistance call (800) 669-9771. 205091-Rev B
Headband Upgrade Instructions (cont.):
5. Insert the retaining screw through the back of the
headband bracket and tighten using the screwdriver
as shown in Figure 3. Position the power cable
beneath the front comfort pad and into the retaining
clip in the back of the headband as shown in Figure
3.
6. The Optic Assembly can be adjusted to the desired
position by manipulating the links in the pivot
mechanism. The Optics Assembly should be
positioned as close to the eyes as possible so that
the eyes can gaze directly through the Optics
Assembly. (set optics per instruction provided with
your LumiView).
With the lamp illuminated, check the adjustment by confirming that the light beam is centered in the
visual field. If the light is high or low, refer to the detailed adjustment instructions provided with your
LumiView™.
For technical assistance call (800) 669-9771. 205091-Rev B
Cable Under Pad
Figure 3
Cable Under Pad
Figure 4
Cable Under Pad
Figure 3
Cable Under Pad
Figure 4
Headband Upgrade Instructions (cont.):
3. Insert the retaining screw through the back of the
headband bracket and tighten using the screwdriver
as shown in Figure 3. Position the power cable
beneath the front comfort pad and into the retaining
clip in the back of the headband as shown in Figure
3.
4. The Optic Assembly can be adjusted to the desired
position by manipulating the links in the pivot
mechanism. The Optics Assembly should be
positioned as close to the eyes as possible so that
the eyes can gaze directly through the Optics
Assembly. (set optics per instruction provided with
your LumiView).
With the lamp illuminated, check the adjustment by confirming that the light beam is centered in the
visual field. If the light is high or low, refer to the detailed adjustment instructions provided with your
LumiView™.
For technical assistance call (800) 669-9771. 205091-Rev B
Headband Upgrade Instructions (cont.):
5. Insert the retaining screw through the back of the
headband bracket and tighten using the screwdriver
as shown in Figure 3. Position the power cable
beneath the front comfort pad and into the retaining
clip in the back of the headband as shown in Figure
3.
6. The Optic Assembly can be adjusted to the desired
position by manipulating the links in the pivot
mechanism. The Optics Assembly should be
positioned as close to the eyes as possible so that
the eyes can gaze directly through the Optics
Assembly. (set optics per instruction provided with
your LumiView).
With the lamp illuminated, check the adjustment by confirming that the light beam is centered in the
visual field. If the light is high or low, refer to the detailed adjustment instructions provided with your
LumiView™.
For technical assistance call (800) 669-9771. 205091-Rev B
Cable Under Pad
Figure 3
Cable Under Pad
Figure 4
Cable Under Pad
Figure 3
Cable Under Pad
Figure 4