Faucet aerator installation – Welch Allyn Ear Wash System 29350 - User Manual User Manual
Page 9
5
Faucet Aerator Installation
ATTENTION: This system is designed for use on faucets where
line pressure does not exceed 100 PSI or flow rate of 5.7 gal-
lons / minute. If you suspect the line pressure or flow rate is
greater, have it tested prior to use of the Ear Wash System or
contact Welch Allyn Technical Service Department.
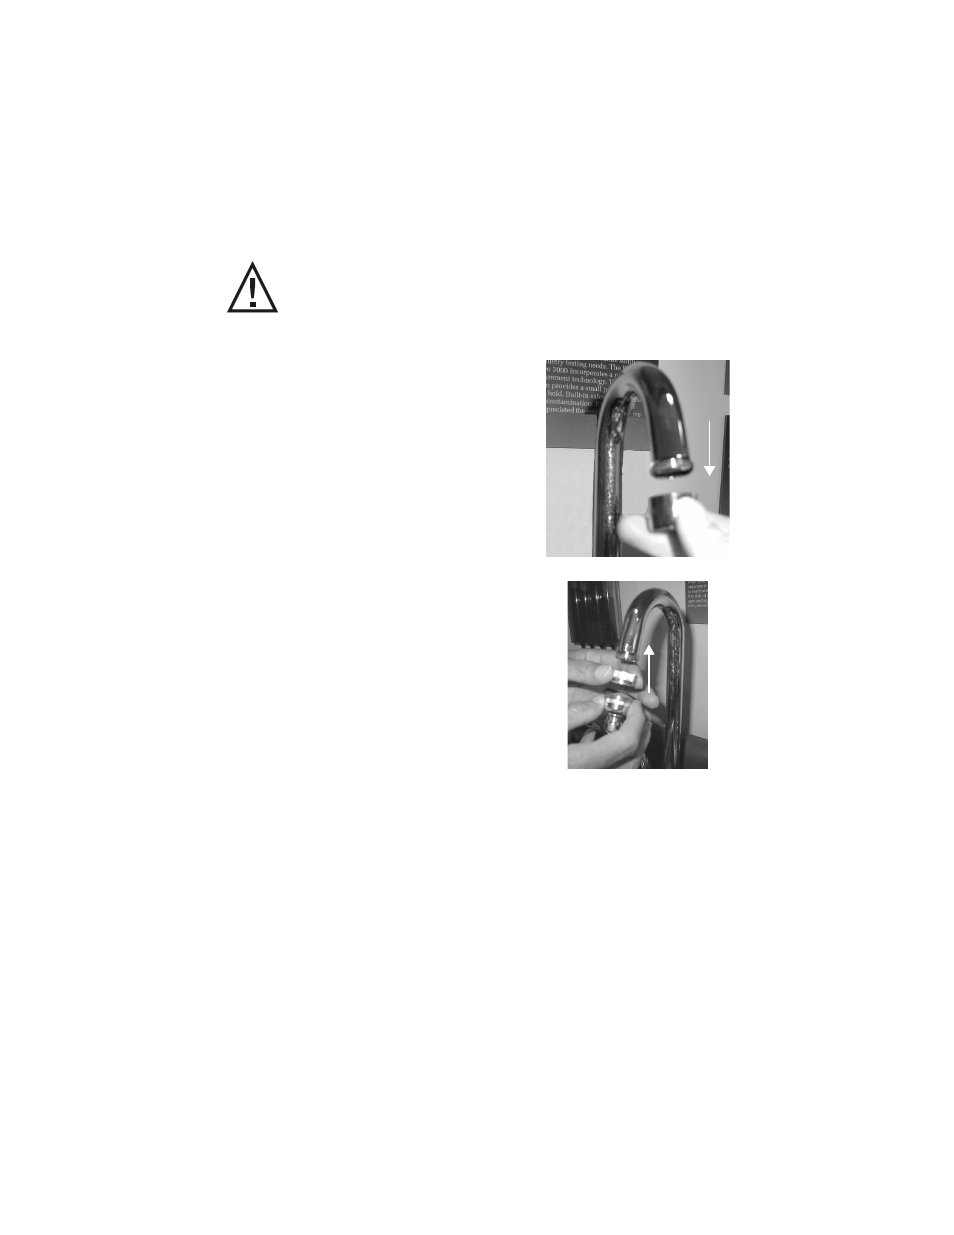
1.
Remove your current aerator from your
faucet, including any original washers.
You may need to use a pair of pliers to
remove your aerator. If you still have diffi-
culty in removing it, soak your current
aerator in distilled vinegar for about
twenty minutes and try again.
NOTE: Failure to remove all parts of the aer-
ator from the faucet will affect the
Ear Wash System performance.
2.
Ensure all snap aerator parts are intact
and attach the assembly to your faucet
by turning it counter-clockwise. If it does
not fit, locate the appropriate adapter
from the kit included with the unit.
Attempt to match the adapter to your
faucet and then attach the snap aerator.
Verify the rubber washer on the snap aer-
ator and adapter matches to the old
washer on your faucet. If you need to
use the threadless universal adapter
(only available in certain regions), you
may need to remove the inner rubber o-ring if it is too small for your
faucet.
3.
Once the snap aerator is attached to the faucet, the ear cleaning
chamber is easily attached or removed. You can still use your sink
normally when the Ear Wash System is not attached.