SINGER 5 FUTURA QUINTET Instruction Manual User Manual
Page 124
122
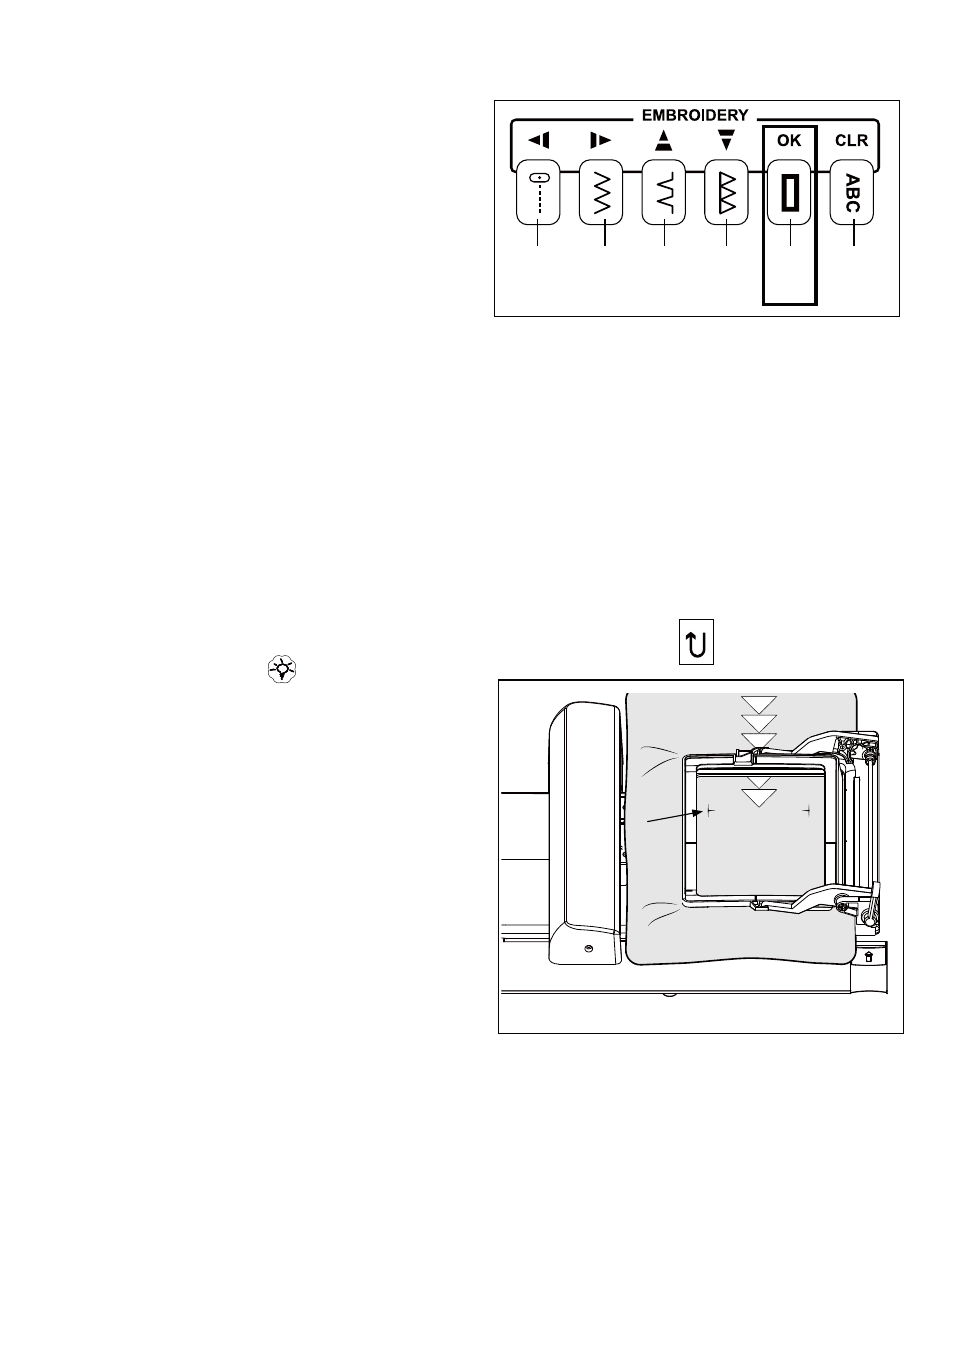
OK
OK
OK
Clear
Supprimer
Borrar
Left
Gauche
Izquierda
Right
Droite
Derecha
Up
Haut
Arriba
Down
Bas
Abajo
9. Raise and lift lever (B) to release the inner hoop.
Reposition the fabric by pulling it toward the back. Place
it so that the needle is lined up with the corner of the “L”
of the bottom left alignment stitches of the completed
embroidery design segment (which is now above the
area where you will embroider the next segment). Before
securing the inner hoop again, check to be sure that the
right-hand edge of the fabric is parallel along guide (A)
once again. Lower lever (B) to secure the hoop in place.
10. It may be necessary to move the needle slightly after
hooping, to ensure that it still lines up with the “L” corner of
the bottom left-hand alignment stitches of the completed
embroidery design segment (which is now above the area
where you will embroider the next segment). To do this,
use the shift buttons on the control panel to move the
needle in the direction needed. When the needle has been
correctly positioned over the corner of the left alignment
stitches, and the right edge of the fabric is parallel with
guide (A), press OK on the machine’s main control panel.
Lower the presser foot, then press the Start/Stop button to
begin stitching the next endless design.
When you start sewing, the alignment stitches from the bottom
(left and right) of the previous design and the alignment
stitches at the top (left and right) of the current design should
meet, forming a small “side ways T” shapes (E). This ensures
that your designs will be positioned relative to one another
properly. If the alignment stitches don’t meet properly, press
the Start/Stop button to stop embroidering, then press the
Reverse button (located above the Start/Stop button) to back
up your stitches to the beginning again.
Reposition the fabric as necessary, using the shift buttons
to ensure the needle is at the corner of the alignment stitch
on the bottom left-hand side of the completed embroidery
design segment (which is now above the area where you will
embroider the next segment), and the righthand edge of the
fabric is parallel to guide (A).
E
Tip!