Create a lesson, Write, draw, and erase, Customize the toolbar – QOMO Flow!Works V2.8.0 User Manual
Page 3
© Copyright 2012 QOMO HiteVision, LLC. All Rights Reserved
3
Create a Lesson
The software makes it easy to design eye catching and fun lessons. The background can be customized
and various forms of media can be added to the lesson.
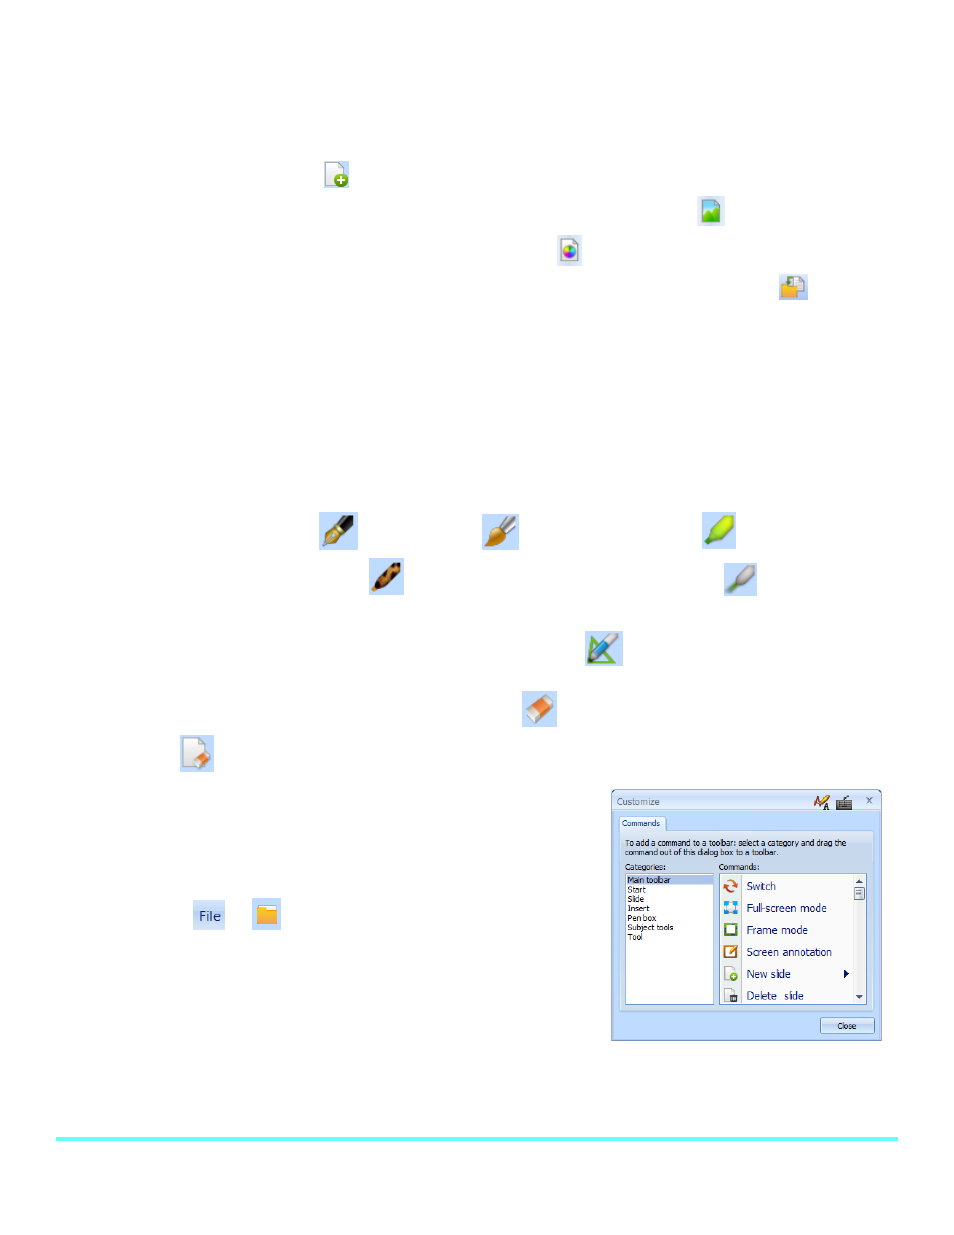
1. Click on the New Slide
button to add a slide to the presentation.
2. To add an image as the background, click on the Background Settings
button. To change
the background color, click on the background color
button.
3. To insert a textbox, image, audio, video, or flash file, click on the Insert Media
tab in the
main toolbar.
a. Select the media that you would like to insert into your presentation.
b. The cursor will become a plus sign. Choose the location where you want the media and
click and drag the media file into your presentation.
Write, Draw, and Erase
To write or draw, select the Pen
or Paint Brush
tool. The Highlighter
creates a semi-
transparent mark and the Texture Pen
creates a colorful mark. The Laser Pen
creates a line
that flashes to draw attention to a certain area. The mark also disappears when a new mark is drawn.
To create a perfect line, circle, or square, use the Intelligent Pen
.
Marks can be deleted with a pixel eraser or region eraser
tool. To clear the entire slide, click on
the Clear Slide
button.
Customize the Toolbar
The toolbar buttons can be added or removed to fit your style of
teaching.
1. Go to
or
.
2. Go to Configuration and select Configuration Interface.
3. To remove tools, click on them in the menu bar and drag
them into the Commands window.
4. To add tools, find the desired tool in the Categories and
Commands list, then click and drag the tool to the desired location on the menu bar.