2 peripheral hookup – Kontron M2M Smart Services Developer Kit Wind River Intelligent Device Platform User Manual
Page 8
8
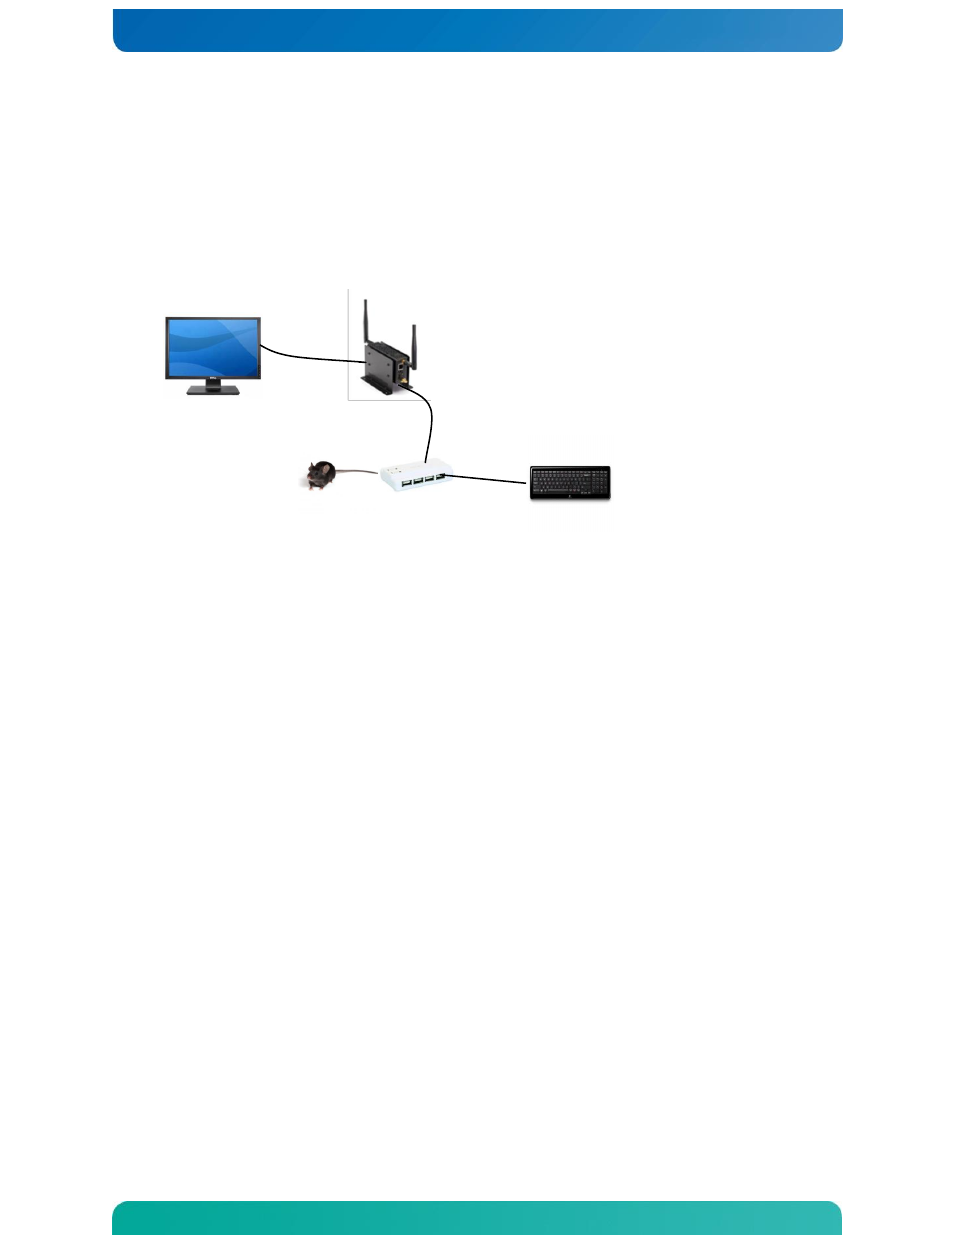
2.2 Peripheral Hookup
Connect an HDMI Monitor, a USB Hub, Mouse and Keyboard to the Development Target as shown below.
Development
Target
Mouse
USB
Hub
Keyboard
Monitor
Figure 1 Development Target Device Setup
2.3 Connecting the Kontron M2M system to your
development host
Following Figure 2 Connecting the Host to the Target, below:
1. Connect an Ethernet cable between your Development Host and the Router.
2. Connect an Ethernet cable between your Kontron M2M System and the Router.
3. Connect the Router to your WAN
Note: The evaluation host will be assigned a dynamic IP address in the normal manner if your network has a
DHCP server. Initially you need an Internet connection to obtain an evaluation license. Before you begin
the evaluation you will be directed to change to a static IP address so the tools can communicate with the
target
- CP3003-SA uEFI BIOS (72 pages)
- CP3003-SA (36 pages)
- CP3002 (38 pages)
- CP3002-RC uEFI (64 pages)
- CP-RIO3-05 (42 pages)
- CP3002-RC (30 pages)
- CP342 (52 pages)
- CP930 (46 pages)
- CP932 (52 pages)
- CP346 (72 pages)
- CP384 (66 pages)
- CP383 (74 pages)
- CP382 (58 pages)
- CP381 (60 pages)
- CP372 (64 pages)
- CP371 (60 pages)
- CP-RIO3-04S (38 pages)
- CP390 (36 pages)
- CPS3410 (9 pages)
- CPS3402 (9 pages)
- CPS3105 (9 pages)
- CPS3101 (9 pages)
- CPS3003-SA (19 pages)
- PB-SIO4 (34 pages)
- PB-SIO4A (34 pages)
- PB-DOUT8 (34 pages)
- VMOD-2 (82 pages)
- VSBC-32 (110 pages)
- VM42 (62 pages)
- Bootstrap Loader (24 pages)
- VMP1 with Netbootloader (120 pages)
- VMP1 (106 pages)
- NetBootLoader (86 pages)
- VMP2 (142 pages)
- VMP3 (154 pages)
- CP-RIO6-923 (32 pages)
- CP-RIO6-923-F (32 pages)
- CP-RIO6-001 (28 pages)
- CP-RIO6-001-HD-VGA (46 pages)
- CP-RIO6-M (20 pages)
- CP-RIO6-B (28 pages)
- CP6925 (42 pages)
- CP6002 uEFI BIOS (76 pages)
- CP6002 IPMI (40 pages)
- CP6002 (42 pages)