Gastroback 42534 Design Grill-Barbecue Advanced User Manual
Page 15
47
lowered to achieve grill marks onto the food. To adjust the top plate, slide the grilling height
control to the desired position (see: ›Adjustable grilling height control‹).
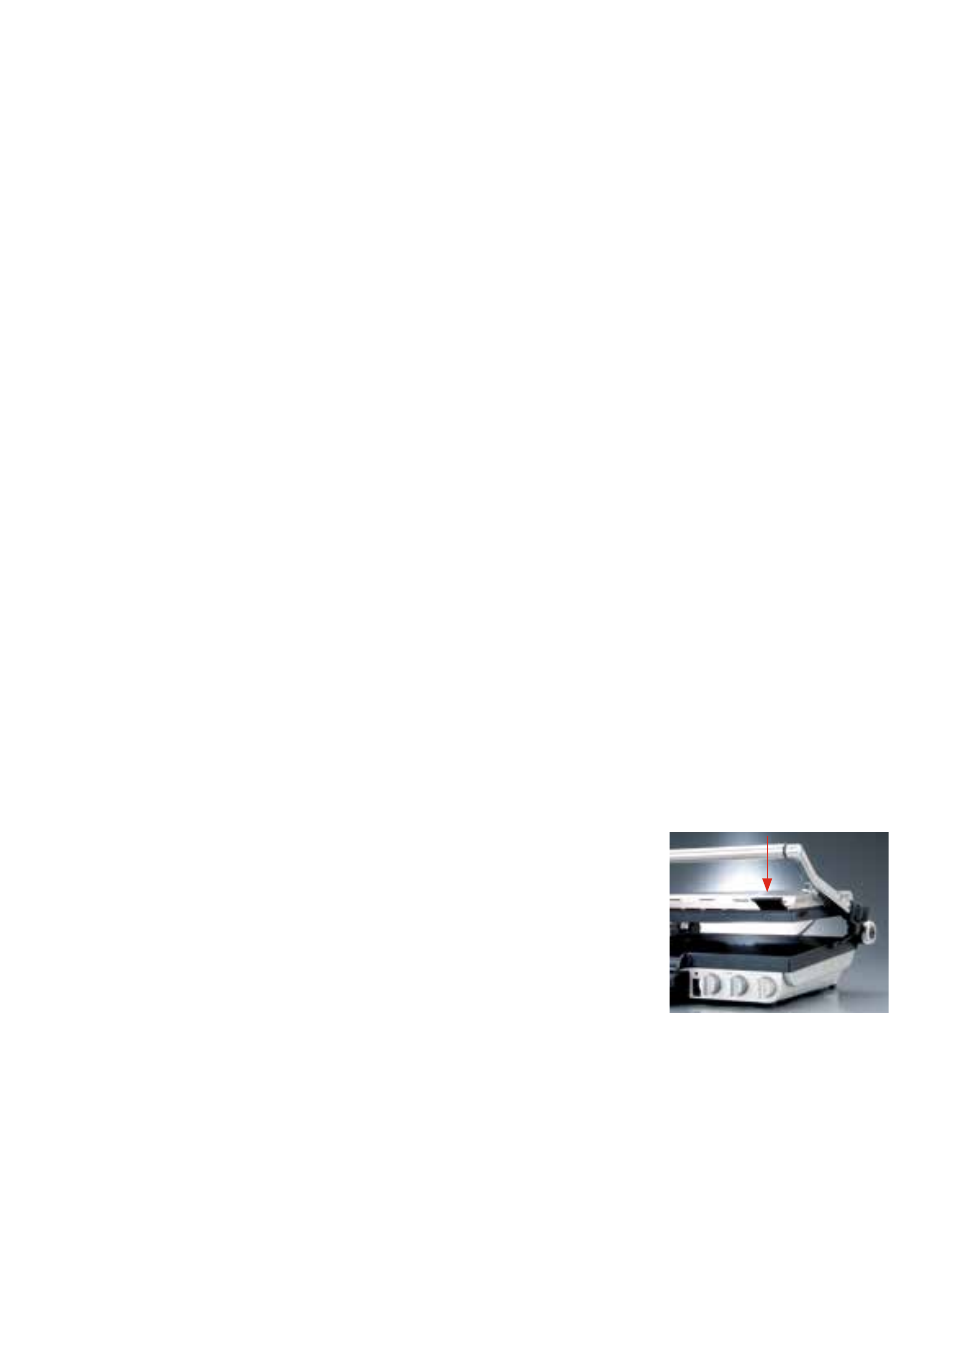
The grill can also be used to cook delicate ingredients such as fish and hamburger buns wit-
hout squashing. The levelling handle on the right front side of the top plate of the grill may
be used to even out the top plate.
6. When the food is cooked, use the handle to carefully lift the top plate until it stops in the
vertical position.
Cook your food to the desired doneness. If necessary, open the grill and make a check on the
results. Beware of hot steam and condensate when lifting the top plate.
7. Remove the food using a wooden or heat-resistant plastic spatula. There is no need for
waiting for the appliance to re-heat before placing other food on the cooking plates.
To use as a sandwich press
note: Use the timer to monitor the time elapsed during preheating or cooking (see: ›Timer
dial‹). The timer will ring once when the set time has elapsed. The grill will not turn off, but
will remain heating.
1. Prepare the grill for use as described in section ›Operating your Design Grill-Barbecue
Advanced. Turn the temperature dial to the SANDWICH position and allow the grill to preheat
until the red HEATING power indicator goes out.
2. Ensure the tilt dial is in the FLAT position (level).
3. During preheating, prepare the sandwiches.
warnIng!
During operation and especially on placing food on the preheated cooking
plates or on opening the grill during operation, hot fat and juices could splash from the appli-
ance. Always keep your hands and arms as well as any other objects in sufficient distance
to the appliance during operation to avoid scalds and damage. Ensure, that all persons stay
in sufficient distance to the appliance during operation. Always use the handle for opening
the grill. Take care not to upset the appliance, when lifting the top
plate to the vertical position.
4. Place the sandwiches onto the base plate. Always place sand-
wiches towards the rear of the base plate.
5. Use the handle to carefully close the top plate.
The top plate has a floating hinge system that is designed to press
down evenly on the sandwich. The grilling height control on the
right metal arm of the top plate is used to adjust for the thickness of the sandwich. The levelling
handle on the right front side of the top plate of the grill may be used to even out the top plate.
6. Toasting should take approximately 5-8 minutes. Exact toasting time will be a matter of
preference. It will also depend on the type of bread and filling used. If necessary, open the
grill and check the doneness of your food. Beware of hot steam and condensate when lifting
the top plate.
7. When the sandwich is cooked, use the handle to lift the top plate until it stops in the vertical
position.
cauTIOn! Do not use any sharp or hard objects for scratching or cutting on the cooking
plates.