Gastroback 42534 Design Grill-Barbecue Advanced User Manual
Page 11
43
Timer dial
The Design Grill-Barbecue Advanced features a 15 minute timer, which allows you to monitor
the time elapsed during preheating or cooking. The timer will ring once when the set time
has elapsed.
ImPOrTanT: The grill will not switch off, it will remain heating.
1. To set the timer, simply turn the dial clockwise completely (`15’ position) and then anticlock-
wise to select the desired minutes.
adjustable grilling height control
Your Design Grill-Barbecue Advanced features an adjustable grilling height control which
allows you to fix the top plate to a range of positions above the base plate (up to 9 cm in
HIGH position).
Therefore, your Design Grill-Barbecue Advanced can be used as an open toaster, ideal for
toasting open sandwich style `melts’. It can also be used to grill delicate ingredients such as
fish, vegetables and hamburger buns without squashing.
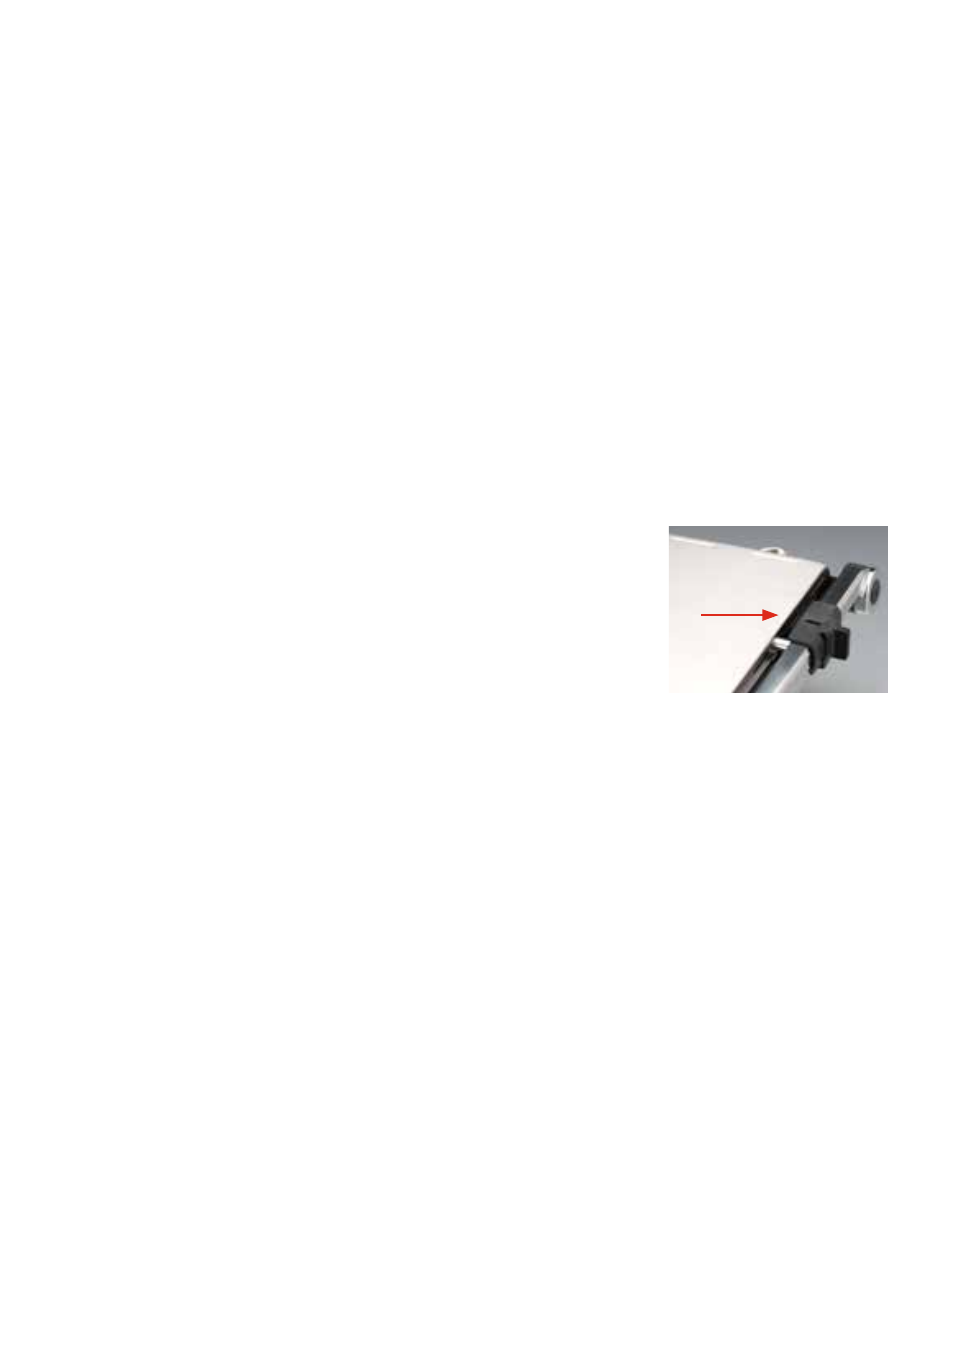
The grilling height control can be adjusted by sliding the slider forwards or backwards along
the right metal arm of the top plate.
ImPOrTanT: The top plate can be locked to the base plate, using
the slider of the grilling height control (LOCK position). The LOCK
position is intended only for moving and storage of the appliance.
Before use, always release the lock by sliding the grilling height
control to the OPEN position. Do not attempt to open the grill with
violence.
note: Allow the grill to preheat until the red heating light goes out with the top plate closed
and the grilling height control in the OPEN position to avoid excessive energy consumption.
It is best to adjust the grilling height control after placing the food on the cooking plates.
1. Before use, always slide the grilling height control on the right metal arm of the top plate
to the OPEN position.
warnIng:
Risk of Burns! – Solely use handles and knobs for moving and operating the
appliance and lifting the top plate during operation. Even the top plate and exterior of the
appliance will get very hot during operation.
2. Use the handle to lift the top plate to the desired position above the base plate.
3. Slide the grilling height control backwards (to the hinge) as far as it will go without violence.
note: To lower the top plate, hold on to the handle and slide the grilling height control for-
wards (to the front) as far as required.
4. Carefully release the handle. The top plate, will come to a stand in the selected position.
The top plate will radiate the desired heat to melt ingredients such as cheese or lightly grill
foods.