Installation and mounting instructions: cont, Step 11, Step 12 – Code 3 SuperVisor U User Manual
Page 5: Step 13
5
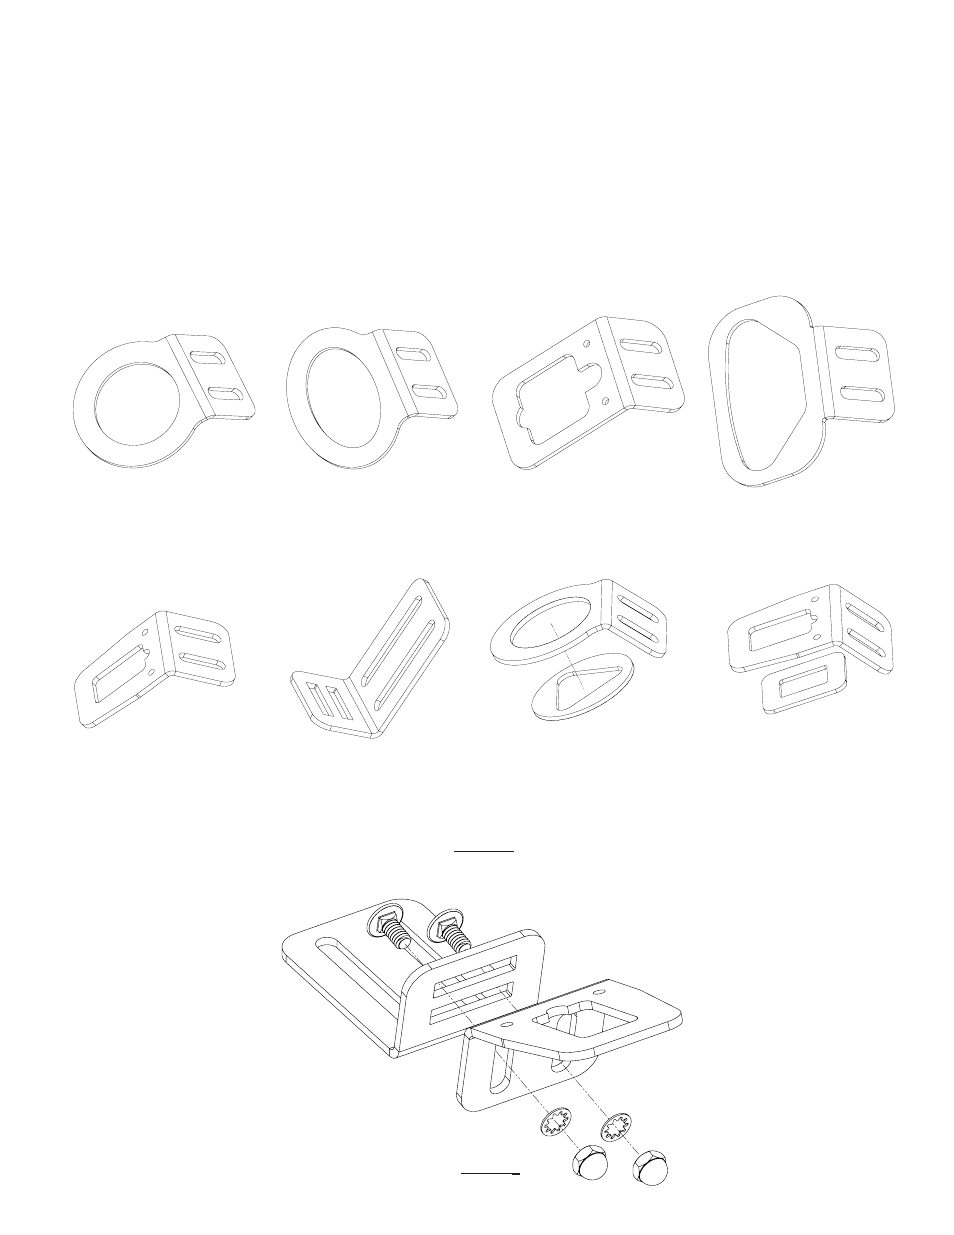
FIGURE
2
STANDARD ROUND OUTER
MOUNTING BRACKET
OVAL OUTER
MOUNTING BRACKET
RECTANGULAR OUTER
MOUNTING BRACKET
SUV (TAHOE) OUTER
MOUNTING BRACKET
STANDARD ROUND OUTER
MOUNTING BRACKET
W TRIANGULAR WASHER
INNER MOUNTING BRACKET
SLOTTED MOUNTING BRACKET
STANDARD INNER
MOUNTING BRACKET
W RECTANGULAR WASHER
FIGURE
1
Installation and Mounting Instructions: Cont.
Step 11
Repeat steps 4 through 10 for the opposite side of the Unit.
Step 12
Once both sides of the Unit are installed, leveled and in the final position, loosen the screws on each
of the Inner and Outer Light Blocker Brackets, swing them up against the windshield and retighten the screws to
block out any flash back light that might come out the sides of the Unit (see Figure 6 on page 7).
Step 13
Route the Unit's cable as desired and complete the wiring process.
After the Unit is installed and wired, the Take Down Light Heads and up to (4) of the Warning Light Heads
can be aimed if so equipped, See Page 11.
- 2004 LED Series Beacon (8 pages)
- 2004-2014 Tahoe Citadel (3 pages)
- 2015 Tahoe Citadel (8 pages)
- 2100 (16 pages)
- 21IF (12 pages)
- 21TR & 21TR Plus (18 pages)
- Solex MultiColor (12 pages)
- 235H Remote Strobe Power Supply (12 pages)
- 275 Series Beacon (8 pages)
- 300 Series Beacon (8 pages)
- 40, 41, 42 Series Perimeter Lights (8 pages)
- 410 Mini Bar (7 pages)
- 420 Mini Bar Series (16 pages)
- 550 Series Beacon (8 pages)
- 6 Pack LED Hide-A-Blast (8 pages)
- 80 Series Perimeter Lights (10 pages)
- 800 Series Software (8 pages)
- 87, 88, 89 Series Perimeter Lights (12 pages)
- 90 Series Strobe Beacon (8 pages)
- 950 Series Software (12 pages)
- Arch Beacon (12 pages)
- Astro L800, Star LL400, Nova L200 (8 pages)
- Caprice Side Marker LED light (4 pages)
- Chase (5 pages)
- Citadel Ford PI and Explorer (3 pages)
- Code 360 (24 pages)
- CommandStik (8 pages)
- CPS220 Remote Strobe Power Supply (8 pages)
- CPS690 Remote Strobe Power Supply (12 pages)
- D.O.T. Systems for 2010 Tahoe (4 pages)
- D.O.T. Systems for 2011 Dodge Charger (4 pages)
- D.O.T. Systems for 2011 Ford PI Utility and Explorer (4 pages)
- DashLaser (12 pages)
- DeckBlaster (10 pages)
- Defender (12 pages)
- Dual Head Wildcat (2 pages)
- E-10 Beacon Series (4 pages)
- Intrepid Headliner Mounting Bracket (2 pages)
- Essex (6 pages)
- Excalibur (24 pages)
- FM 9000 (12 pages)
- Ford PI B-Pillar Bracket (4 pages)
- Ford PI Citadel (8 pages)
- Frontier LED Mini Bar (8 pages)
- Halogen Duo Bulb Work Light (1 page)