Affixing the power winder to the camera – Canon A2 User Manual
Page 21
Attention! The text in this document has been recognized automatically. To view the original document, you can use the "Original mode".
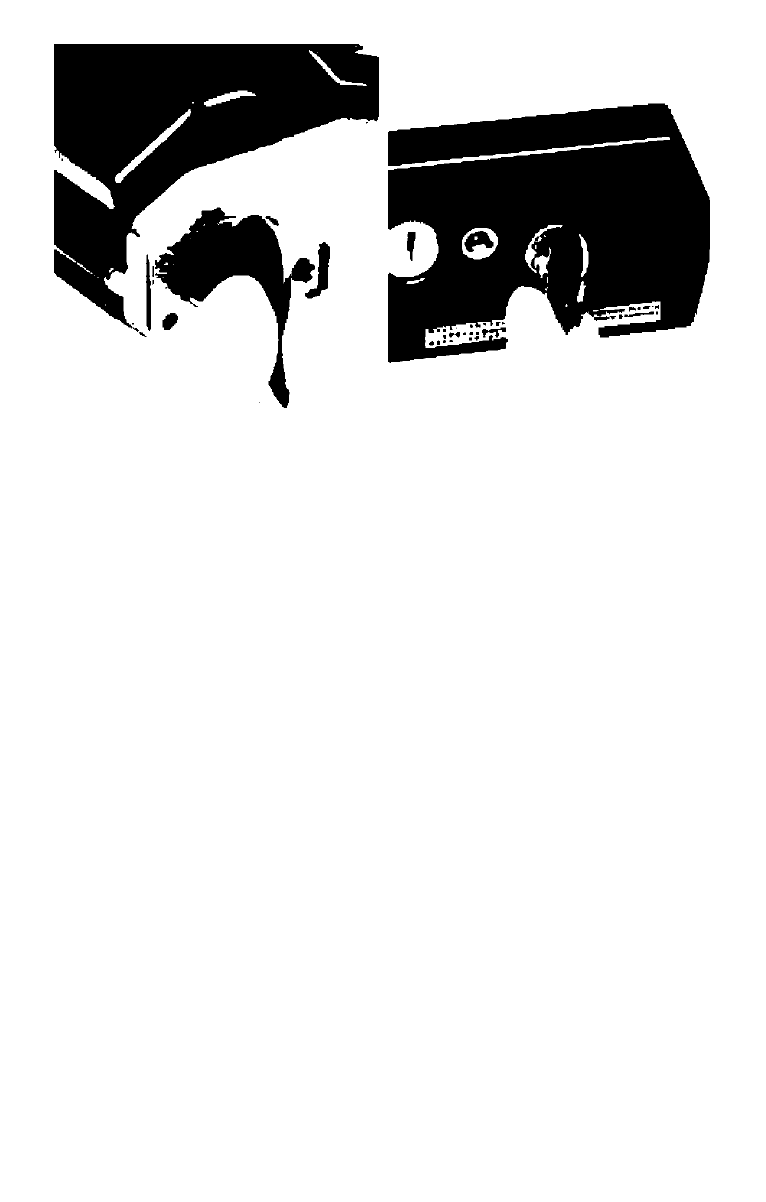
2. Affixing the Power Winder to the Camera
• Remove the winder coupler cover of the camera by
unscrewing it with a coin. In order not to lose the cover,
screw it into the winder coupler’s cover holder on the
power winder (except the AL-1).
• Make sure the power winder’s main switch is set to "OFF.”
• Before attaching the Power Winder A2 to the camera, clean
the winder’s and camera’s terminals with a soft cloth to
ensure proper contact.
• Attach the Power Winder A2 to the camera by turning the
fastening screw clockwise with a coin to secure the power
winder to the camera. If it takes a while to fasten the power
winder to the camera while the main switch is set at ‘‘C’’ or
"S," there is a possibility that the warning lamp will light up
and the winder may not function; this does not mean it is
out of order. In this case, manually wind the film advance
lever once.
1 8