Recording on a tape, Basic operations – Sony TC-WR550Z User Manual
Page 6
Attention! The text in this document has been recognized automatically. To view the original document, you can use the "Original mode".
Basic Operations
Recording on a Tape
5 4
See page 4 for hookup
information.
Recording is possible on
both decks A and B on the
TC-WA8ESA and WE805S,
but only on deck B on all
other models.
See "Dubbing a Tape" (page
13) to make a copy of the
tape.
To check the approximate
remaining time on a tape
(TC-WE805SA(VE705S/
WA8ESA/WA7ESA only)
1 Locate the end of the
tape and press RESET for
the deck you're using to
reset the tape counter
to "0.00".
2 Press ►► to fast-forward
the tape to its end. The
tape counter shows the
approximate remaining
time.
Note
Since the counter is not a
digital clock, the displayed
value will differ slightly
from the actual elapsed
recording or playing time.
1
Turn on the amplifier and play the program source you want
to record.
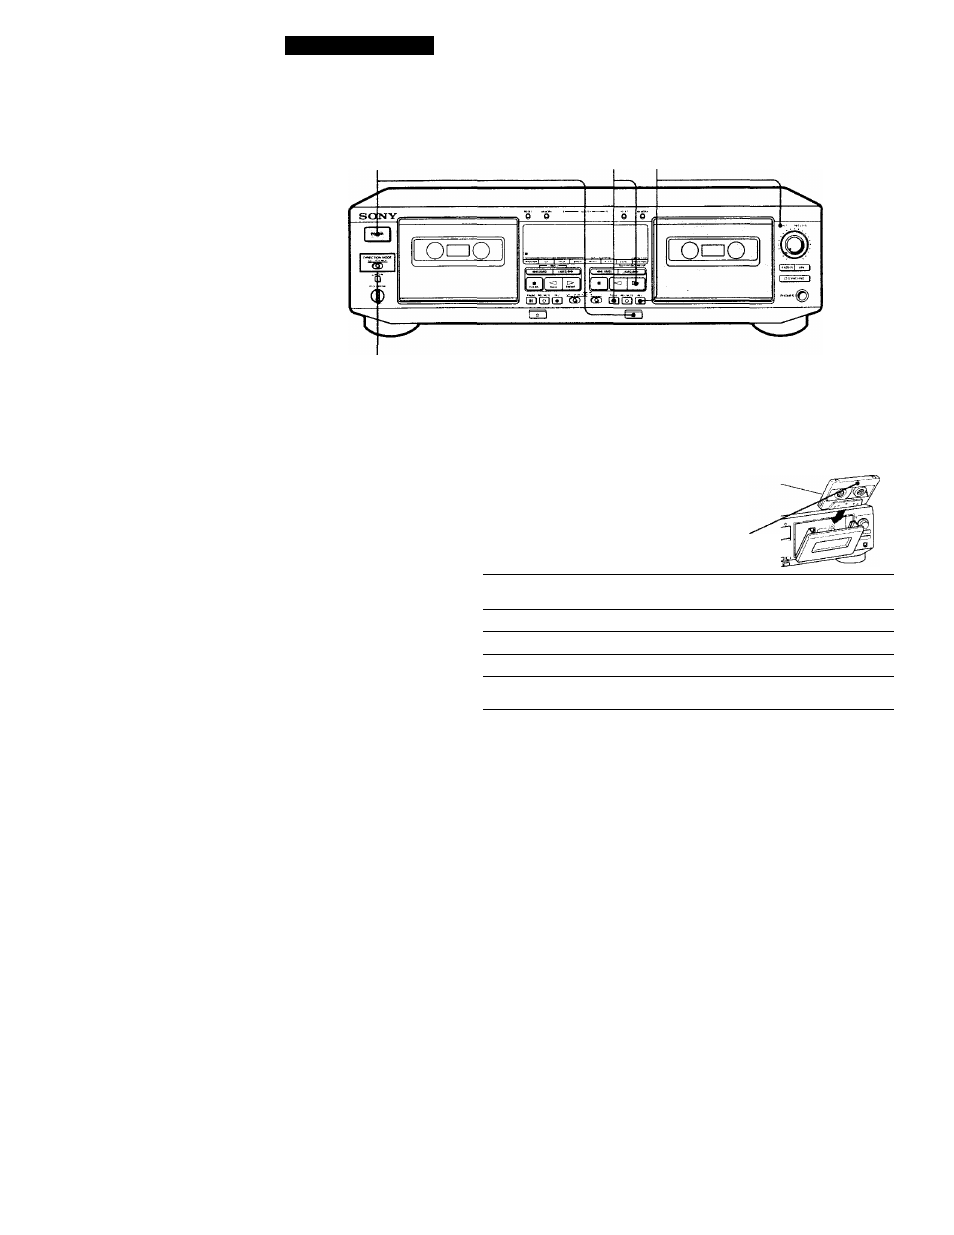
Press POWER, and then press = and
insert a cassette.
With the side you want to record «
facing you
■ 3
Set DIRECTION MODE.
To record on
Set to
Only one side
Both sides*
cr^
* Recording stops when the tape
reaches the end of reverse side.
Press REC •.
O
lights up for recording on the side facing you. If it doesn't,
press O once.
The tape deck automatically adjusts the recording level (see
page 12). After the AUTO indicator lights up continuously,
stop playing the program source. If you wish to adjust the
recording level manually, see "To adjust the recording level
manually" on page 7.
Do not press POWER or while the tape deck is operating.
If you do so, the tape may be damaged.