Removing a disk from the zip drive, Inserting a disk into the zip drive, Available on select models) -17 – Compaq Presario User Manual
Page 42: Removing a disk from the zip drive -17
M
Y
P
RESARIO
—G
ETTING
S
TARTED
U
SING
Y
OUR
C
OMPUTER
4-17
The Zip drive makes
organizing, copying,
storing, and transporting
large files easy. The Zip
drive uses a Zip disk, which
gives you more storage
space than a diskette. A Zip
disk offers extra space for
the following types of
tasks:
➜
Storing files from the
Internet
➜
Backing up files from
the hard drive
➜
Storing games
➜
Saving school or class
projects
➜
Saving family files and
budget records
➜
Creating a multimedia
library with image,
sound, and video files
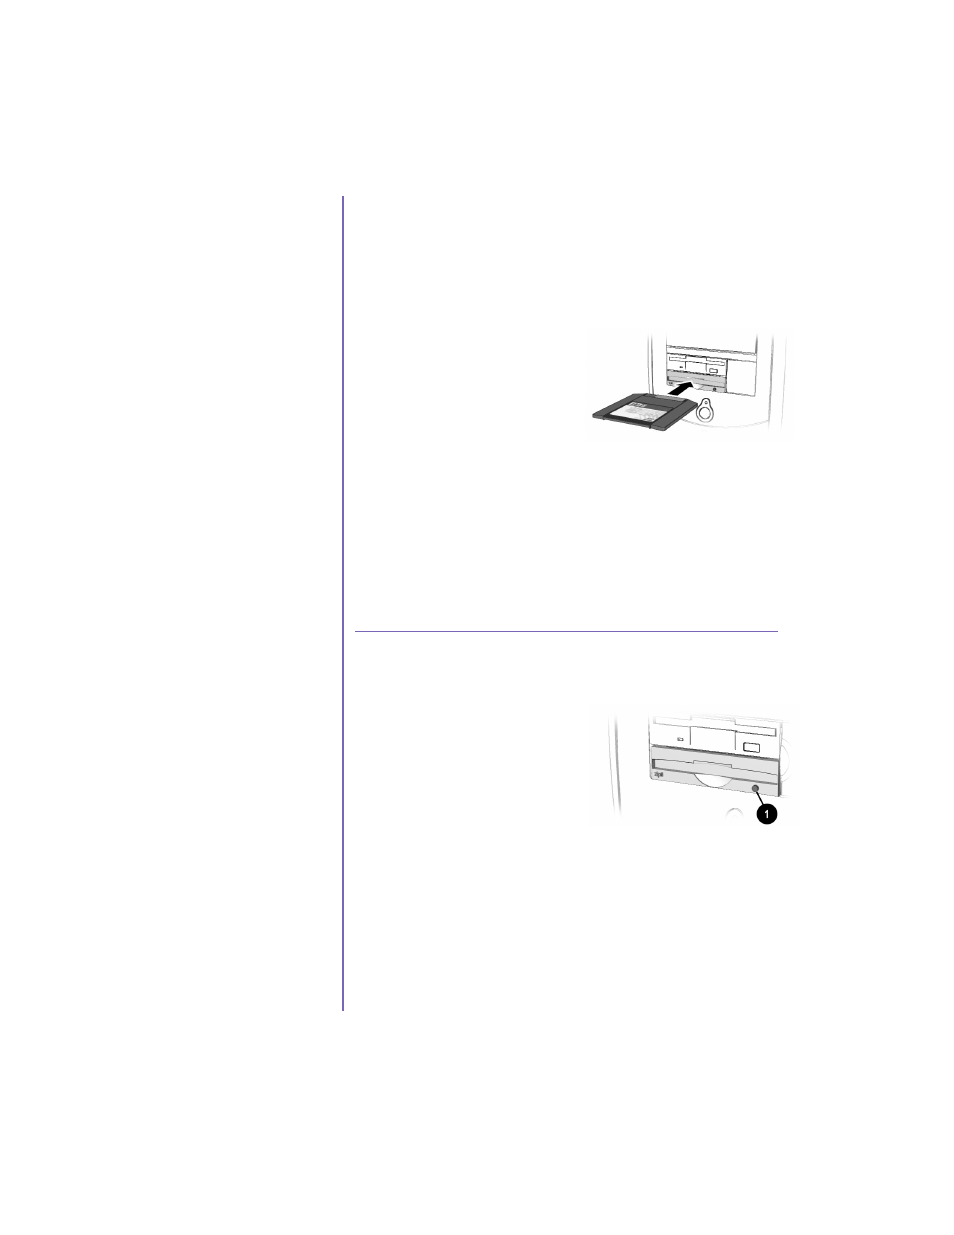
Inserting a Disk Into the Zip Drive
(available on select models)
Note: Your computer must be turned on
before you can insert a Zip disk.
1. Hold the Zip disk, label-
side facing up, and gently
push the disk into the Zip
drive until you hear it snap
into place.
2. Right-click the Start
button, and select Explore.
3. Browse in Windows Explorer
to locate the Zip drive, which
shows the Zip drive
n
icon.
4. Move or copy files to and from
the Zip drive as needed.
Removing a Disk from the Zip Drive
1. Press the Disk Eject
button
1 to eject the disk.
2. Store the Zip disk in its
protective case.
Note: If you leave a Zip disk in the
drive when you turn off your
computer, the disk will automatically
eject.