System battery, System board – Dell OptiPlex GX100 User Manual
Page 58
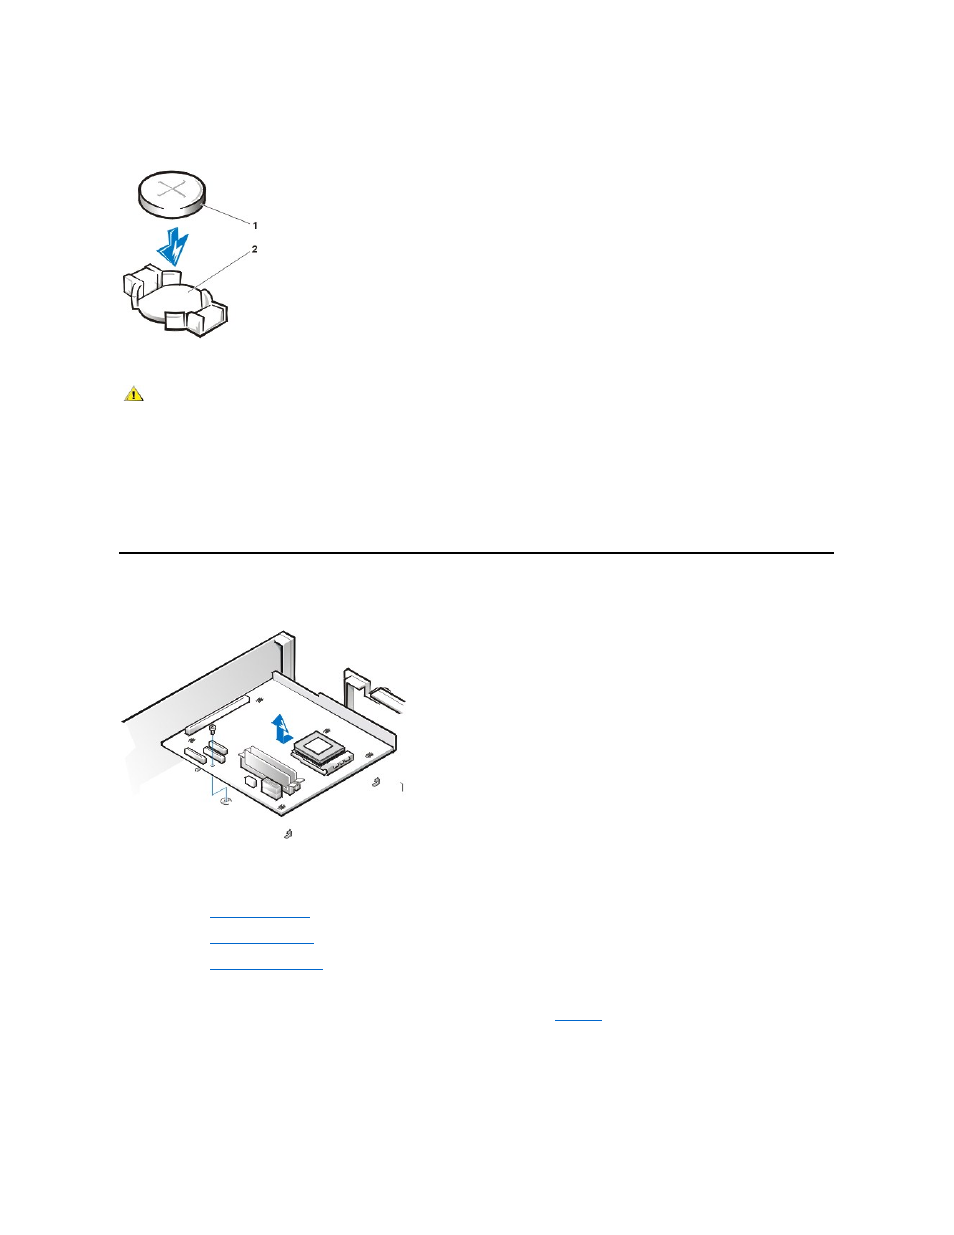
System Battery
Figure 31. System Battery Removal
To remove the system battery, perform the following steps:
1. If possible, enter System Setup and print the System Setup screens.
2. Remove the system battery by carefully prying it out of its socket with your fingers or with a blunt, nonconducting object such as a plastic
screwdriver.
When you replace the system battery, orient the new battery with the "+" facing up. Insert the battery into its socket and snap it into place.
System Board
Figure 32. System Board Removal
To remove the system board, perform the following steps:
1. Disconnect all cables from their connectors at the back of the computer.
2. Remove the
3. Remove the
4. Remove the
.
5. Disconnect all cables from the system board.
6. Remove the screw that secures the system board to the bottom of the chassis (see
).
7. Slide the system board toward the front of the chassis until it stops.
8. Carefully lift the system board out of the chassis (be sure to lift evenly and not twist the system board).
To replace a system board, perform the following steps:
1 Battery
2 Battery socket
CAUTION: There is a danger of the new battery exploding if it is incorrectly installed. Replace the battery only with the same or
equivalent type recommended by the manufacturer. Discard used batteries according to the manufacturer
’s instructions.