Replacing the support bracket – Dell Studio Slim D540S (Late 2008) User Manual
Page 4
Back to Contents Page
Replacing the Support Bracket
Dell Studio™ Slim 540s Service Manual
1.
Follow the procedures in
Before You Begin
.
2.
Remove the computer cover (see
Replacing the Computer Cover
).
3.
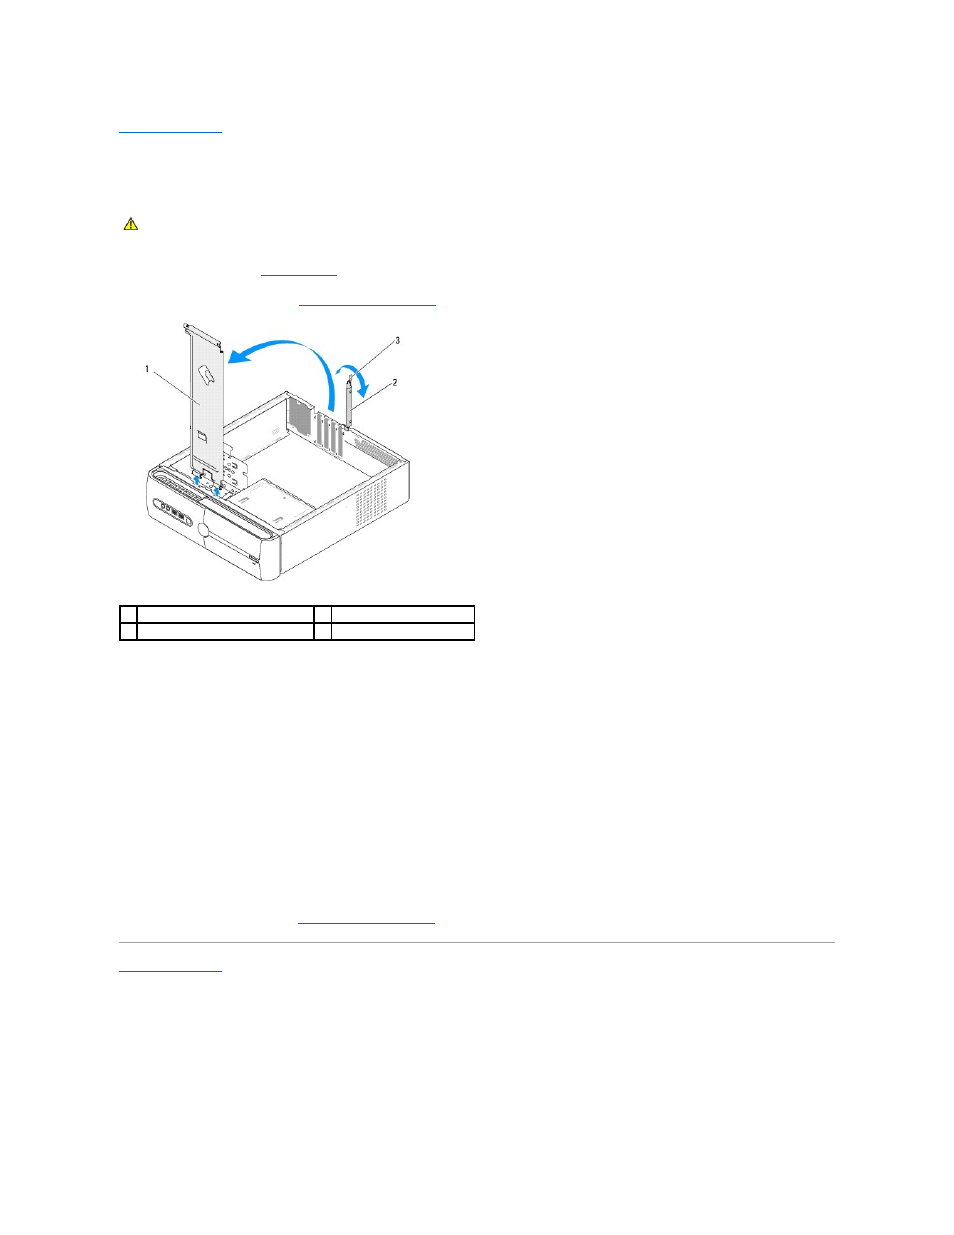
Release the card retention bracket by lifting the card retention release lever up.
4.
Remove any cable(s) attached to the support bracket.
5.
Pivot the support bracket and lift it off the hinge tabs.
6.
To replace the support bracket, align and insert the hinges at the bottom of the support bracket into the hinge tabs located along the edge of the
computer.
7.
Pivot the support bracket downward.
8.
Align the notch in the support bracket with the slot in the hard drive bay and press it down.
9.
Replace any cable(s) that were attached to the support bracket.
10.
Ensure that the support bracket is seated correctly and then replace the card retention bracket.
11.
Replace the computer cover (see
Replacing the Computer Cover
).
Back to Contents Page
CAUTION:
Before working inside your computer, read the safety information that shipped with your computer. For additional safety best
practices information, see the Regulatory Compliance Homepage at www.dell.com/regulatory_compliance.
1
support bracket
2
card retention bracket
3
card retention release lever