Cd/dvd drive, Removing a cd/dvd drive – Dell XPS 200 User Manual
Page 78
78
Removing and Installing Parts
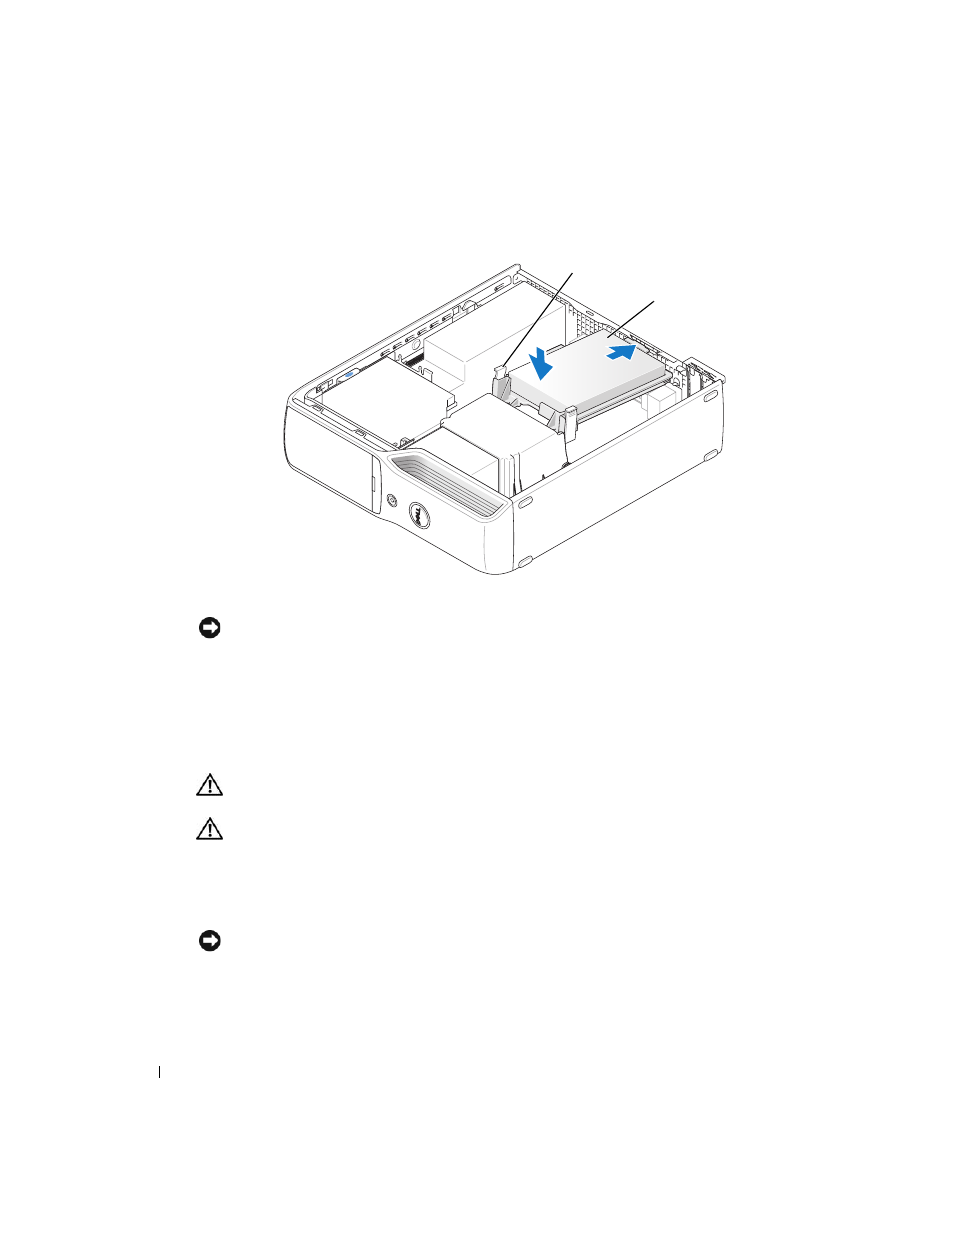
5 Gently slide the drive into place until you hear a click or feel the drive securely installed.
6 Replace the computer cover (page 93).
NOTICE:
To connect a network cable, first plug the cable into the network wall jack and then plug it into
the computer.
7 Connect your computer and devices to electrical outlets, and turn them on.
See the documentation that came with the drive for instructions on installing any software
required for drive operation.
CD/DVD Drive
CAUTION:
Before you begin any of the procedures in this section, follow the safety instructions in the
Product Information Guide.
CAUTION:
To guard against electrical shock, always unplug your computer from the electrical outlet
before opening the cover.
Removing a CD/DVD Drive
1 Follow the procedures in "Before You Begin" on page 55.
NOTICE:
Do not pull the drive out of the computer by the interface cable. Doing so may cause damage to
cables and the cable connectors.
2 Pull up on the drive release latch and slide the drive towards the back of the computer.
3 Carefully, so as not to damage the attached interface cable, lift the drive away from the
computer.
tabs (2)
hard drive