Routing cables, Figure 1-9, Routing the power cords – Dell PowerEdge 2650 User Manual
Page 19
2-Post Rack Installation
1-15
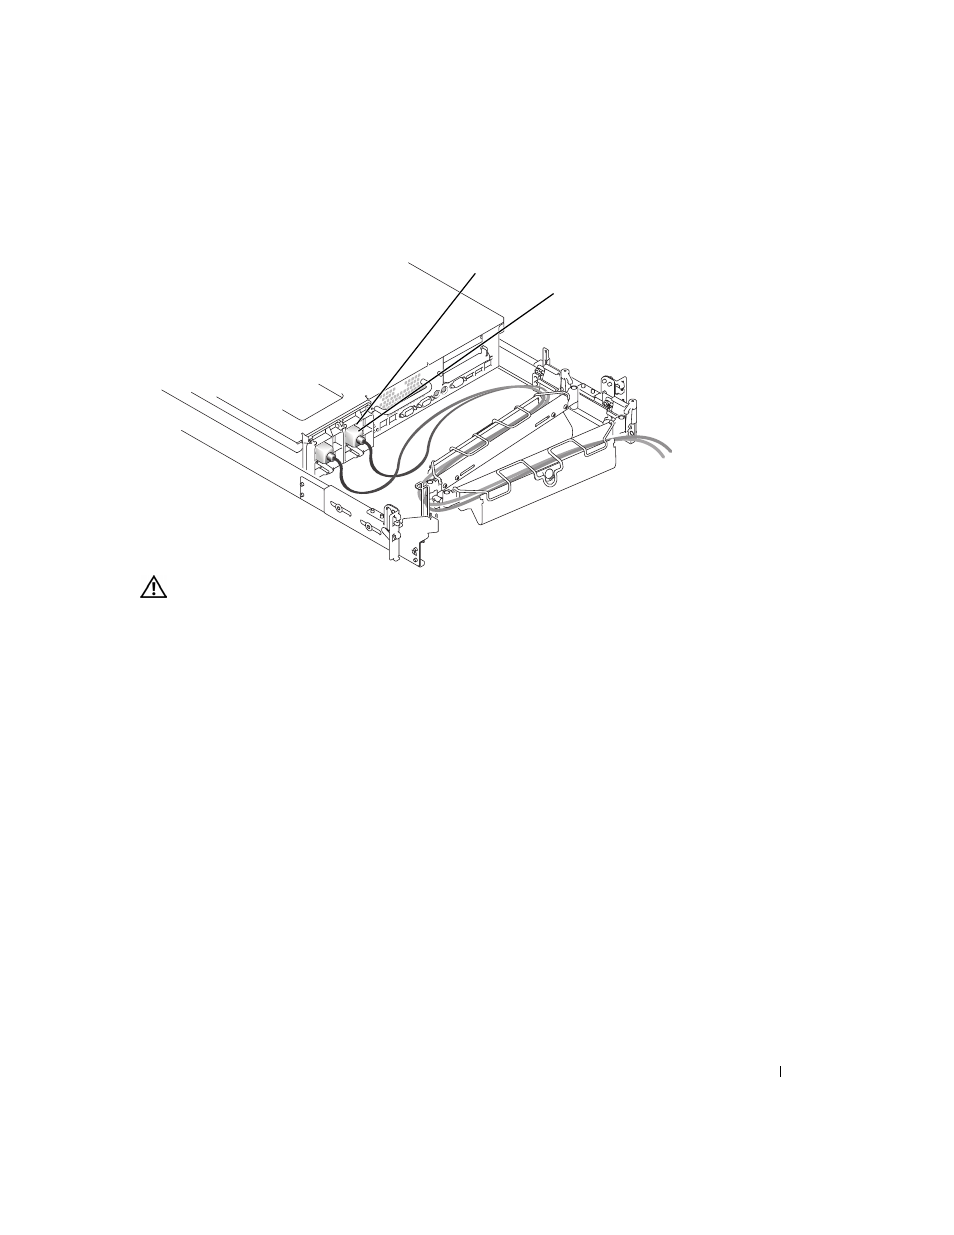
F i g u r e 1 - 9 .
Ro u t i n g t h e P o w e r C o r d s
CAUTION: Allow some slack in each cable as you route them around hinges in the
cable-management arm.
Routing Cables
1
Attach the I/O cable connectors to their respective connectors on the system back
panel.
For details on cable connections, see your system’s Installation and Troubleshooting
Guide and the User’s Guide.
2
Route the power and I/O cables through the cable-management arm, using four
loosely secured tie-wraps (two in the middle and one on each end of the cable-
management arm). Do not fully tighten the tie-wraps at this time (see Figure 1-10).
Allow some cable slack in the cable-management arm to prevent damage to the cables.
3
Secure the cables to the cable-management arm:
a
After connecting the cables to the system, unscrew the thumbscrews that secure
the front of the system to the front vertical rail.
b
Slide the system forward to the fully extended position.
c
Route the cables along the cable-management arm, make any adjustments
needed to the cable slack at the hinge positions, secure the cables to the cable-
management arm with the tie-wraps, and close the wire covers over the
cable-management arm.
power cord plug
power receptacle housing