Installing the cpu fan, Removing the optional hard drive fan – Dell XPS 700 Jet Black User Manual
Page 50
Installing the CPU Fan
1.
With the fan power cable oriented downward, align the rubber grommets in the fan with the holes in each corner of the processor airflow shroud, then
pull the grommets through until they snap into place.
2.
Replace the processor airflow shroud (see
Installing the Processor Airflow Shroud
).
3.
Connect the fan cable to the FAN1_CPU connector on the system board (see
System Board Components
).
4.
Replace the computer cover (see
Replacing the Computer Cover
).
5.
Connect your computer and devices to electrical outlets, and then turn them on.
Removing the Optional Hard Drive Fan
1.
Follow the procedures in
Before You Begin
.
2.
Remove the computer cover (see
Removing the Computer Cover
).
3.
Remove all installed memory modules (see
4.
Disconnect the fan cable from the FAN_HDD connector on the system board (see
System Board Components
).
5.
Press the release latch on the hard drive fan and slide it out from between the hard drive bays, then lift it from the computer.
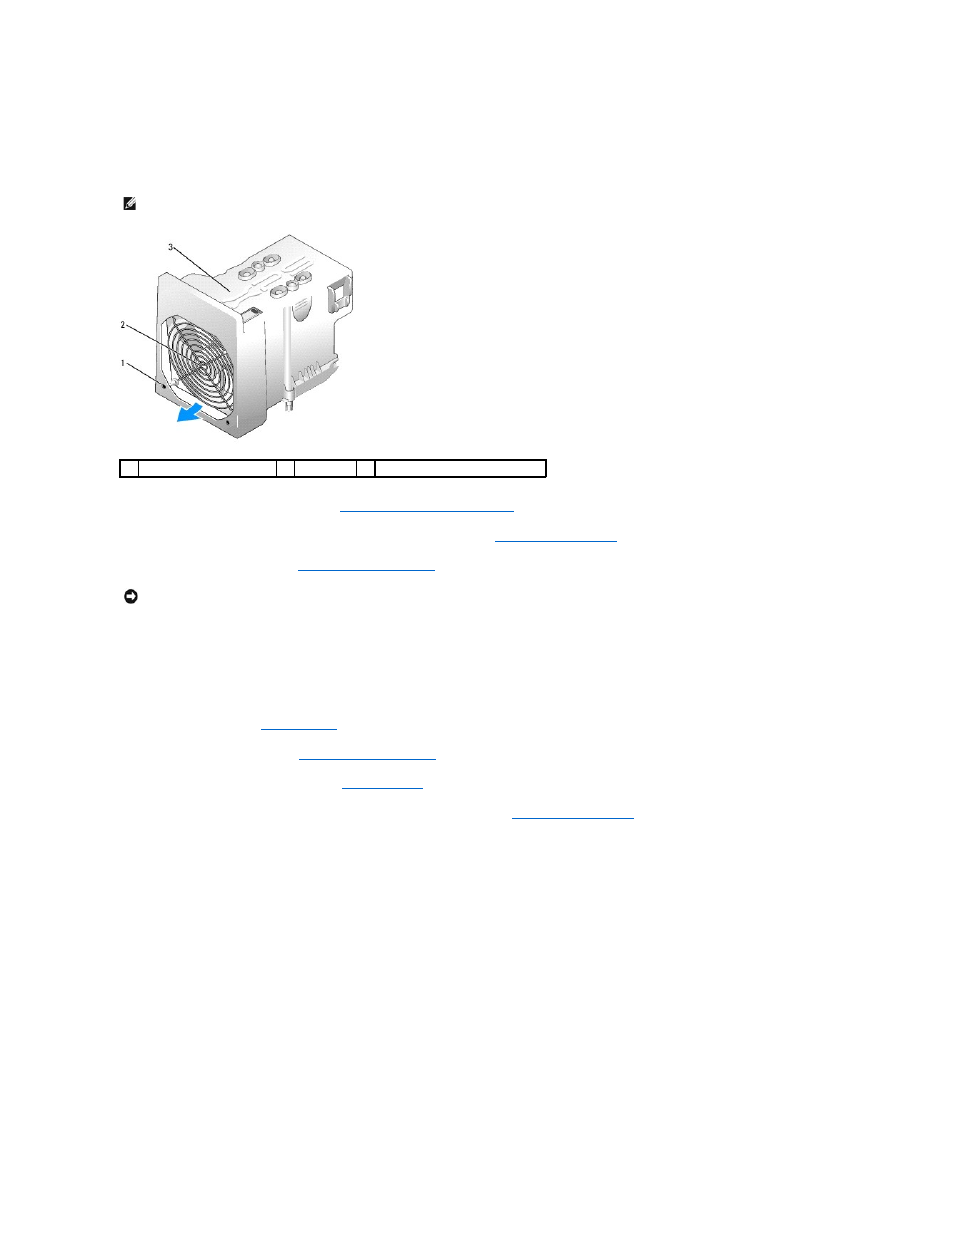
NOTE:
Airflow direction and orientation are shown on the side of the fan.
1
rubber grommet (4)
2
CPU fan
3
processor airflow shroud
NOTICE:
To connect a network cable, first plug the cable into the network port or device and then plug it into your computer.