Adding a second cd or dvd drive – Dell Dimension 4600 User Manual
Page 21
forward into position.
7.
Secure the floppy drive bracket with the top bracket screw that came with your drive.
8.
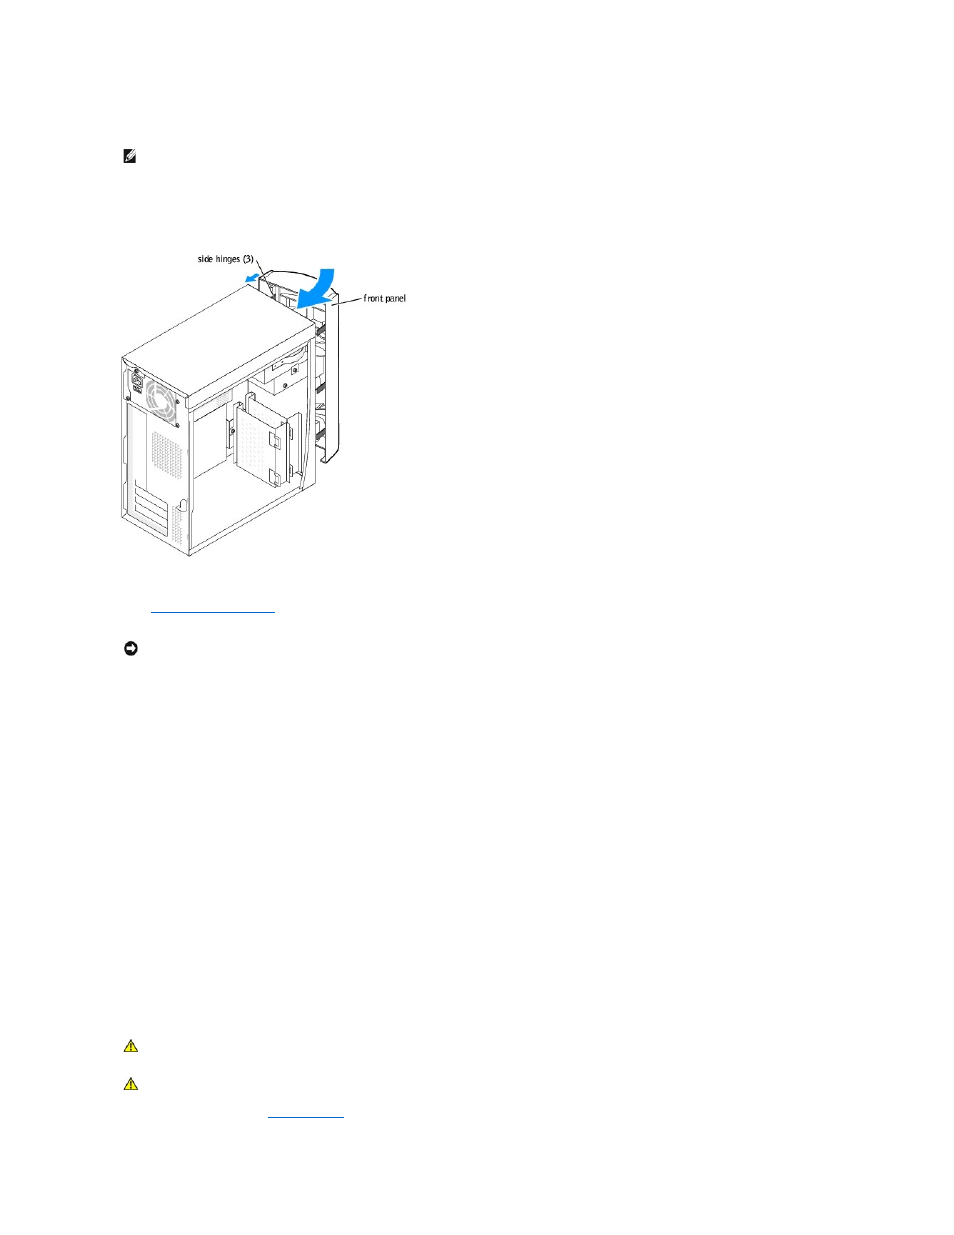
Reattach the front panel to the side hinges, and then rotate it until it snaps onto the front of the computer.
9.
Check all cable connections, and fold cables out of the way to provide airflow for the fan and cooling vents.
10.
Replace the computer cover
.
11.
Connect your computer and devices to electrical outlets, and turn them on.
12.
After you turn on your computer, press
13.
Highlight Drive Configuration and press
14.
Use the left- and right- arrows to change Diskette Drive A from Not Installed to 3.5 inch, 1.44MB.
15.
Press
16.
Highlight Integrated Devices (LegacySelect Options) and press
17.
Make sure that the Diskette Interface entry is set to Auto. If necessary, use the left- and right- arrows to set it to Auto.
18.
Press
19.
Press
20.
Press
The computer restarts.
See the documentation that came with the drive for instructions on installing any software required for drive operation.
Adding a Second CD or DVD Drive
1.
Follow the procedures in "
Before You Begin
."
NOTE:
The top of the floppy drive bracket has two slots that fit into two clips on the bottom of the upper drive bay. When the floppy drive bracket is
properly mounted, it remains in place without support.
NOTICE:
To connect a network cable, first plug the cable into the network wall jack and then plug it into the computer.
CAUTION:
Before you begin any of the procedures in this section, follow the safety instructions in your Owner's Manual or Product Information
Guide.
CAUTION:
To guard against electrical shock, always unplug your computer from the electrical outlet before removing the cover.