Bio-Rad VersaFluor™ Fluorometer User Manual
Page 14
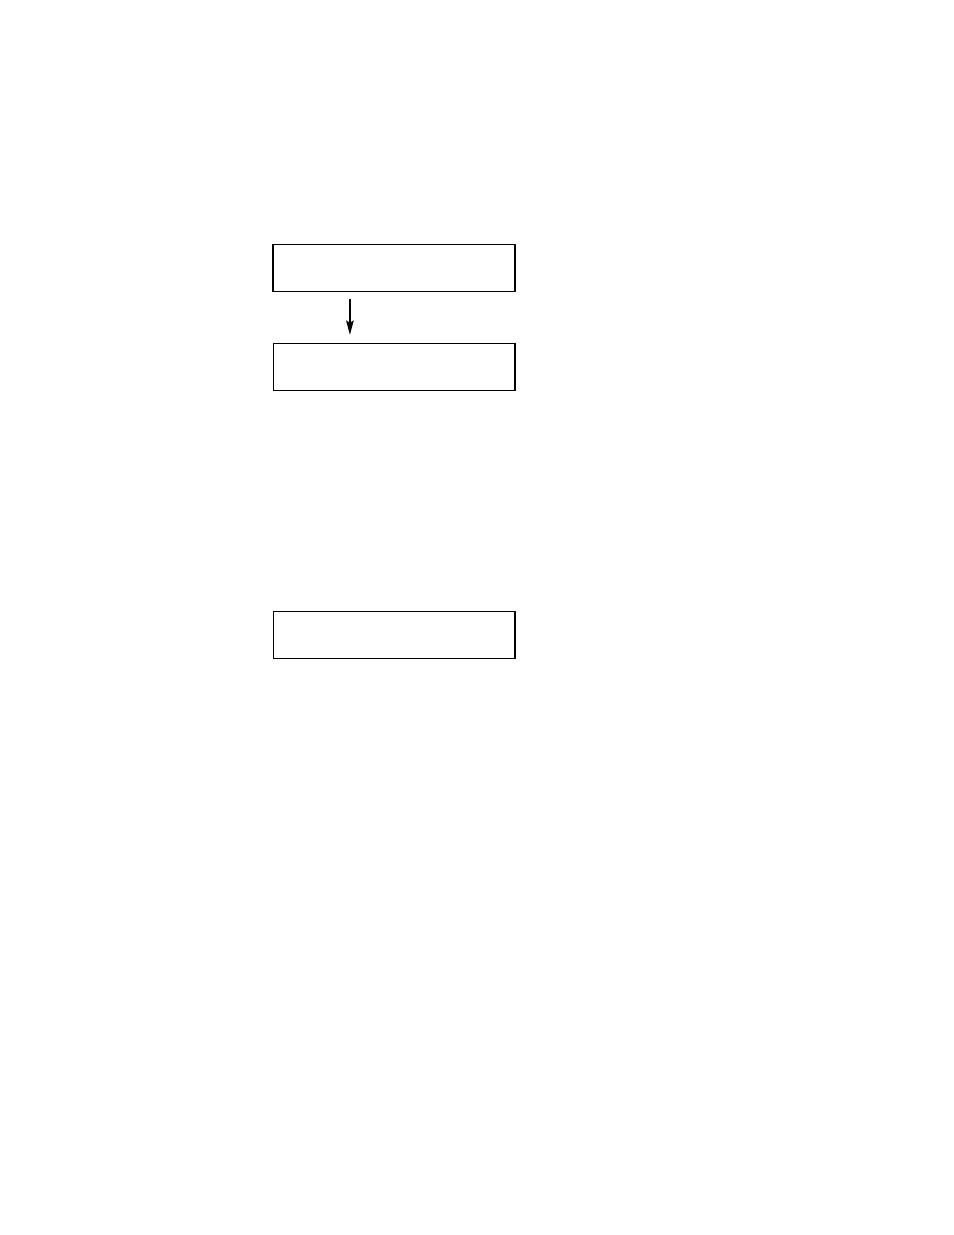
To set the range of the instrument to a desired value, place the highest concentration sam-
ple cuvette into the cuvette holder. Press RANGE on the main menu to access the range menu
(Figure 4.5). Use the arrow button (—>) to move the cursor along the five digit number. Use
the UP and DOWN buttons to raise and lower the value. Press the EXIT button to return to
the main menu. The fluorescence display will read the set value.
Figure 4.5 Setting the Range menus.
4.5 Set Zero Function
The VersaFluor Fluorometer can be zeroed by placing the baseline cuvette (cuvette with
baseline fluid) into the cuvette holder, closing the sample compartment lid, and pressing the
SET ZERO button on the main menu (Figure 4.6). The fluorescence display should read
0 ± 5 units after zeroing. Always zero the instrument with a range setting of 00000 before
setting the range value with the highest concentration sample.
Fig. 4.6. Set Zero menu.
4.6 Print Averaging Function
The menu item AVRG is used to apply averaging to the samples before printing. When
the PRINT button is pressed, the instrument takes sample readings for a specified period of
time and averages them. The menu item AVRG determines the duration of the averaging.
The average value is sent to the printer. When AVRG is set to 1 second, the instrument reads
1 second worth of samples and averages it. Changing the AVRG to 2 and 4 seconds changes
the length of time over which samples are averaged. The averaging function does not affect
the instrument's internal sample filtering process which automatically averages the data.
To access print averaging, press the SETUP button in the main menu (Figure 4.7). Press
the AVRG button to select the sample averaging time. Print averaging time can be toggled
between 1, 2, or 4 seconds.
11
RANGE SET
PRINT 00000
ZERO SETUP
RANGE SET
PRINT 00000
ZERO SETUP
SET FULL RANGE:
00000
UP
DOWN
—>
EXIT