Hitching tractor to planter, Electrical hookup – Great Plains YP825A3P Operator Manual User Manual
Page 17
Great Plains Manufacturing, Inc.
Preparation and Setup
13
2013-05-28
401-652M
Hitching Tractor to Planter
Crushing Hazard:
Do not stand or place any body part between planter and
moving tractor. You may be severely injured or killed by being
crushed between the tractor and planter. Stop tractor engine
and set parking brake before attaching cables and hoses.
1.
To prevent soil compaction on rows, set tractor
wheels at 60 inches center-to-center. For hillsides
and steep slopes, set tractor wheels as wide as
possible for maximum stability.
2.
Adjust tractor lower links to maximize lifting height.
3.
Set tractor sway blocks to minimize side sway. Set
tractor hitch lift control to Float.
4.
Back tractor up to planter. Align lower links with the
lower hitch clevis on planter. Adjust hitch bushings
and spacers
supplied with planter according to the
category of your tractor. Lock pins in place.
5.
Attach tractor top link to upper hitch clevis on planter.
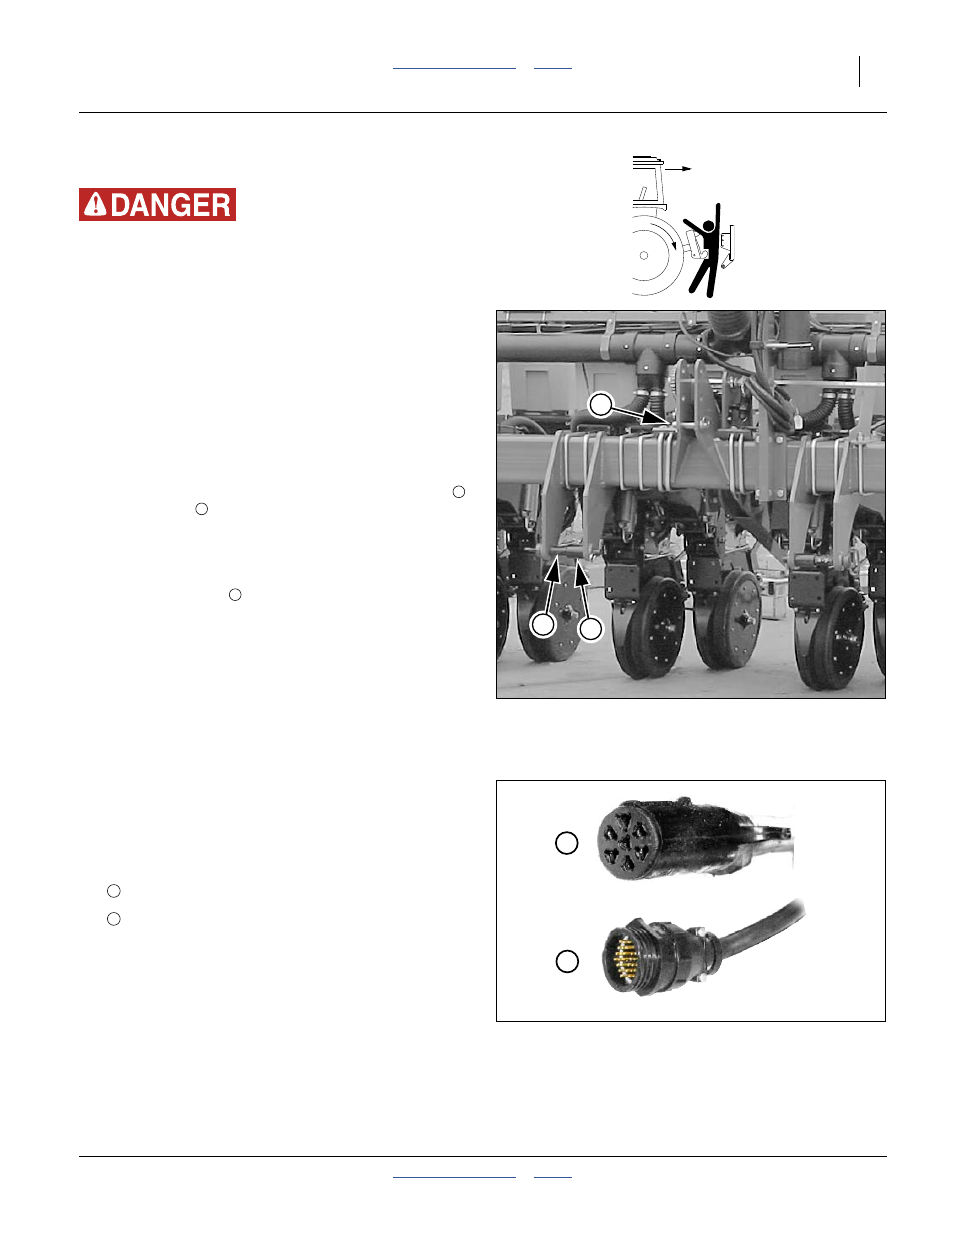
Electrical Hookup
Refer to Figure 4
Your planter is equipped with systems that require
separate electrical connections. For future reference,
note any optional connectors on this checklist.
❑
Lighting connector (standard)
❑
Monitor connector (standard)
❑
__________________________
❑
__________________________
Make sure tractor is shut down with accessory power off
before making connections.
These connections may be made in any order. The key
requirement is that all connections be made prior to
planter movement.
• For Category II tractors, hitch tractor top link to
lower hole pair
in planter clevis.
• For Category II quick couplers and Category III
tractors, hitch tractor top link to center hole pair in
planter clevis.
Figure 3
Three Point Hitch
31048
1
2
3
Figure 4
Connector Identification
25236
31033
1
2
1
2