Marker extension – Great Plains YP825A3P Operator Manual User Manual
Page 118
114
YP4-6-825A3P
Great Plains Manufacturing, Inc.
401-652M
2013-05-28
Marker Extension
Marker extension needs to be adjusted once for the initial
YP425A3P, YP625A3P & YP825A3P planter setup, and
later only if changing row spacing (including row shut-off
for single-row operation on a twin-capable planter).
1.
Move the planter to a location where both markers
may be safely unfolded. Lower the planter. Pull
forward and lower the row units into the ground.
Note: Due to the relatively steep arm angles of short
markers, extension measurements are likely to be
incorrect if the main tool bar is not at normal
operating height (26 inch).
2.
Tilt up and unfold one marker.
3.
Find the suggested initial marker Extension
in the
table on this page.
Note: When using altered twin-row spacings, marker
extensions are different for each side.
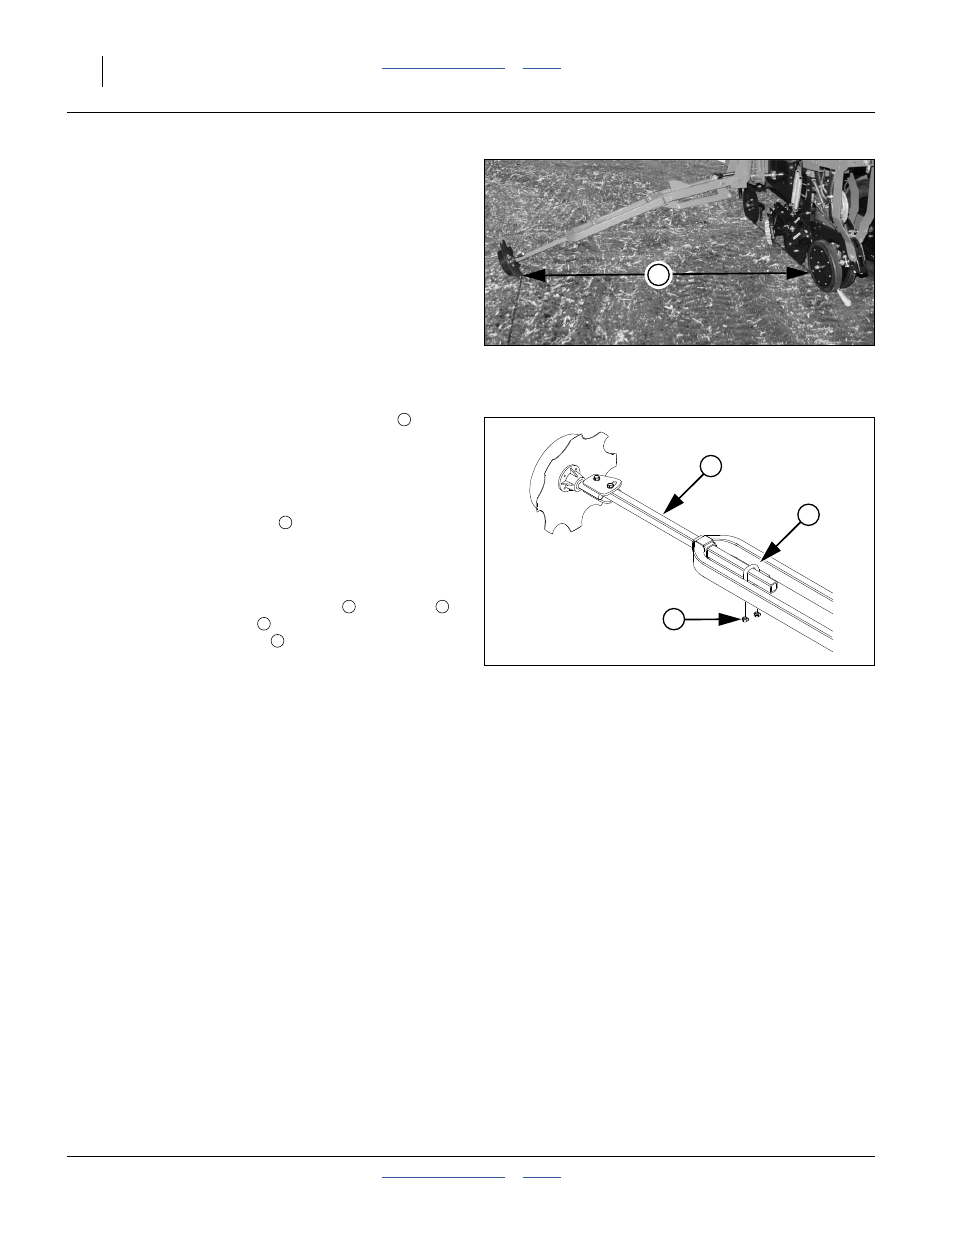
Refer to Figure 101 and Figure 102
4.
Measure out the
Extension
distance from each
outside end row unit (whether in use or not). Do not
measure to center of row pair.
5.
Mark the ground at this point.
6.
To adjust marker width, loosen nuts
on U-bolts
.
Move marker disk tube
in or out to get the proper
adjustment. Tighten nuts
.
7.
Repeat steps 4 and 6 for the other side.
8.
With the planter still lowered, drive forward a few feet
for each side.
9.
Check the mark locations. Adjust to obtain the table
value.
Figure 101
Marker Extension
31039
E
Figure 102
Marker Extension Adjustment
25450
1
2
3
E
E
1
2
3
1