Exide Technologies GB4109 User Manual
Page 16
Sales x Service x Recycling 888.563.6300 in the USA 800.268.2698 in Canada
13
II. Starting a Charge Cycle
1.
Connect the truck’s battery to the charger. Once the battery is detected, the LCD message
will change to “
Push Start to Begin Cycle”.
4
8
V
2
0
0
A
0
7
/
1
9
/
0
7
1
2
:
0
0
:
0
0
P
U
S
H
S
T
A
R
T
T
O
B
E
G
I
N
C
Y
C
L
E
If the above message is not displayed, the battery may not have been detected. Make sure
that the battery cables are connected properly and verify that the auxiliary contacts are
proper and making good contact. Once a battery is connected, the above message will be
displayed.
2.
To start the charger, press the
START button. A STARTING CHARGE screen will appear
for few seconds as shown below.
S
T
A
R
T
I
N
G
C
H
A
R
G
E
E
X
I
T
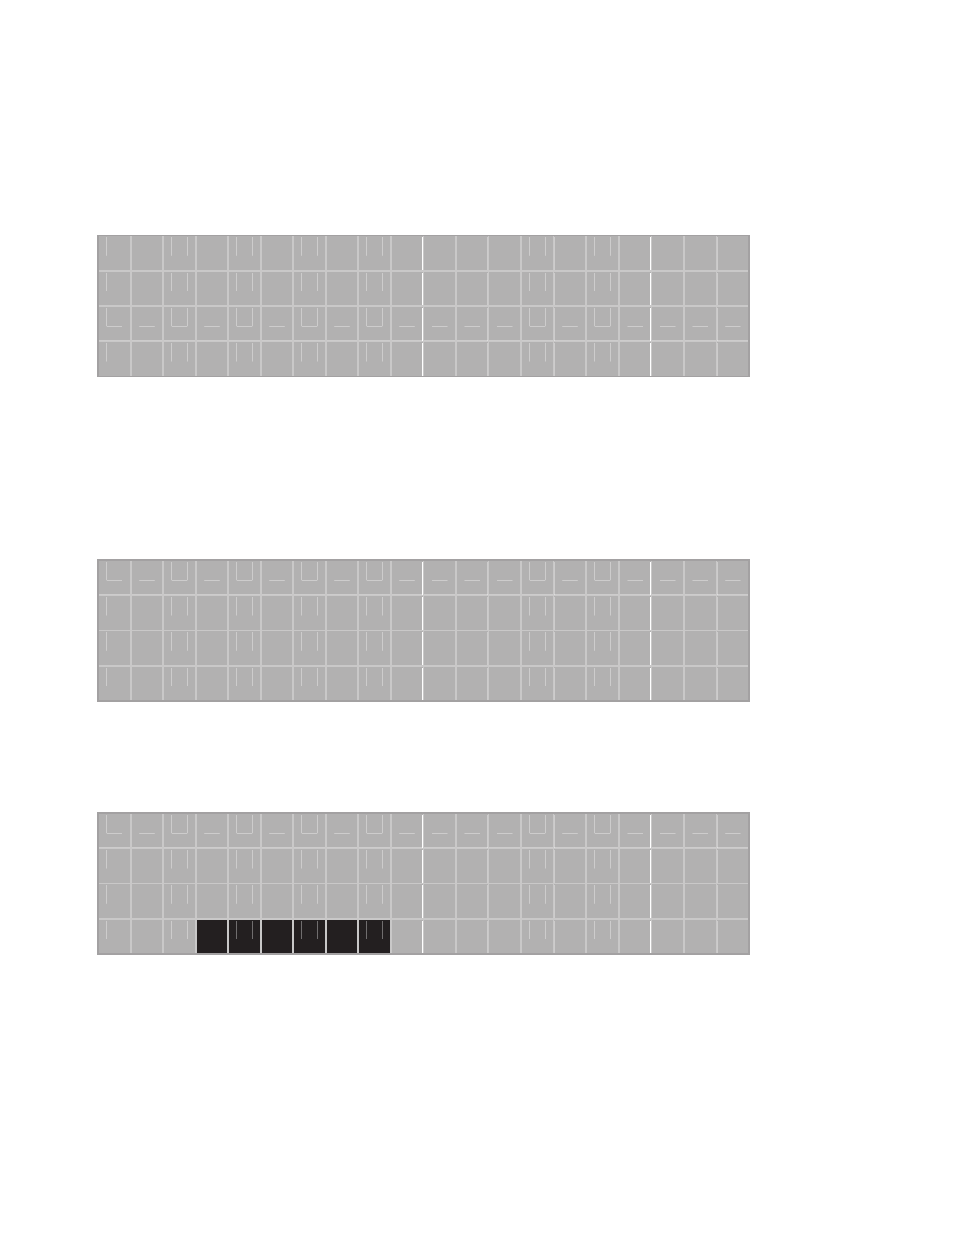
3.
The charge cycle will start and the following screen showing the charging operation will be
displayed.
M
M
C
H
A
R
G
E
H
H
:
M
M
:
S
S
V
:
X
X
X
.
X
A
:
X
X
X
X
T
:
X
X
X
F
A
H
:
X
X
X
X
E
F
5
2
%
“MM” indicates the active charging mode, which can be Trickle, CC, CV, Finish, or Equalize.
The Charge Timer, Battery Voltage, Current, Temperature, and returned Amp-Hours will all
be displayed. Also, the battery state of charge is shown at the bottom of the screen.
4.
To stop the charge cycle, press the
STOP button. A CHARGE CYCLE STOPPED screen
will appear as shown below.