Setting the address of each microlynx – VICI M Series User Manual
Page 29
25
Setting the Address of each MicroLYNX
The party address can be set by either hardware switches or software.
In this discussion, “party address” and “drive name” are synonymous.
Hardware method
1. Connect the communications cable (RS-232 or RS-485) to the first
MicroLYNX only. (NOTE: power can be connected to all units.)
2. Set the three address switches to OFF (which equals “no address”).
3. Apply power. You should get the following startup string.
Program copyright 1996-2000 by:
Intelligent Motion Systems, Inc.
Marlborough, CT 06447
VER = 1.5000 SER = xxxxxxx
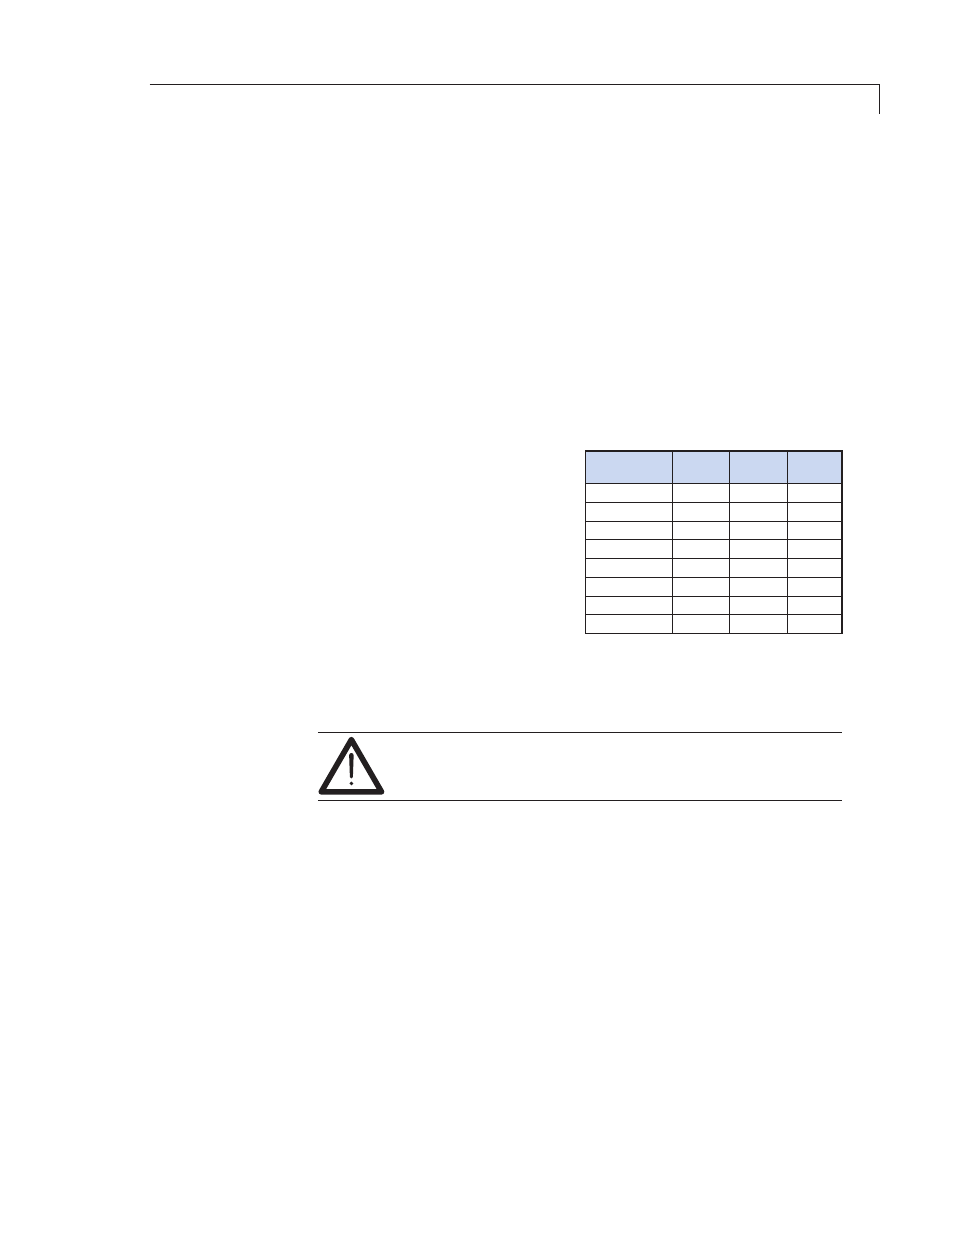
4. Set the three address switches
to assign the address desired
(uppercase A – G) for the
controller being configured.
5. Label the controller with its
address for easy reference.
6. Type Control-C [Ctrl-C]. (Or cycle
the power by removing power,
waiting for the LED to go out,
then reapplying power.)
The MicroLYNX is now in party mode, but there will not be any message
indicating this; nor will you get the > prompt. You do not have to set PARTY=1;
if the address switches have been set, party=1 will be set internally.
In the party mode, all commands must be preceded by
the address
(upper case)
and terminated with
[Ctrl-J].
7. Test the setup by sending the command PRINTVER, requesting the
version of the firmware. (This illustration is for address A; substitute the
appropriate address.)
Input:
APRINT
VER[Ctrl-J]
You should receive the line:
Output:
VER = x.xx.
8. If the first controller in a multi-controller setup is connected to the PC by
RS-232, then the Host flag must be set to true (1).
Input:
AHOST=1[Ctrl-J]
Input:
ASAVE[Ctrl-J]
9. Remove power and connect the communications cable(s) to the next
MicroLYNX. Repeat the address assignment procedure for each controller,
assigning a different address to each. There can be as many as 6 more,
or a total of 7.
10. Connect all units’ communication lines using RS-485 and apply power.
All units are now in party mode.
Address
A2
A1
A0
None
A
B
C
D
E
F
G
OFF
OFF
OFF
OFF
ON
ON
ON
ON
OFF
OFF
ON
ON
OFF
OFF
ON
ON
OFF
ON
OFF
ON
OFF
ON
OFF
ON