2 cut quality – Tweco 220 VAC 50Hz Drag-Gun User Manual
Page 19
Operating Manual 0-2737
15
DRAG-GUN Plasma Cutter (Australia)
2. Hold the torch on a slight angle to the workpiece with
the front of the tip at the edge of the workpiece (or
slightly above) at the point where the cut is to start.
When starting at the edge of the plate, do not pause
at the edge and force the arc to "reach" for the edge of
the metal. Establish the cutting arc as quickly as pos-
sible.
3. With the torch in starting position, press and hold the
torch switch. The pilot arc will come on and remain
on until the cutting arc starts.
NOTE
Limit piloting time to conserve torch parts. Refer
to section 5.5C for more information.
CAUTION
Torch parts may get quite hot during normal op-
eration. Always wear light cutting gloves when
changing torch parts just after operating the Drag-
Gun system.
4. Once on, the main arc remains on as long as the torch
switch is held down, unless the torch is withdrawn
from the work or torch motion is too slow. If the cut-
ting arc is interrupted, the pilot arc comes back on
automatically. (You may not notice a difference).
5. To shut off the torch simply release the control switch.
B. Pier
B. Pier
B. Pier
B. Pier
B. Piercing
cing
cing
cing
cing
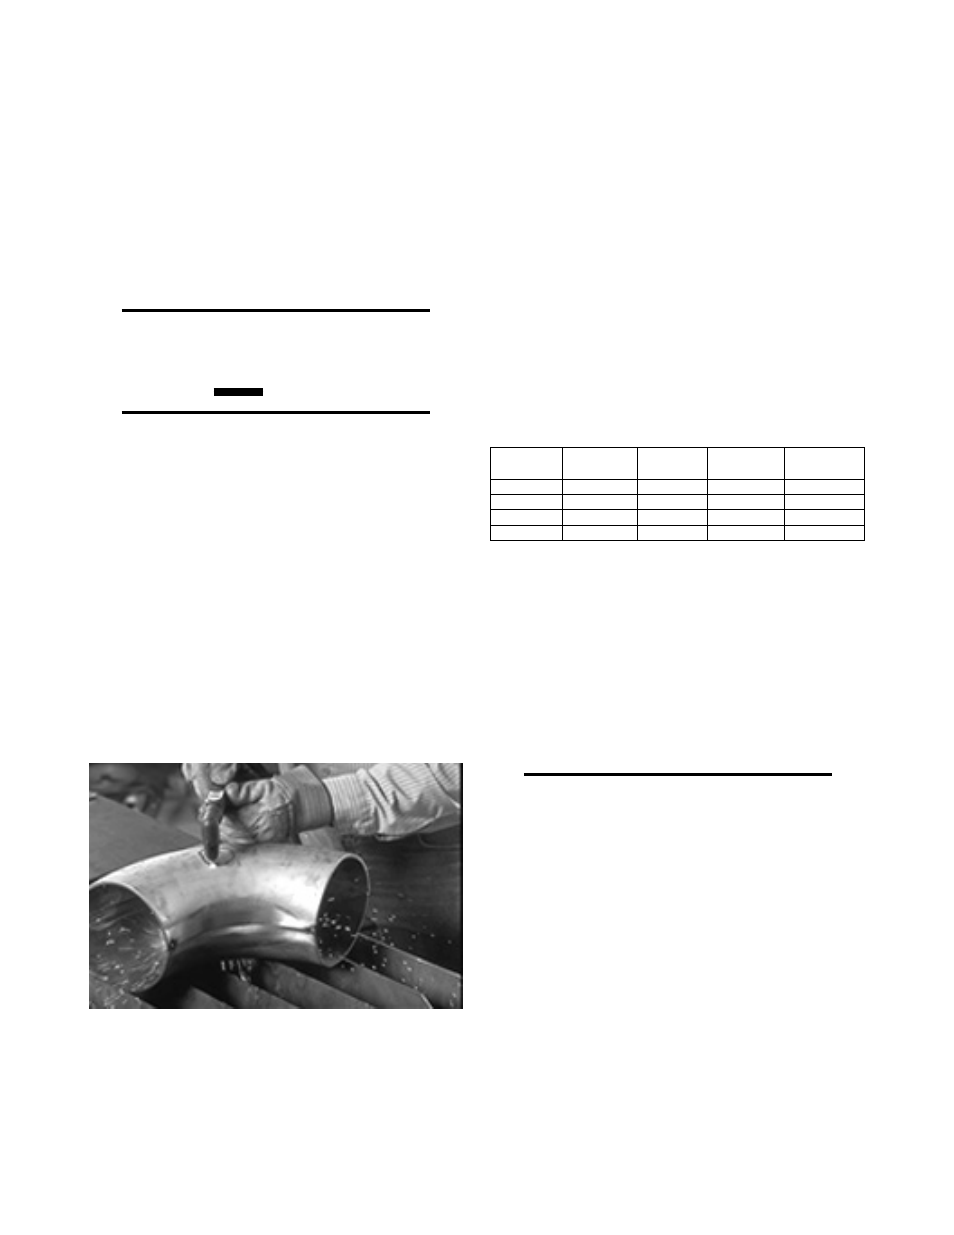
1. For piercing, position the tip approximately 1/8" (3.2
mm) above the workpiece. Angle the torch slightly to
direct sparks away from the torch tip and operator.
Figure 5-4 Piercing
2. Initiate the pilot arc and lower the tip of the torch until
the main cutting arc transfers, sparks start.
3. Start the pierce off the cutting line on the scrap piece
or template and then continue the cut onto the cut-
ting line. Hold the torch perpendicular to the work-
piece after the pierce is complete.
4. Clean spatter and scale from the shield cup and the tip
as soon as possible.
5.2 Cut Quality
5.2 Cut Quality
5.2 Cut Quality
5.2 Cut Quality
5.2 Cut Quality
Cut quality depends heavily on setup and parameters
such as torch alignment with the workpiece, cutting
speed, condition of torch parts, input line voltage, and
operator ability. Cut quality will also vary on different
types of material and thicknesses.
The following table shows the cut quality one can expect
from this equipment for materials with a thickness of
7 gauge or less:
Material
Thickness
Mild Steel
Stainless
Steel
Aluminum
Galvanized
Steel
20 Gauge
Excellent
Excellent
Very Good
Excellent
16 Gauge
Very Good
Excellent
Good
Excellent
10 Gauge
Very Good
Good
NR
Good
7 Gauge
Severance
Severance
NR
Severance
Figure 5-5 Cut Characteristics
Excellent
- No bevel or dross*
Very Good
- Negligible bevel; slight dross* (easy to remove)
Good
- Slight bevel with some dross* (easy to remove)
Severance
- Substantial reduction in cut quality and speed
NR
- Not Recommended
NOTES
Pierce Capacity is 1/16" (1.59 mm)
* Dross is molten material which is not blown out
of the cut area and resolidifies on the plate. Top
spatter is dross which accumulates on the top sur-
face of the workpiece. Top spatter is normally
caused by a slow torch travel speed or too high of a
torch standoff distance. Dross normally breaks off
quite easily by simply scraping it off with a piece
of metal.