Table-mounted operation – Triton JOF 001 User Manual
Page 8
GB
8
Hand-Held Operation / Table-Mounted Operation
OPTIONAL TEMPLATE GUIDE KIT
• An optional template guide kit is available from your
Triton retailer.
EXTENDED BASEPLATE AND FENCE
• The Extended Baseplate (16) provides greater stability
when using bearing-guided cutters along an edge
• When using the router with the baseplate fitted, place
one hand on the long end of the base, holding it down
onto your work, and grip the router handle, furthest
away, with your other hand.
To fit the extended baseplate
1. Loosen the Baseplate
Mounting Knobs (13)
sufficiently so that the bolts
(on the mounting knobs)
will be able to engage
the keyhole slots in the
baseplate
2. Turn the router upside down
3. Push each knob upwards in turn as you slide the
baseplate onto the base of the router and engage the
bolts in the keyhole slots on the baseplate
4. Slide the extended baseplate until the bolts locate
against the ends of the keyhole slots. Tighten the
baseplate mounting knobs firmly
To fit the fence
1. Loosen the side fence
knobs
2. Slide the fence (14) onto
the rails at each side of the
baseplate
3. Lock at the required setting
by tightening both fence knobs
NOTES
• When routing trenches some distance in from an edge,
fit the fence to the long end of the base
• When performing edge work with a non-bearing guided
cutter, fit the fence to the short end of the base
• If using a very large diameter cutter it may be
necessary to fix wooden blocks to the fence faces, via
the screw holes, to ensure the cutter does not come
into contact with the fence
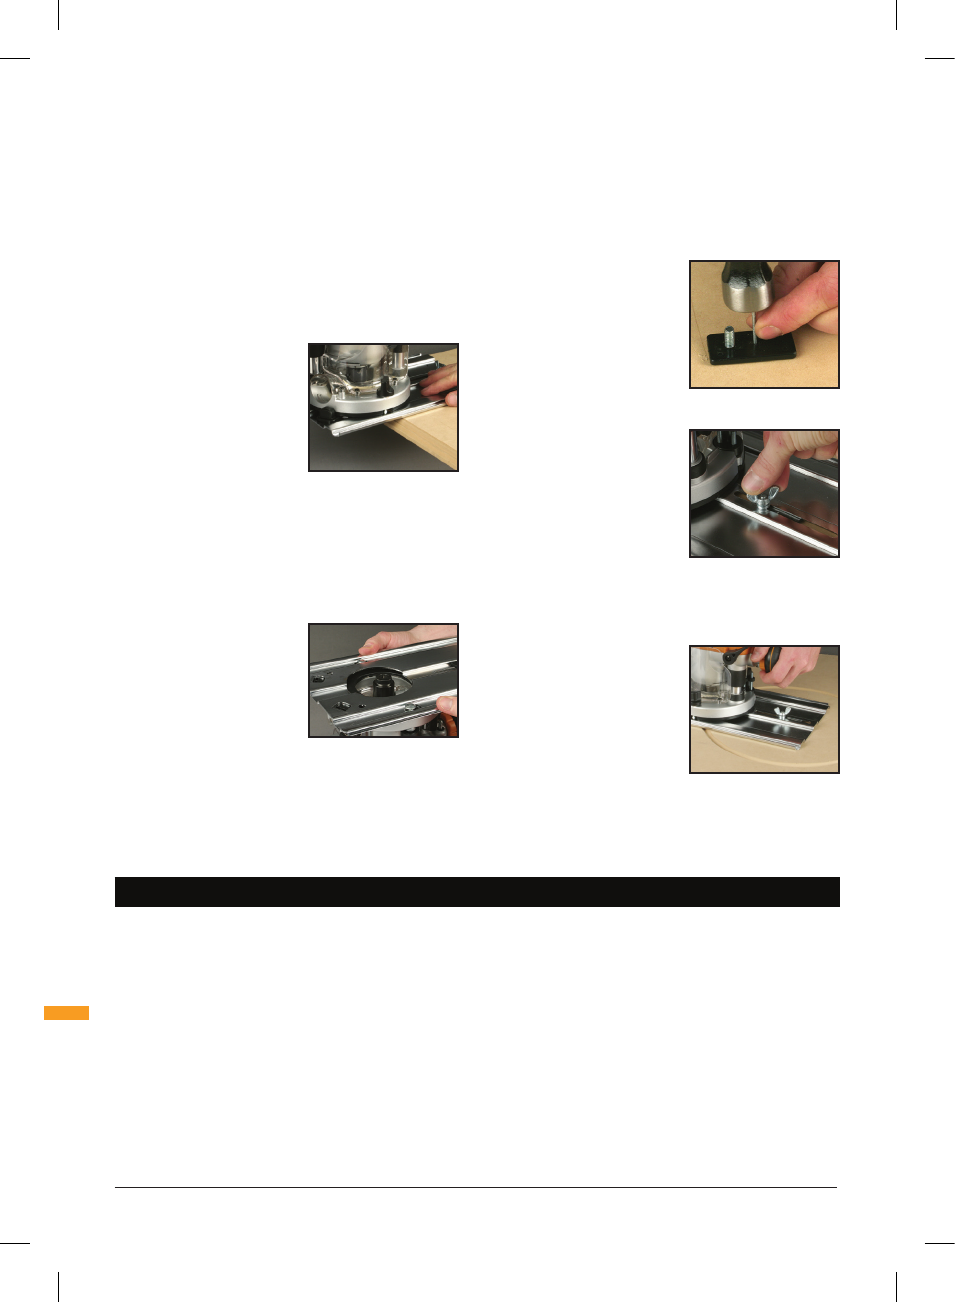
CIRCLE CUTTING
1. Fit the extended base
(without fence) to the router
2. Remove the Pivot Mount (19)
from the base and fix it to the
centre of your work using a
small nail or screw through
one of the holes in the pivot
mount. Leave the pivot
mount bolt in position
3. Lower the router and base
over the pivot mount and refit
the washer and wing-nut
4. With the power switched
OFF, rotate the router along
the intended path to check
the circle, and make any
necessary adjustments.
5. Cut the circle in several passes, lowering the cut depth
by say 2mm (
1
⁄
13
") each pass. Do not attempt to cut
deeply in one pass
6.
Through cuts: If cutting all
the way through the material,
fix a sacrificial board to the
underside of your workpiece.
Cut the circle oversize, then
when the cut is all the way
through, reduce the diameter
and work back to the desired
size, using light, full depth passes
TABLE-MOUNTED OPERATION
• Fitting and operating this router on a router table
should be done in accordance to the literature supplied
with your router table
• This product was designed for efficient and convenient
operation on most router tables, but is particularly
suited to the Triton Router Table
• Router adjustments are made extremely easy using the
unique features described earlier in the manual. Refer
to ‘Fitting a collet and router bit’ and ‘Adjusting the
depth of cut’
• The Table Height Winder (18) engages with the
Table-Winder Connection Point (10) for quick and easy
above-the-table height adjustment when the router is
table-mounted
925837_Z1MANPRO1.indd 8
13/11/2013 16:46