7 disassembly, A head removal – Trebor 55D EVOLVE User Manual
Page 17
EVOLVE 55D PUMP OPERATION / MAINTENANCE MANUAL
PAGE 17
4.7 DISASSEMBLY
During the life of the pump it will be necessary to perform certain preventative maintenance
procedures to ensure its continued high performance. This section and the next (4.8
) are provided for the user’s convenience in disassembly and re-assembly
procedures.
4.7.a Head Removal
• Loosen quick grip nuts on the transfer tubes from the Jaco fittings in the base using
13/16” open-end wrench.
• Remove pump assembly from the pump control base.
• Immerse or flush the pump assembly using DI water and a neutralizing agent.
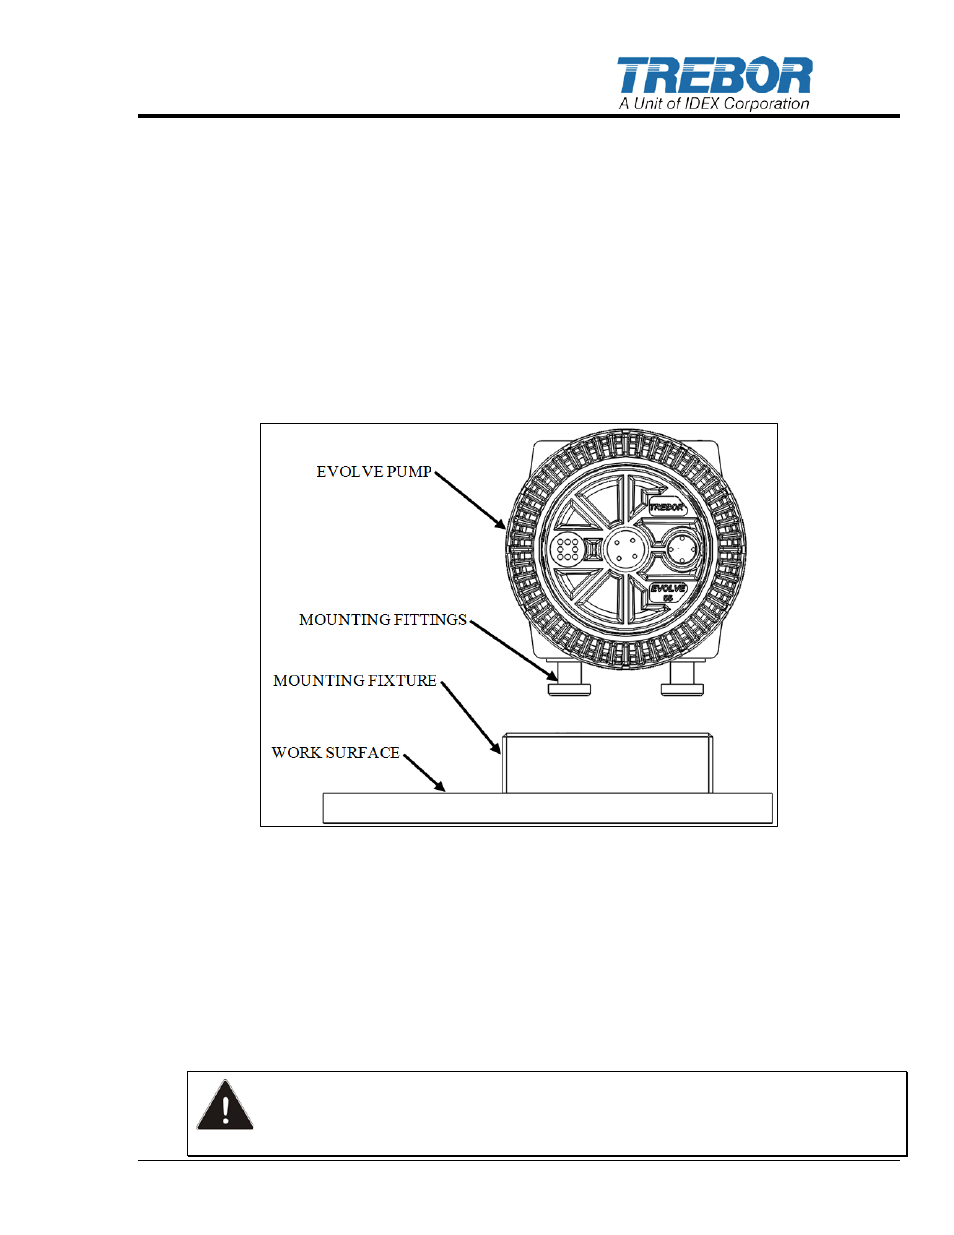
• Install mounting fittings in pump fluid adapter ports and lock body into bench mounting
fixture. NOTE: Securely attach mounting fixture to work surface using hardware
provided.
Figure 4-2: Pump and Mounting Fixture
• Remove the transfer tubes from pump heads (using latex gloves to assist grip).
• Remove the leak port plug and seal
• Remove the smart pilot cap, seal, and smart pilot assembly
• Remove the muffler assembly
• Using the torque tool, turn the union nuts counter-clockwise to remove.
• Remove head and check diaphragms for cracks or cuts.
• To remove diaphragms, slit diaphragm with a sharp knife and pull the diaphragms from
the grooves. (Do not pry on diaphragm seal groove, as this will damage the sealing
surface.)
CAUTION: Following disassembly, parts should be thoroughly washed to be free
from chemical residue for handling purposes.