7 tests, 1 lift, 2 test pressure – Richter KSE-C/F Series Safety Valves User Manual
Page 19: Tests, Lift, Test pressure, Series kse/f, kse-c/f

Series KSE/F, KSE-C/F
Page 19
9530-050-en
Revision 04
TM 7489
Edition 03/2009
Lowering the bellows onto the seat
For this purpose screw the adjusting screw 538
into the spring bonnet 513 until the spacer can be
freely moved.
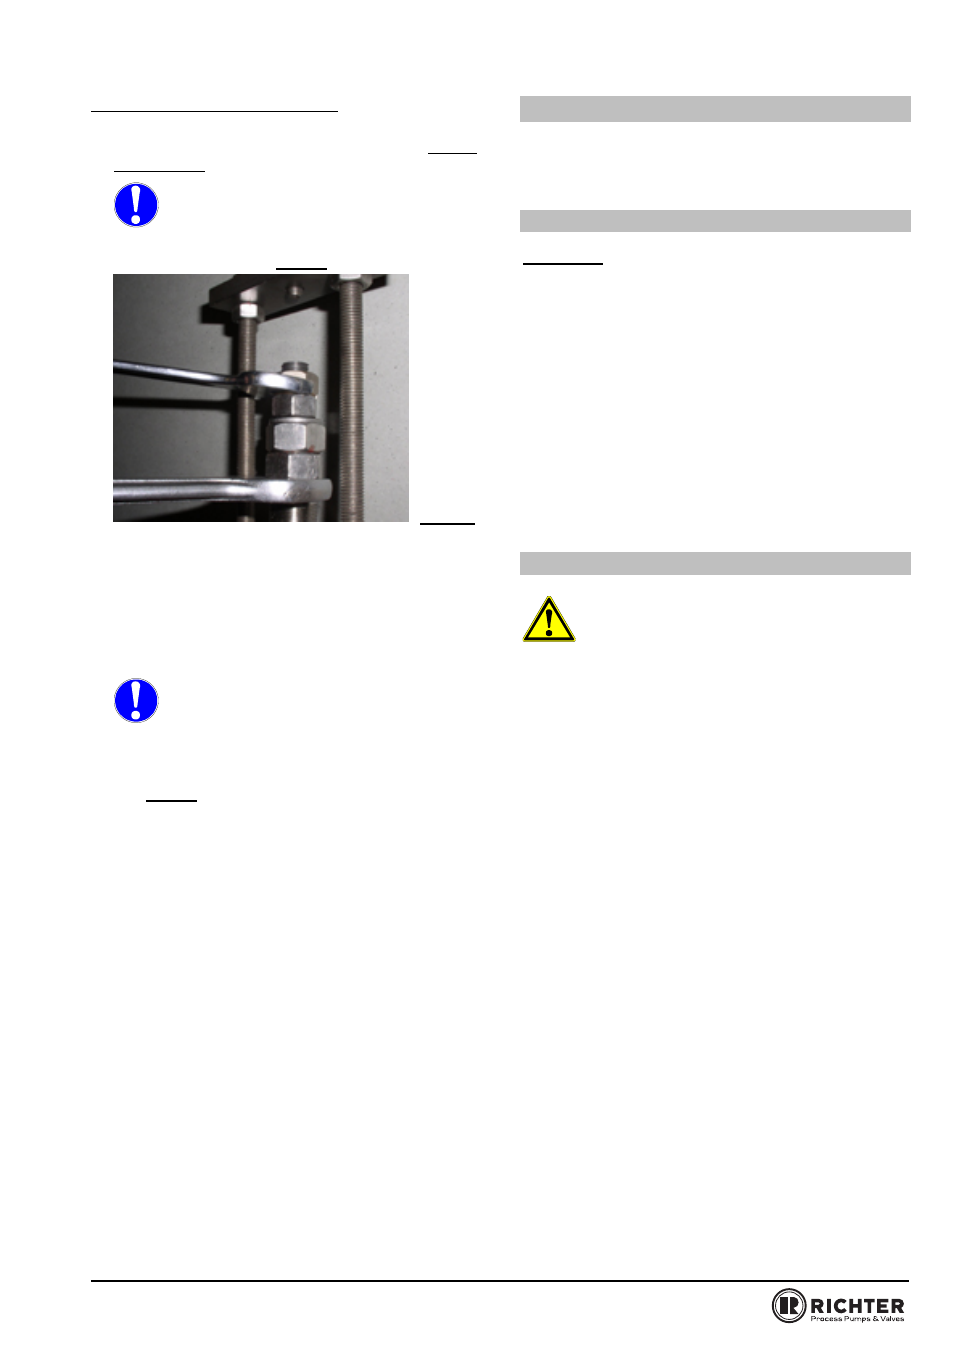
When tightening the adjusting screw 538,
hold the spindle 802 with a wrench on the
counter nut to prevent it from turning so
that the bellows 206 or the spring-type pin 939/1
are not damaged. See Fig. 25.
Fig. 25
Undo the counter nut and remove the spacer.
Now the valve can be set to the specified set
pressure.
Secure the spindle nut 534 and prevailing torque
type hexagon nut 929/1 on the end of the spindle
and counter against each other. Set the adjusting
screw 538 accordingly.
When screwing the prevailing torque type
hexagon nut 929/1 on or off the spindle
802 or when setting the adjusting screw
538, hold the spindle with a wrench on the counter
nut to prevent it from turning so that the bellows
206 or the spring-type pin 939/1 are not damaged.
See Fig. 25
9.7 Tests
Following the assembly of the valve, the lift and the
test pressure must be checked.
9.7.1 Lift
Lift check:
Remove the cap nut 935/1 from the lifting cap 535
and determine the height of the stem 802 up to the
upper edge of the lifting cap 535.
Determine this measurement in both the closed
and fully opened state.
Actuate the lifting lever 238 until the mechanical
travel stop can be felt.
The measurement can be made with a slide calliper
gauge and a depth indicator to DIN 862.
The lift is derived from the difference in the two
heights. It must be at least as high as the lift given in
the test certificate.
9.7.2 Test pressure
This test should take place on a test bench
with a neutral medium such as air or water.
Regarding their suitability and precision, the
employed pressure gauges must conform to the
requirements of current national regulations (in
Germany: e.g. VdTÜV data sheet "Safety Valve 100"
of the Association of the German Technical
Supervisory Boards).
All pressure tests should be carried out in
compliance with DIN EN 12266-1 or API 527.
It is recommended to use a bubble test with a 5
mm diameter hose positioned 50 mm below the
surface of water. The other end of the hose is
sealed to the outlet of the valve by means of a
plug.
To check the test pressure, the pressure in the
valve inlet is slowly increased until the valve
commences to open.
To check the reseating pressure, the pressure in
the valve inlet is slowly decreased until the valve is
bubble-tight.
