F. front – Reloop TERMINAL MIX 4 - VirtualDJ 8 Operation Guide User Manual
Page 10
VirtualDJ 8
– Reloop Terminal Mix 4
10
35. GAIN. Adjust the Gain of each mixer channel.
36. MASTER VOLUME. Adjust the level of the Master Output of the TM4 Audio Interface.
Hardware operation - movement not visible on the VirtualDJ GUI
37. BOOTH VOLUME. Adjust the level of the Booth Output of the TM4 Audio Interface.
Hardware operation
– movement not visible on the VirtualDJ GUI.
38. HEAPHONES LEVEL. Adjust the Volume of the Headphones Output of the TM4
Audio Interface. Hardware operation
– movement not visible on the VirtualDJ GUI.
39. HEADPHONES MIXING. Adjust how the Channels and the Master Output blend at
the Headphones Channel.
40. SAMPLER VOLUME. Adjust the Master Output Volume of the VirtualDJ Sampler
41. CRATES. Cycles through the views of the Sideview (Automix, Sidelist, Sampler,
Karaoke and Clones). Hold SHIFT down and then press this button to show/hide the
Sideview.
42. VIEW Cycles through the available Center panels of the default VirtualDJ GUI (Mixer,
Video, Scratch and Master). Hold SHIFT down and then press this button to toggle
between the List and the Grid view of Browser.
43. BACK. Set focus to the previous Browser Window (Folders List, Songs List and
Sideview).
44. PREPARE. Add the selected track to the Automix List. Hold SHIFT down and then
press this button to add the selected track to the Sidelist.
45. BROWSE ENC. Scroll through files of folders. Push the encoder to enter the Songs
List (if focus is on the folders list) or load the selected track to the first available deck.
Hold SHIFT down and then push the encoder to set focus to the Folders list or
open/close the subfolders if focus is on the Folders list already.
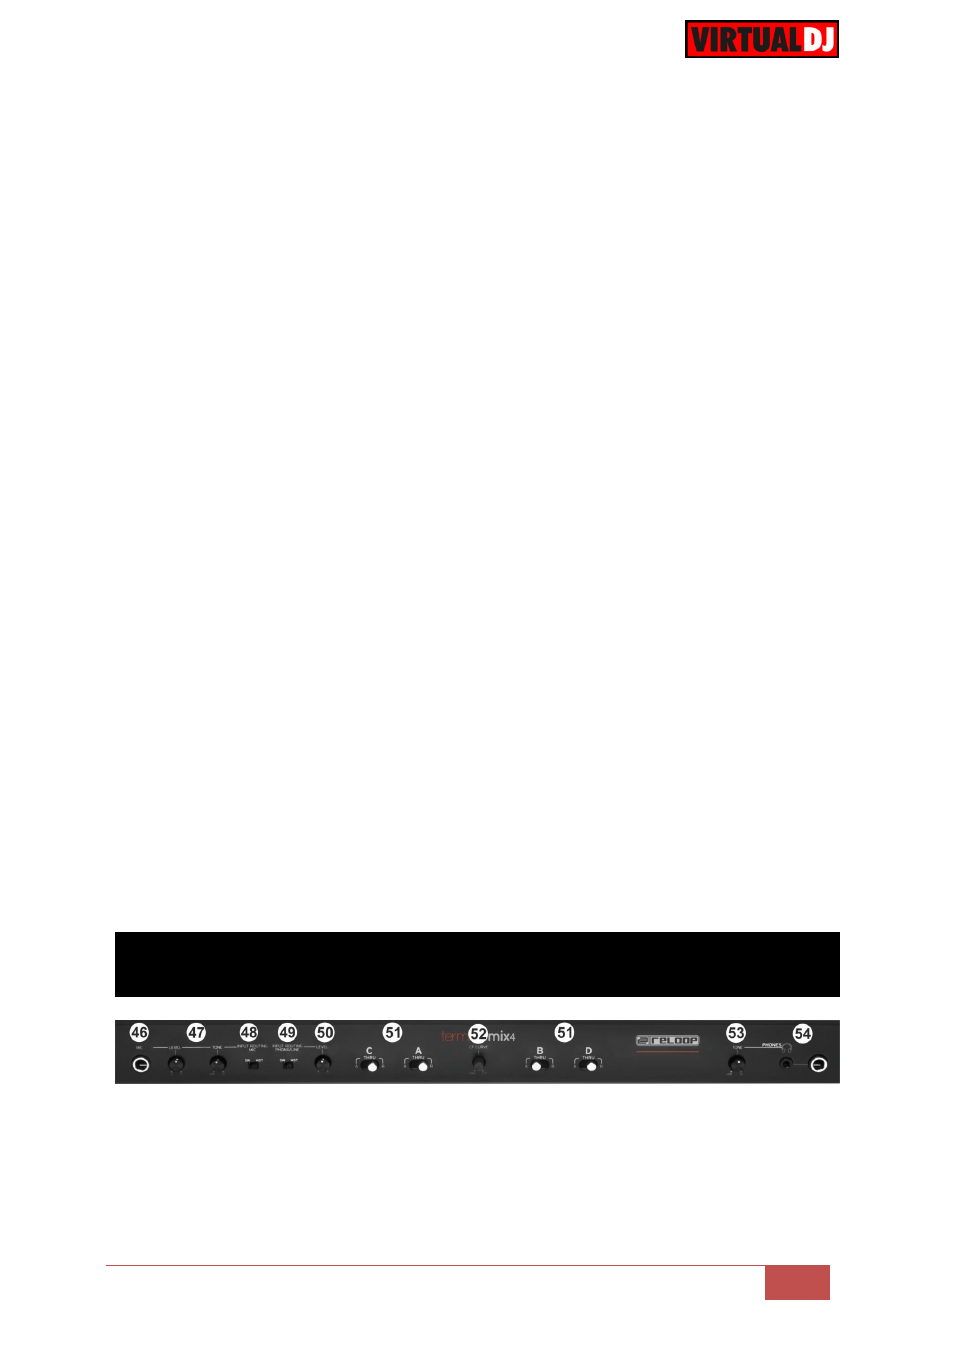
F. FRONT
46. MIC INPUT. Connect your 1/8
” Microphone to this Input.
47. MIC LEVEL/TONE. Adjust the signal Level and the Tone of the Microphone Input.
Hardware operations (not visible on the VirtualDJ GUI), however the Microphone Input
can be routed into the software (see Recording)