RCBS Pro 2000 Progressive Reloading Press User Manual
Page 9
- 9 -
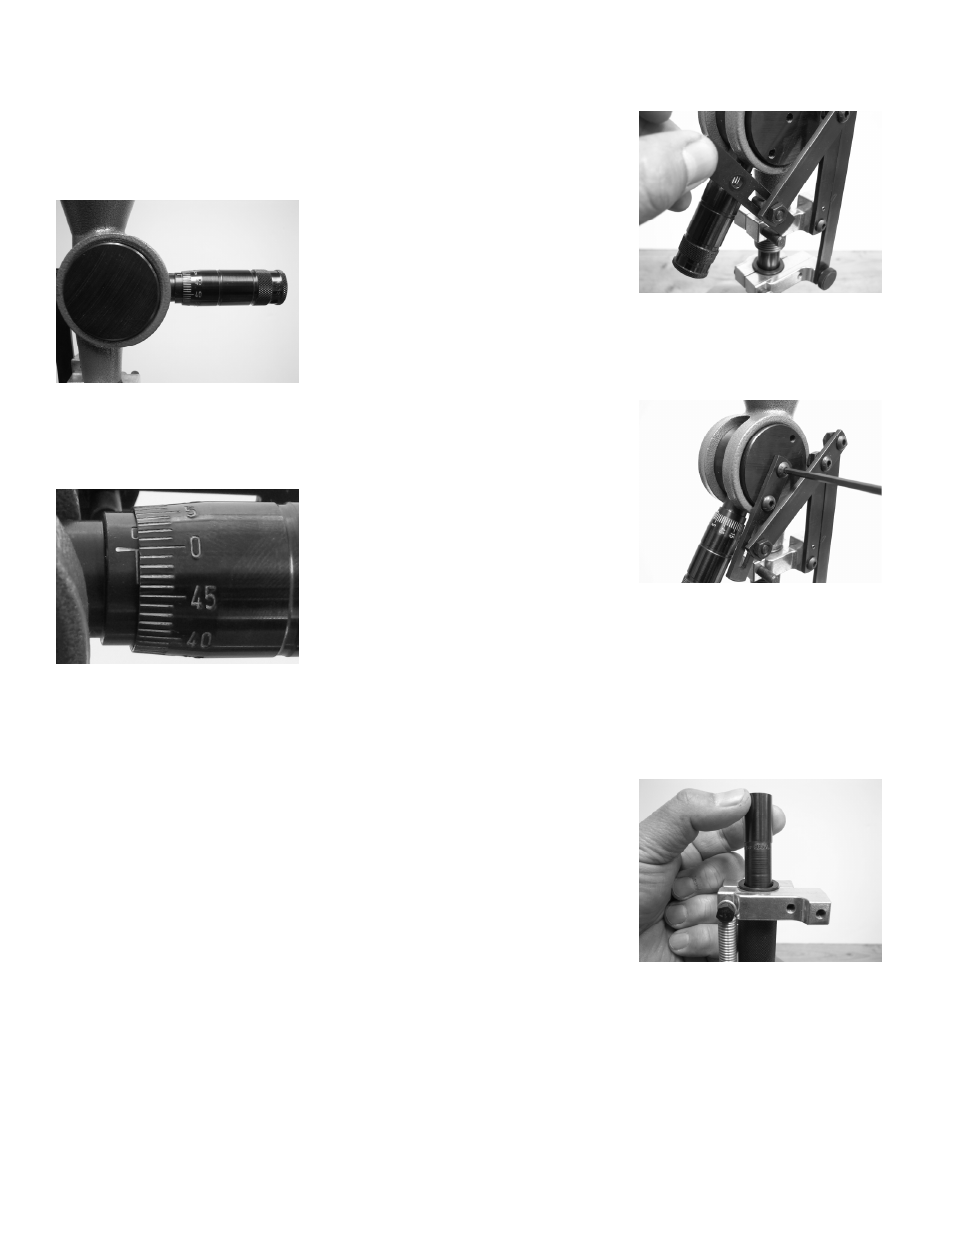
Next, slip the micrometer thimble over
the shank and secure it to the
metering screw using the setscrew
that is in the top of the thimble.
Holding the cylinder halfway through
its travel, see photo C, turn the
Micrometer down as far as it will go
until the metering screw stops against
the powder measure casting.
Photo C
Loosen the setscrew and adjust the
thimble position to set the Micrometer
at the "zero" reading. See photo D.
Photo D
Rotate the powder measure cylinder
to make sure the Micrometer
Adjustment Screw is not rubbing
against the casting. If it does rub the
casting, unscrew the Micrometer one
or two graduations. Then loosen the
setscrew and re-zero the Micrometer.
Tighten the setscrew. The Uniflow
Powder Measure with the Micrometer
Adjustment Screw is ready to use.
INSTALLING LARGE METERING
SCREW
Having determined how many
washers are required to properly
locate the index scale, remove the
Micrometer body from the large
powder measure cylinder. Drop the
metering screw into the powder
hopper, threaded end first. The screw
will drop into the hole of the cylinder
and the threaded end can be grasped
from the outside.
Holding the shank of the metering
screw, turn the body of the
Micrometer(with the correct number of
washers) onto the shank until the
threads of the body come in contact
with the cylinder. Release the shank
and thread the Micrometer body into
the powder measure cylinder. Make
sure the washers align in the counter
bore of the cylinder. Use the wrench
flats on the end of the body to tighten
the body securely.
Next, slip the Micrometer thimble over
the shank and secure it to the
metering screw using the setscrew
that is in the top of the thimble.
Holding the cylinder halfway through
its travel (see photo C) turn the
Micrometer down as far as it will go
until the metering screw stops against
the powder measure casting, Loosen
the setscrew and adjust the thimble
position to set the Micrometer at the
"zero" reading. See photo D.
Rotate the powder measure cylinder
to make sure the Micrometer
Adjustment Screw is not rubbing
against the casting. If it is rubbing,
unscrew the micrometer one or two
graduations. Then loosen the
setscrew and re-zero the micrometer.
Tighten the setscrew and the Uniflow
Powder Measure with the Micrometer
Adjustment Screw is ready to use.
The Micrometer Adjustment feature
allows the hand loader to record the
Micrometer reading for a specific
charge of a given powder. By using
the Micrometer, you can return to that
setting at a later date when the
charge is again being used. Although
the same setting will probably not give
exactly the same charge due to
changes in powder lot, humidity and
other variables, the Micrometer
setting will be very close and save the
hand loader considerable time.
POWDER MEASURE
INSTALLATION
Slip the slotted portion of cylinder link
over the drive pin. See photo E.
Photo E
Now install the cylinder link with two
10-32x3/8" socket head button
screws using the 1/8" Hex Key
Wrench. See photo F.
Photo F
Thread the Powder Die three full
turns into Station 3. Select the
correct powder bushing, small rifle
22-270, large rifle 7mm-45, or pistol.
Install bushings with the funnel end
up. See photo G. See Powder
Bushings in Diagram F on page 8 for
correct orientation.
Photo G
Install Powder Measure assembly
into Powder Die. See photo H.