Pressure sensitive mounting - precoat - front, Tips, Custom application notes – GBC 64C User Manual
Page 35: Tips for custom application #1
Page 6-11
SPIRE II Series – Installation and Operating Instructions
p
ressure
s
ensItIve
m
ountInG
-
p
recoat
- F
ront
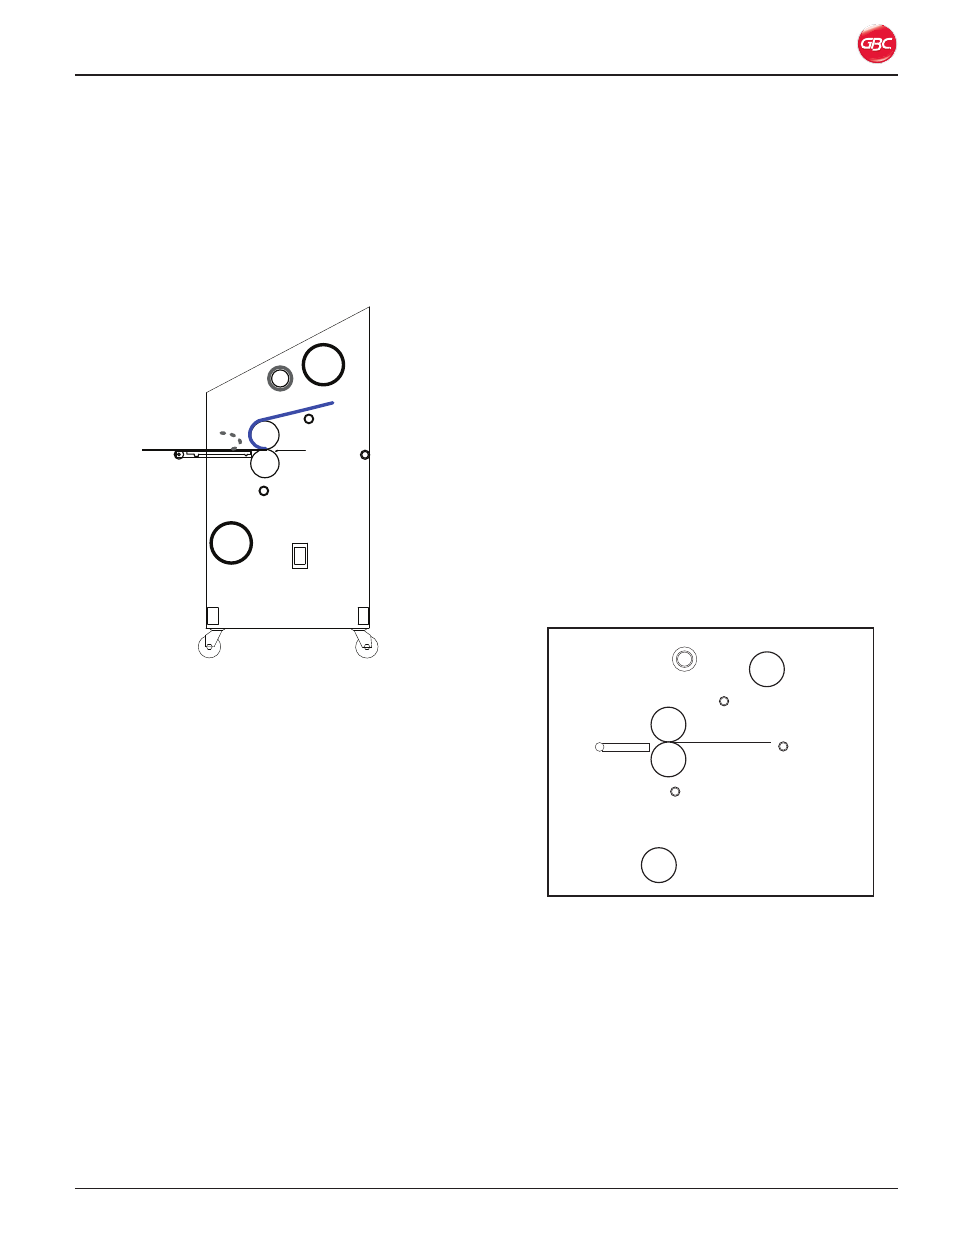
Use this process to mount a graphic to a precoated
substrate.
Examples include POP signage, legal graphics,
photographs, and presentations.
MR
MR
U
U
R
Figure 45. PSA mounting precoat diagram.
To mount a graphic:
1. Set the Main Roller gap to the thickness of the
substrate.
2. Pull 1 to 2 inches (25 to 51 mm) of release liner
off the substrate.
3. Line the graphic up with the edges of the board
and then starting in the middle, tack the leading
edge of the graphic to the substrate.
4. Insert the board into the roller nip, making sure it
is entering the rollers straight.
5. Using the Footswitch, feed the board into the
rollers to the point where the liner separates from
the substrate.
6. Place the graphic over the top of the roller and
through towards the back of the machine.
7. Place one hand on top of the roller to hold the
graphic, and with the other hand, grab the
release liner.
8. Press the Footswitch.
9. As the materials feed into the rollers, pull the
release liner off the substrate.
10. Continue until the graphic and substrate exits the
rollers.
t
Ips
• For larger graphics, a second person at the
back of the laminator can help apply tension
to the graphic. This frees up the person in the
front of the laminator to clean up materials and
handle the release liner.
• If the release liner gets caught in the rollers,
stop the laminator and reverse the materials
out of the rollers until you can pull out the
release liner.
• Do not allow the materials to stop under
the pressure of the rollers for any extended
time. This can cause indentations on softer
substrates.
c
ustom
a
pplIcatIon
n
otes
Use the space below and blank diagrams to
note your tips and web paths for your custom
applications.
t
Ips
For
c
ustom
a
pplIcatIon
#1
Rewinder
Idler
Idler
Idler
Main
Roller
Main
Roller
Supply
Shaft
Supply
Shaft
Figure 46. Custom application 1.
1.
2.
3.
4.