Parts needed, Tools and adhesives needed – E-flite Ascent EP Park Glider ARF User Manual
Page 16
Parts Needed
Assembled Ascent
™
Park Glider
Flight pack installed
Tools and Adhesives Needed
Masking tape
Felt-tipped pen/pencil
Lead "Stick-on" weights (optional)
You will need to balance your model after you've completed
assembly and have installed the receiver, battery and servos.
The balancing of your Ascent is an important step that must not
be omitted. The center of gravity (CG) of your Ascent should be
2
3
⁄
8
" behind the leading edge of the wing at the fuselage. Shift
the motor battery fully forward to balance the model if it is tail
heavy or add weight to the nose. If the model is nose-heavy, you
can shift the position of the receiver battery location in an
attempt to balance the model, or add weight to the tail boom.
Note that adding weight is the last option.
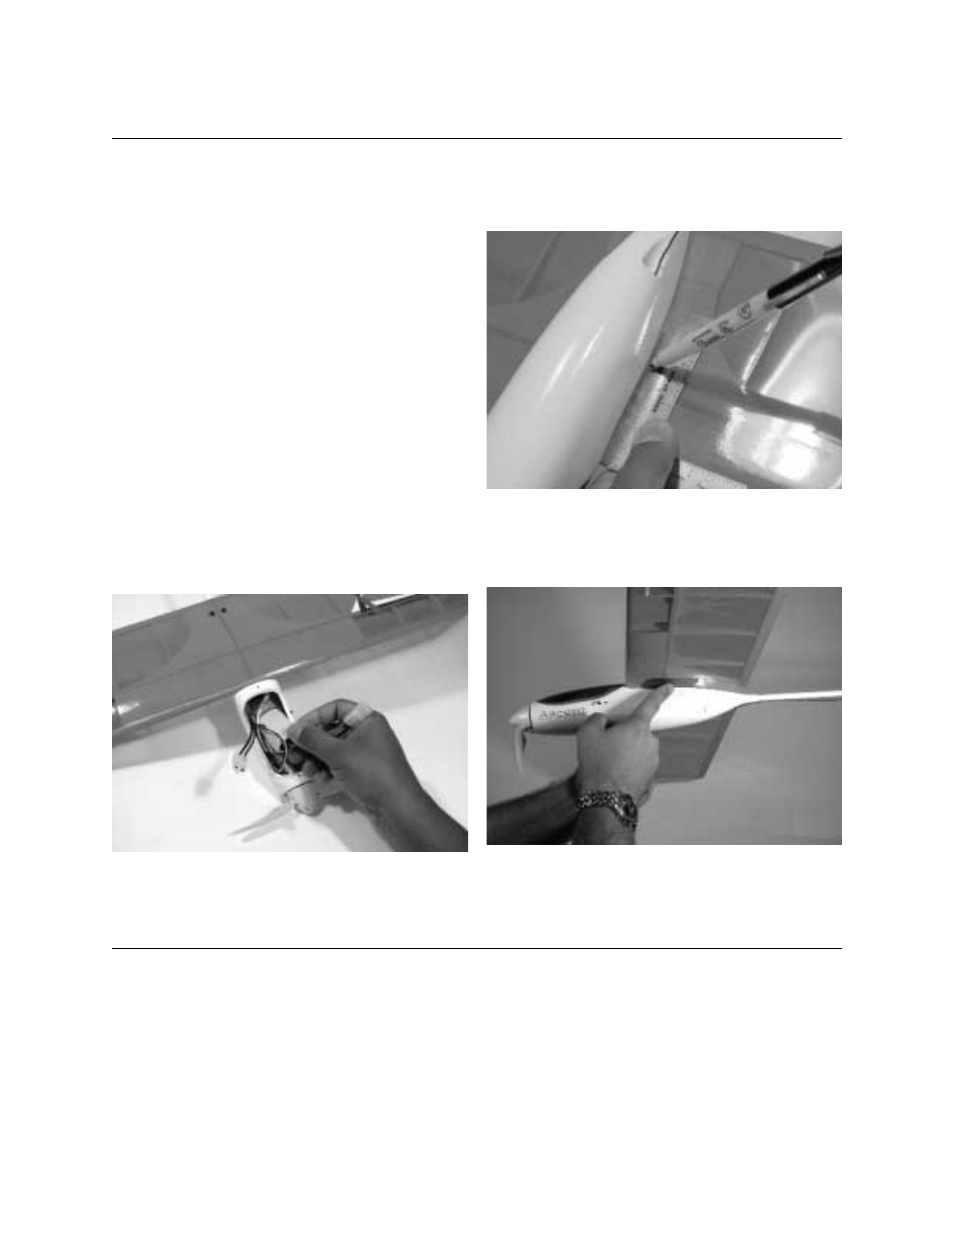
Step 1. To balance the model, it should be fully assembled with
the battery installed and ready to fly.
Step 2. Place a strip of masking tape on either side of the
wings lower surface, next to the fuselage. Mark the location of
the CG 2
3
⁄
8
" from the leading edge on the bottom of the wing on
both sides of the fuselage.
Step 3. Pick up the plane from a level position using one finger
under the wing on each mark. Shift the battery location or add
lead weight until the plane remains level when you pick it up.
The following control throws offer a good place to start with
your first flights. We recommend only one rate setting for the
Ascent, as you become more familiar with the handling of
you model you may wish to add a second rate setting to suit
your flying style.
Recommended Control Throws:
Elevator 1/2" up
1/2" down
Rudder
3/4" right and left
17
Section 6: Balancing the Control Throw
Recommendations
Control Throws