Clay Paky GLOW UP STRIP 100 & FLIGHT CASE (F21250) User Manual
Page 14
14
GLOW UP STRIP 100
CHARGING ANSWER
This allows a default answer can be assigned for the battery charging
request, when the GlowUp Strip is powered by the relative power cable
(powercon):
- On selecting YES, it will automatically switch to the powered by battery
status 1 minute after the GlowUp Strip cord is connected to the mains.
- On selecting NO, it will automatically switch to the powered by cable
status (excluding the battery mode) 1 minute after the GlowUp Strip
cord is connected to the mains.
BATTERY DISPLAY
Allows you to select how to display the battery charge in idle status.
1) Press ENTER
A
– current settings appear on the display.
2) Use the UP
B
and DOWN
C
keys to select one of the 3 following
options:
Automatic: displays the remaining battery charge in hours or as a
percentage.
Percentual: displays the percentage of remaining battery charge.
Time left: displays the remaining time of the battery charge in hours.
3) Press ENTER
A
to confirm the selection (the display blinks for
several seconds) or SELECT
S
to keep the current settings and
return to the previous Menu.
FIXTURE ID
Allows you to display the GLOW UP ID address.
1) Press ENTER
A
– the ID address appears on the display.
FW UPLOADER
Used to transfer software (Application o Boot) from one projector to all
other connected projectors.
1) Press ENTER
A
use the UP() e DOWN() keys to select:
Cable upload: to start the firmware upload via DMX cable.
Radio upload: to start the firmware upload via wireless
2) Press ENTER
A
to transfer firmware or SELECT
S
to return to the
previous Menu.
CHARGE BATTERY HOURS
This option allows the user to view the total number of battery load hours
from construction to today.
1) Press ENTER
A
– total charge hours appear on the display.
2) Press SELECT
S
to return to the previous Menu.
DISCHARGE BATTERY HOURS
Displays total GLOW UP battery powered operating hours from last time
used, from construction to today.
1) Press ENTER
A
– total battery powered operating hours appear on
the display.
2) Press SELECT
S
to return to the previous Menu.
BATTERY MONITOR
Press the ENTER
A
key on the display to view the voltage and current
status of the battery.
LED TEMPERATURE
Displays the LED working temperature.
1) Press ENTER
A
– two options appear on the display:
Temperature (real-time LED temperature)
Max Temperature (maximum temperature measured on LEDs)
2) Use the UP
B
and DOWN
C
keys to select which of the two
temperature items to be displayed.
3) Press ENTER
A
to display or SELECT
S
to return to the previous
menu.
To reset the “Max Temperature” value, simultaneously press and hold
down the UP
B
and DOWN
C
keys for several seconds. When “Rst?”
(Reset) appears, confirm by pressing ENTER
A
.
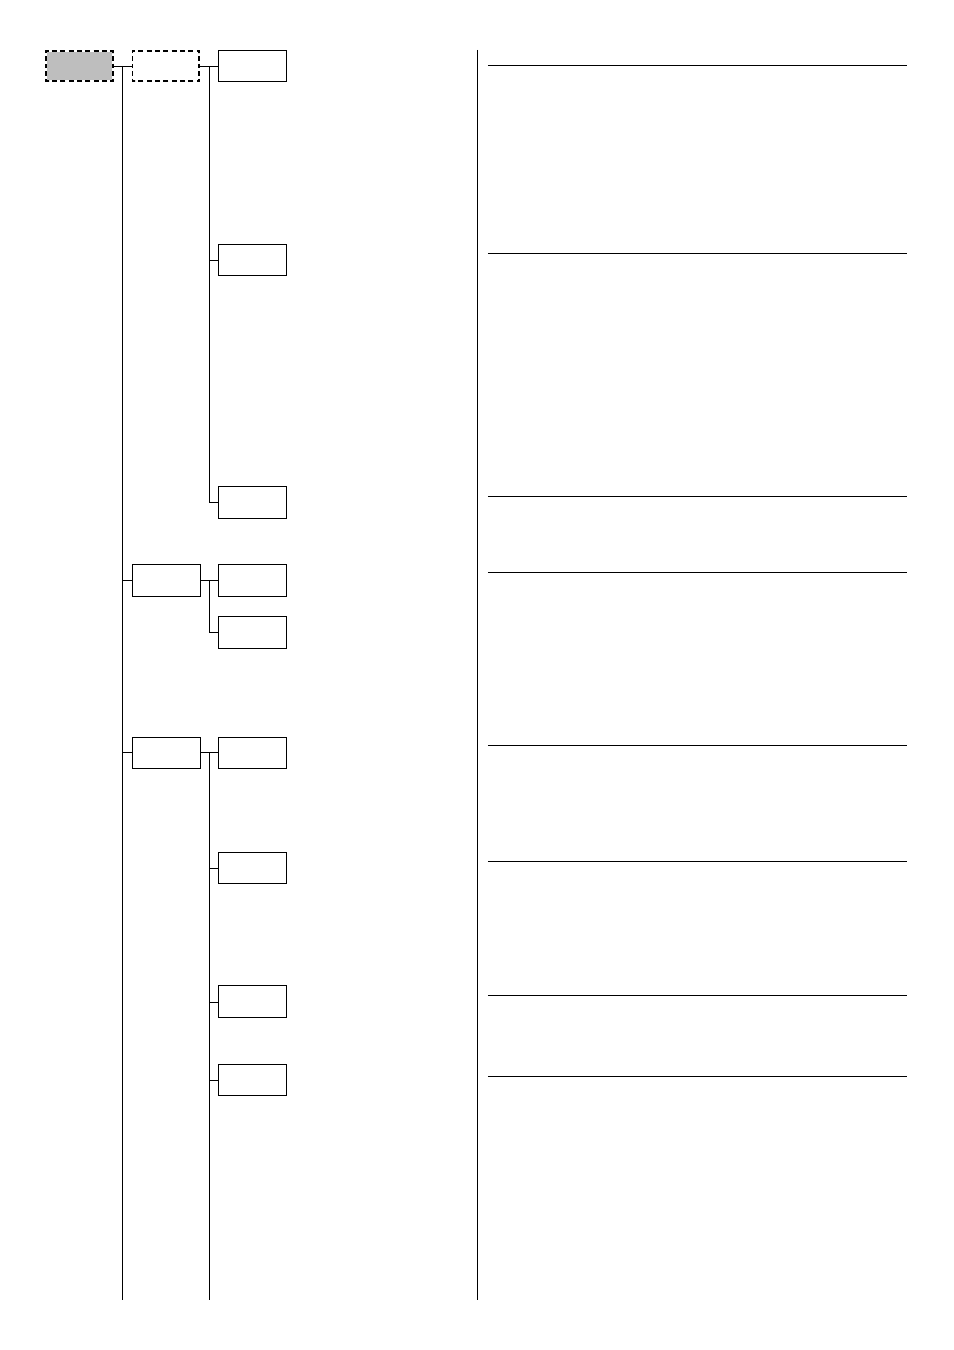
Battery
Monitor
Discharge
BAT hour
LED
temperature
Boot. Upload
FW Uploader
Appl. Upload
Informations
Charge BAT
hour
Fixture ID
Battery
Display
Charging
Answer
Advanced
Setup