Attach mirror defogger to the back of the mirror, Electrical wiring – WarmlyYours Mirror Defogger User Manual
Page 8
Attach Mirror Defogger to the back of the Mirror
Step 5
Place the element on the mirror so that it will line up with the
markings on the wall.
Step 6
Dry fit the Mirror Defogger on the mirror, and line up the lead wires
with electrical box. Do not remove paper backing yet. Draw an
outline of the Mirror Defogger on the mirror.
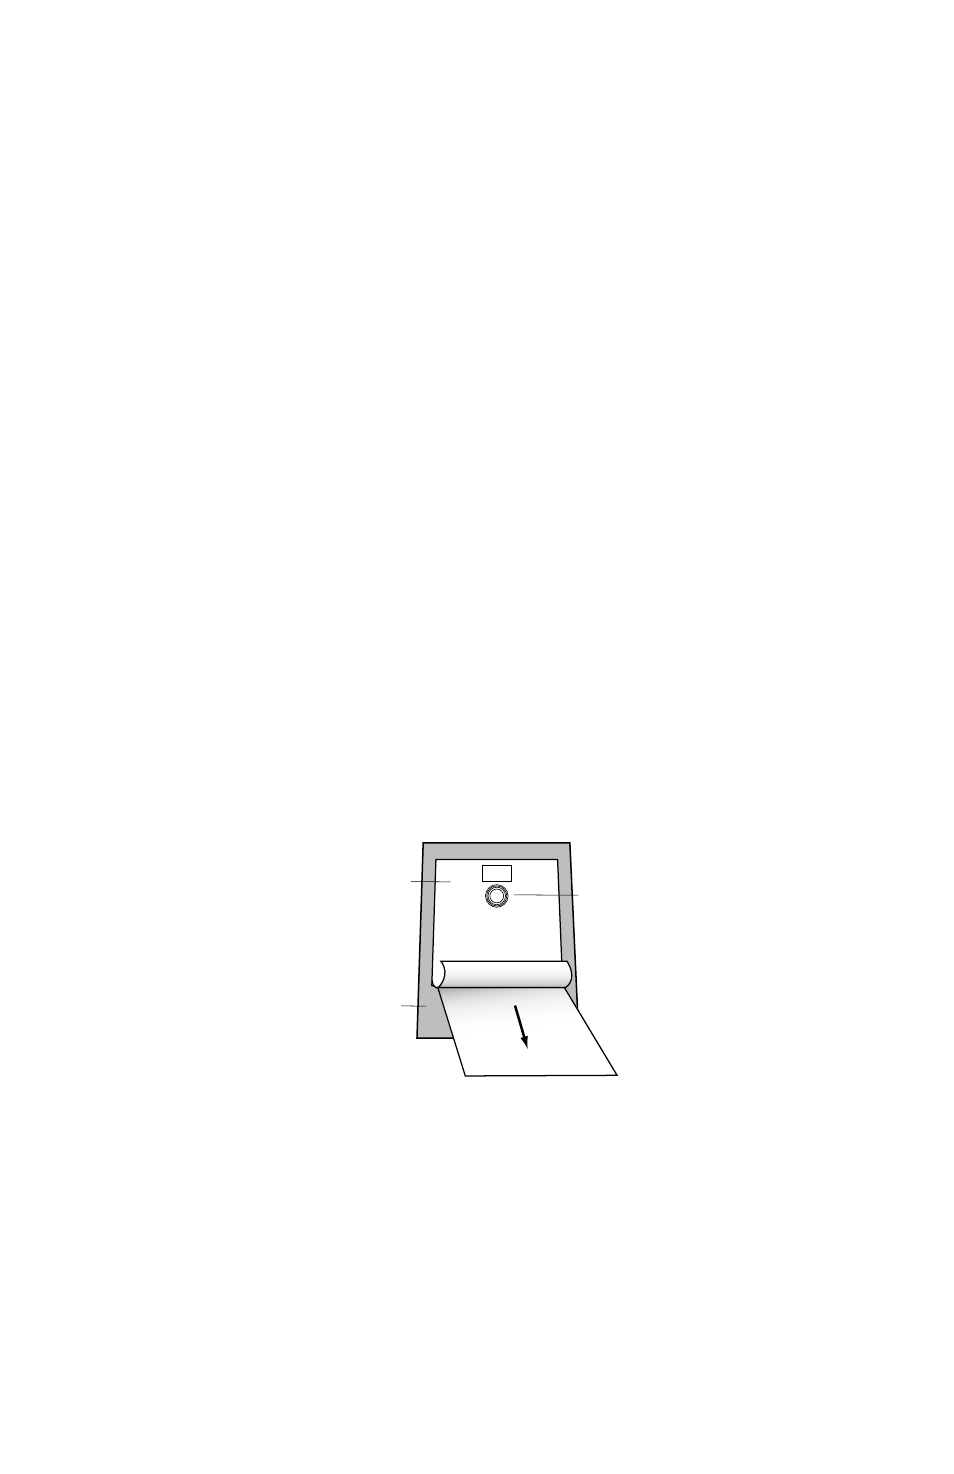
Step 7
Peel back 2” of backing from the Mirror Defogger and line it up with
outline drawn in Step 6. Adhere backing to the top of the Mirror
Defogger and slowly remove the rest of the backing, sticking the
Mirror Defogger to the back of the mirror as you progress, to smooth
out any air bubbles that may appear. Refer to
Diagram D.
Note: If gluing mirror to wall, apply adhesive to the mirror backing,
not covered with the Mirror Defogger.
Electrical Wiring
Step 8
With the assistance of another person, position the mirror so the
leads can be connected to the Romex cable as referred to in Step
4. Refer to
Diagram E for specific wiring instructions.
6
Mirror
Wall
ClearlyYou™ Defogger
Existing
electrical box
for vanity
lighting
New single
gang electrical
box
QuickTime™ and a
TIFF (Uncompressed) decompressor
are needed to see this picture.
Mirror defogger
Remove Protective
Paper
Power Cord
Back of Mirror
Mirror Defogger
leads from Mirror Defogger
to light junction box
Model #
Shape
Width (Inches) Length (Inches) Watts Volts Amps MSRP
FFM-1218 Rectangle
12
18
29 120 0.24 $65.00
FFM-1824 Rectangle
18
24
57 120 0.48 $85.00
FFM-2432 Rectangle
24
32
96 120 0.80 $105.00
FFM-15R Round
15
20 120 0.17 $65.00
FFM-20R Round
20
41 120 0.34 $85.00
FFM-25R Round
25
65 120 0.54 $105.00
FFM-1826OV Oval
18
26
45 120 0.38 $85.00
FFM-2432OV Oval
24
32
76 120 0.63 $105.00
Circle
Circle
Circle
Diagram D