Vigo VG06041 User Manual
Page 5
IMPORTANT
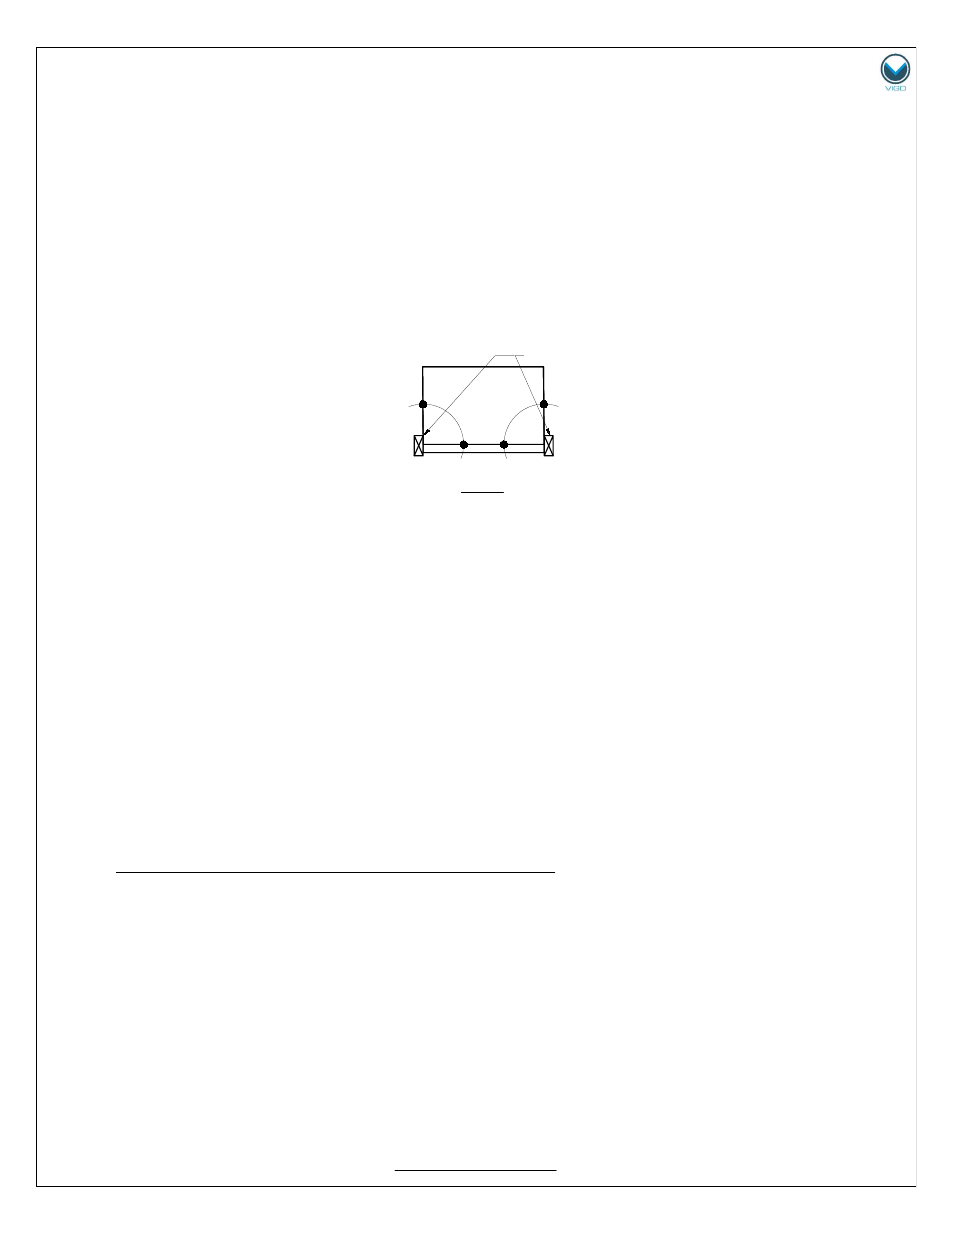
Verify that the overall size of the shower door opening is appropriate for the shower enclosure.
Due to individual site variations, exact guidelines for every situation cannot be supplied. The
recommended framing and dimensional requirements are shown for a typical application and
may vary depending on the site requirements.
To prevent damage to the finish, you should protect the shower cabin bottom with a cardboard
protector before beginning the installation.
Ensure that there is sufficient structural support behind the shower wall to hold the weight of the
shower door. If there is insufficient enough support, then reinforce the shower walls with wooden
studs prior to shower door installation.
[SEE FIG. 2]
STUDS
FIG.2
MODEL VG06041
INSTALLATION STEPS
A. INSTALLING THE STRUCTURAL RAIL
1.
Place the door panel (#5) into the shower first making sure to rest the glass in a manner that
the glass or base/tub does not incur damage.
2.
Remove the fixed panel holder nearest to the wall by unthreading the face cover by hand
and removing the allen screw with the allen key provided. Try to hold the rail horizontally
level as to not have the metal insert slide out of position. Install one door stopper (#10) in
between the fixed panel holders. Install the second stopper at the door side of the rail.
Re-install the face plate and modify the stopper location after installation of the door panel.
Step 2 may not be necessary if the stoppers are already installed on the rail.
3.
Place the wall mount brackets (#1) on both ends of the structural rail. Place rail into the
cabin opening (FIG.4). If the rail is too long, then cut it with the hacksaw to fit the opening.
Make sure to cut the rail on the shower door side only .
4.
Note that the openings on structural rail for the fixed panel holders have an elliptic shape.
This allows the holder screws inside the rail to move to the left and right. This will help in
accommodating an uneven wall condition. Once you find the right position tighten the allen
key and cover to fixate the fixed panel onto the rail. [SEE FIG.3]
5.
Place seal strip (#12) to the fixed panel on the side that sits against the wall. [SEE FIG.3]
6.
Position the fixed panel bottom clip (#7) approximately 4 inches from the wall. Position the
door bottom guide (#8) on the floor making sure the edge of the fixed panel ends at the
middle portion of the bottom guide. [SEE FIG.4]
7.
Position the fixed panel and the structural rail assembly correctly using a level. Mark the
circumference location of the wall mount brackets on the wall. Mark the fixed panel bottom
clip location and bottom door guide on the floor.
5