Add bands method no. 2: from the image window – UVP Life Science User Manual
Page 118
LS Software User Guide
104
•
Click the left mouse button to place the new lane.
•
When finished placing the new lanes, click
Edit Objects to disable the Add Lanes tool.
Add Bands Method No. 2: From the Image Window
•
To add bands, open the
1D Analysis Action Tab > Find Lanes and Bands menu.
•
Define region and perform an automated search for lanes and bands.
•
Click onto
Add Bands function in the Edit Lanes and Bands menu.
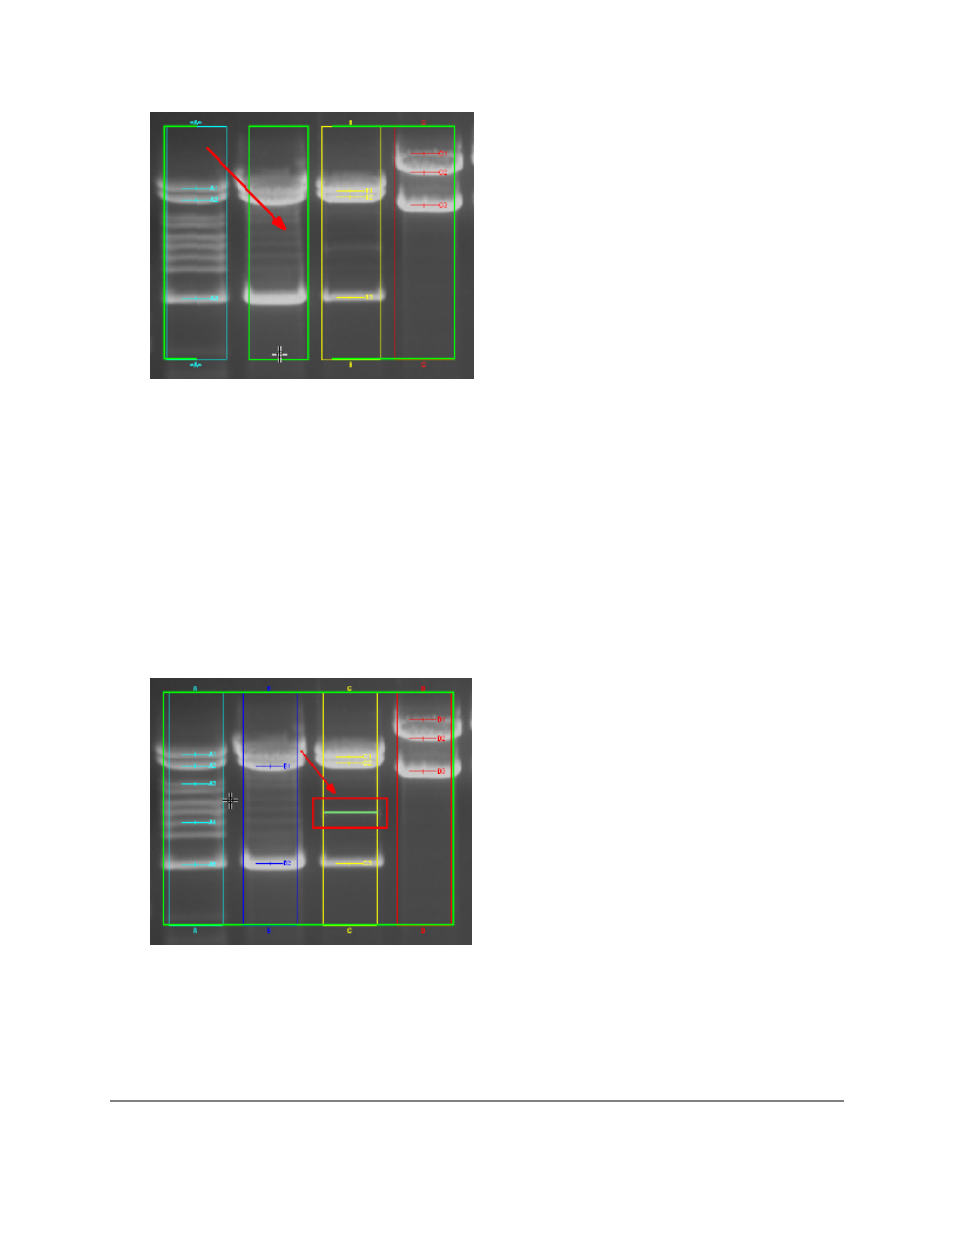
•
Move the cursor over the image. A movable horizontal line will appear whenever the cursor is
moved over a lane. Simply move the mouse over the image to the spot where to place the new
band. If the color of the horizontal line is green, a new band can be placed where the cursor is. If,
however, the color is red, there is already a band at this position and a new band cannot placed
there. Move the mouse until the line appears green as shown below.
•
Click the left mouse button to place the new band.
•
When finished placing band(s), click
Edit Objects to disable the Add Bands tool
Next Steps: Perform a Molecular Weight Calibration, Concentration Calibration, or Dendrogram Analysis
Related Topics: